Basic playback – JVC HR-J261EU User Manual
Page 14
Filename [HRJ261EU1.fm]
Masterpage:Left
14
EN
PLAYBACK
Basic Playback
A
Load a cassette.
Make sure the window side is up, the rear label side is
facing you and the arrow on the front of the cassette is
pointed toward the recorder.
● Don’t apply too much pressure when inserting.
● The recorder’s power comes on automatically and the counter
is reset to 0:00:00.
● If the record safety tab has been removed, playback begins
automatically.
B
Find the programme start point.
If the tape is advanced past the start point, press
3
. To
go forward, press
5
.
C
Start playback.
Press
4
. “BEST” appears blinking in the recorder’s front
display panel during automatic tracking. (
੬
pg. 21)
D
Stop playback.
Press
8
on the remote control or
0
on the recorder’s
front panel. Then press
0
to remove the cassette.
Turn on the TV and select the video channel (or
AV mode).
Clean the video heads using a dry cleaning
cassette — TCL-2UX — when:
● Rough, poor picture appears while a tape is played back.
● The picture is unclear or no picture appears.
● “USE CLEANING CASSETTE” appears on the screen (only
with “O.S.D.” set to “ON” (
੬
pg. 29).
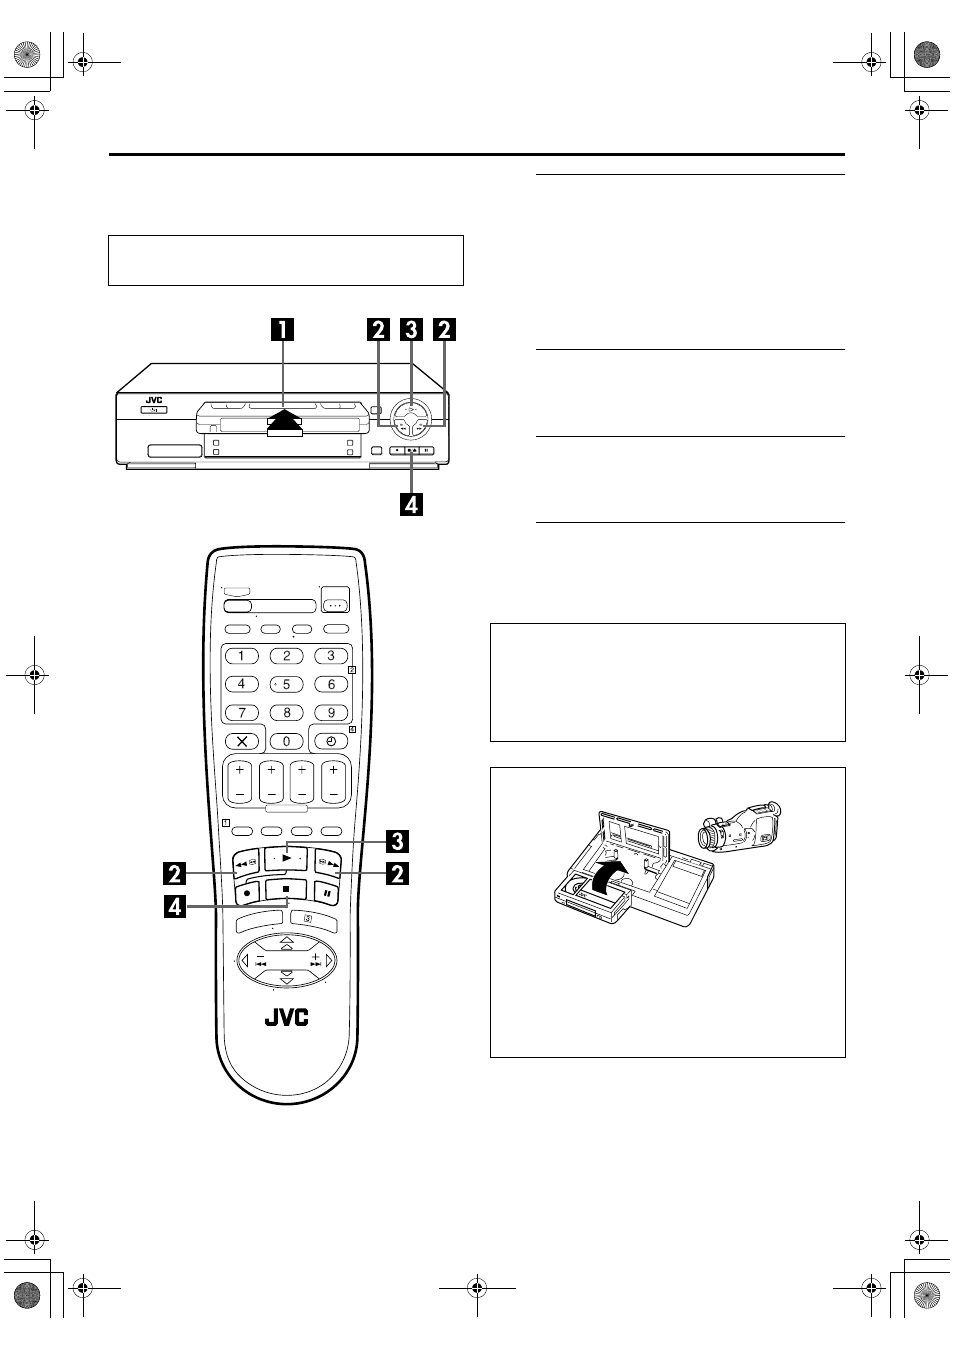
Usable cassettes
● Compact VHS camcorder recordings can be played on this
video recorder. Simply place the recorded cassette into a
VHS Cassette Adapter and it can be used just like any full-
sized VHS cassette.
● This video recorder can record on regular VHS and Super
VHS cassettes. However, it will record and play back
regular VHS signals only. It is not possible to play back a
recorded Super VHS tape.
HRJ261EU1.fm Page 14 Friday, December 10, 1999 5:40 PM