Labeling channels, To label channels, Erasing channel labels – Insignia NS-FTV27 User Manual
Page 14: To erase a channel label, Setting the clock, To set the clock, Setting the on timer, To set the on timer, Space
13
NS-FTV27 27-inch Flat Stereo Color TV
www.insignia-products.com
Press MENU. The menu screen appears.
2 Press
or
to
select
the
LOCKS menu.
3 Press
or
to display the password
entering mode. Use the number buttons (0-9)
to enter your password, then press ENTER.
The LOCKS menu appears.
4 Press
or
to select FRONT PANEL
LOCK and press or to select OFF.
5 Press EXIT to return to normal viewing.
Labeling channels
Channel labels appear over the channel number
display each time you turn on the television,
select a channel, or press -/DISPLAY. You can
choose any four characters to identify a channel.
To label channels:
1 Select a channel you want to label.
2 Press MENU, then press or to select the
OPTION menu.
3 Press
or
to select CH LABEL, then
press
or .
The
CH LABEL menu
appears.
4 Press
or
to select SET/CLEAR.
5 Press
or
to
select
SET.
6 Press ENTER to select LABEL, then press
or to enter a character in the first space.
Press the button repeatedly until the
character you want appears on the screen.
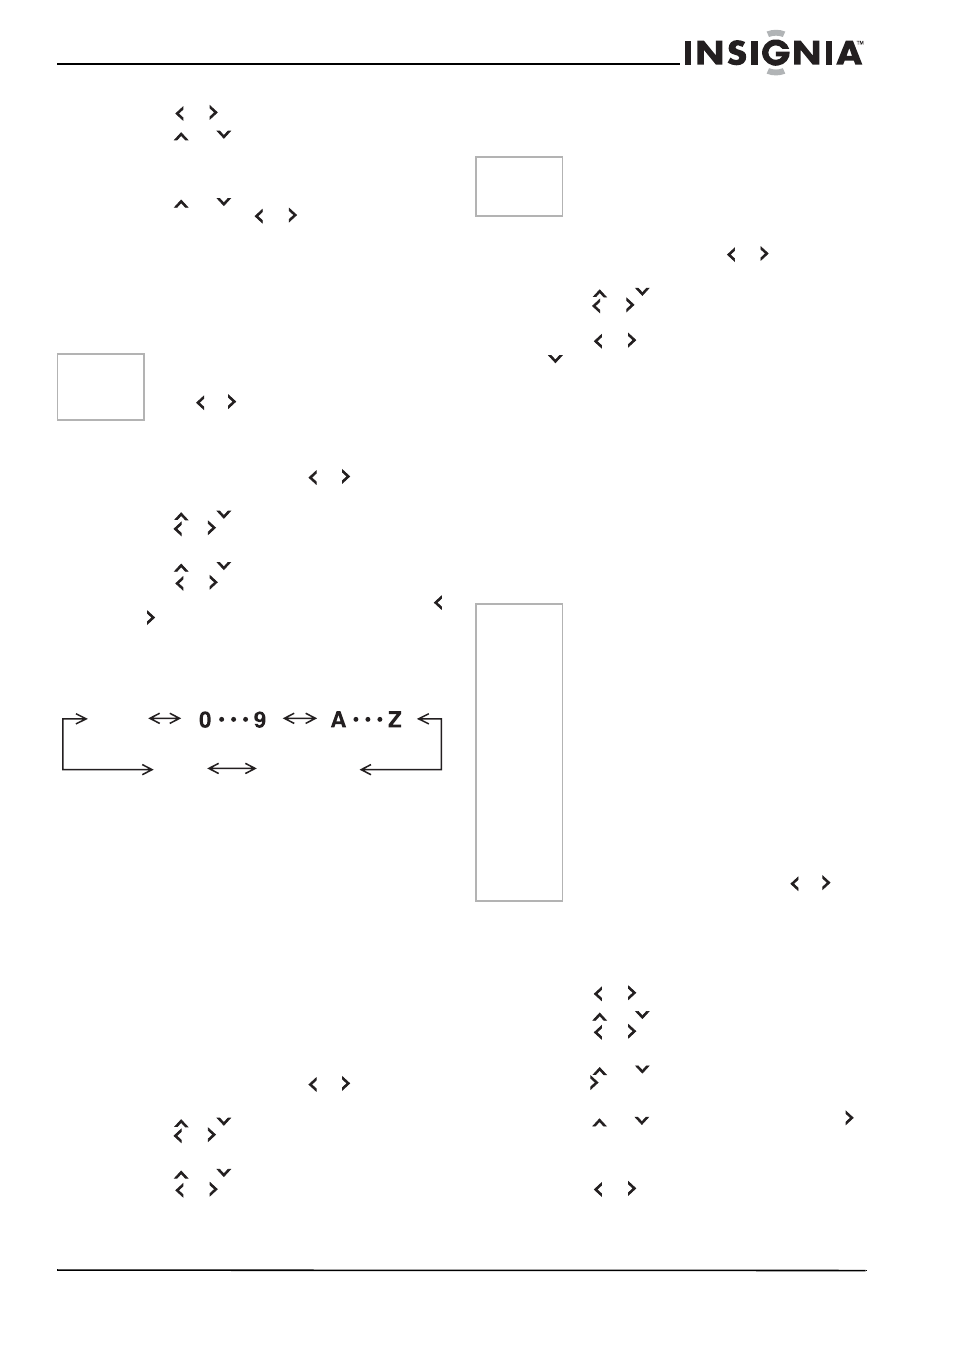
The characters rotation as follows:
When the character want appears, press
ENTER. Repeat this step to enter the rest of
the characters. If you would like a blank
space in the label name, you must choose
the empty space from the list of characters,
or a dash appears in that space. When you
finish inputting the label name, press
ENTER.
7 Press EXIT to return to the normal screen.
8 Repeat steps 1- 7 for other channels. You
can assign a label to each channel.
Erasing channel labels
To erase a channel label:
1 Select a channel with a label which you want
to erase.
2 Press MENU, then press or to select the
OPTION menu.
3 Press
or
to select CH LABEL, then
press or to display the CH LABEL
menu.
4 Press
or
to select SET/CLEAR.
5 Press
or
to
select
CLEAR, then press
ENTER.
6 Press EXIT to return to the normal screen.
Setting the clock
You must set the clock correctly for the ON/OFF
TIMER to activate at the correct time.
To set the clock:
1 Press MENU, then press or to select the
SETUP menu.
2 Press
or
to select CLOCK SET, then
press
or .
The
CLOCK SET menu
appears.
3 Press or to set the MONTH, then press
.
4 Set the DAY, YEAR, and TIME as in step 3.
After setting the date and time, the clock
begins functioning automatically.
5 Press EXIT to return to the normal screen.
Setting the On Timer
This feature allows you to have the television
automatically turn on at a predetermined time. If
you program the on timer to DAILY, the television
turns on every day at the same time to the same
channel.
EXAMPLE: Turning on the television to channel
12 at 7:30 AM, daily.
To set the On Timer:
1 Set the clock, if you have not already done so
(see “Setting the clock” on page 13).
2 Press MENU.
3 Press or to select the OPTION menu.
4 Press
or
to select ON/OFF TIMER.
5 Press or to select SET, then press
ENTER. The ON/OFF TIMER menu appears.
6 Press
or
to select ON TIMER, then
press
to enter the setting for the ON
TIMER.
7 Press
or
to set the hour, then press .
Note if the hour is AM or PM and choose the
setting you want.
8 Set the minutes and startup channel.
9 Press or to select DAILY, then press
ENTER.
10 Press EXIT to return to the normal screen.
Note
To return from CH LABEL menu to the
OPTION menu, select OPTION MENU, then
press
or .
SPACE
+
–
Note
After a power failure or disconnection of the
power, the clock settings will be lost. In this
case, reset the present time.
Notes
• The television automatically turns off
about one hour after the ON TIMER
turns on if no OFF TIMER has been
set. To continue watching the
television, press any button to cancel
the one hour automatic shut off.
• If a station being viewed stops
broadcasting, the television
automatically shuts itself off after 15
minutes.
• To cancel the ON TIMER, select
CLEAR. Press EXIT to return to the
normal screen.
• After a power failure or disconnection
of the power, the timer settings will be
lost.
• To return from the ON/OFF TIMER
menu to OPTION menu, select
OPTION MENU, then press or .