Re-filling, Steam ironing, Dry ironing – Morphy Richards Steam Generator User Manual
Page 5: The spray unit (certain models only)
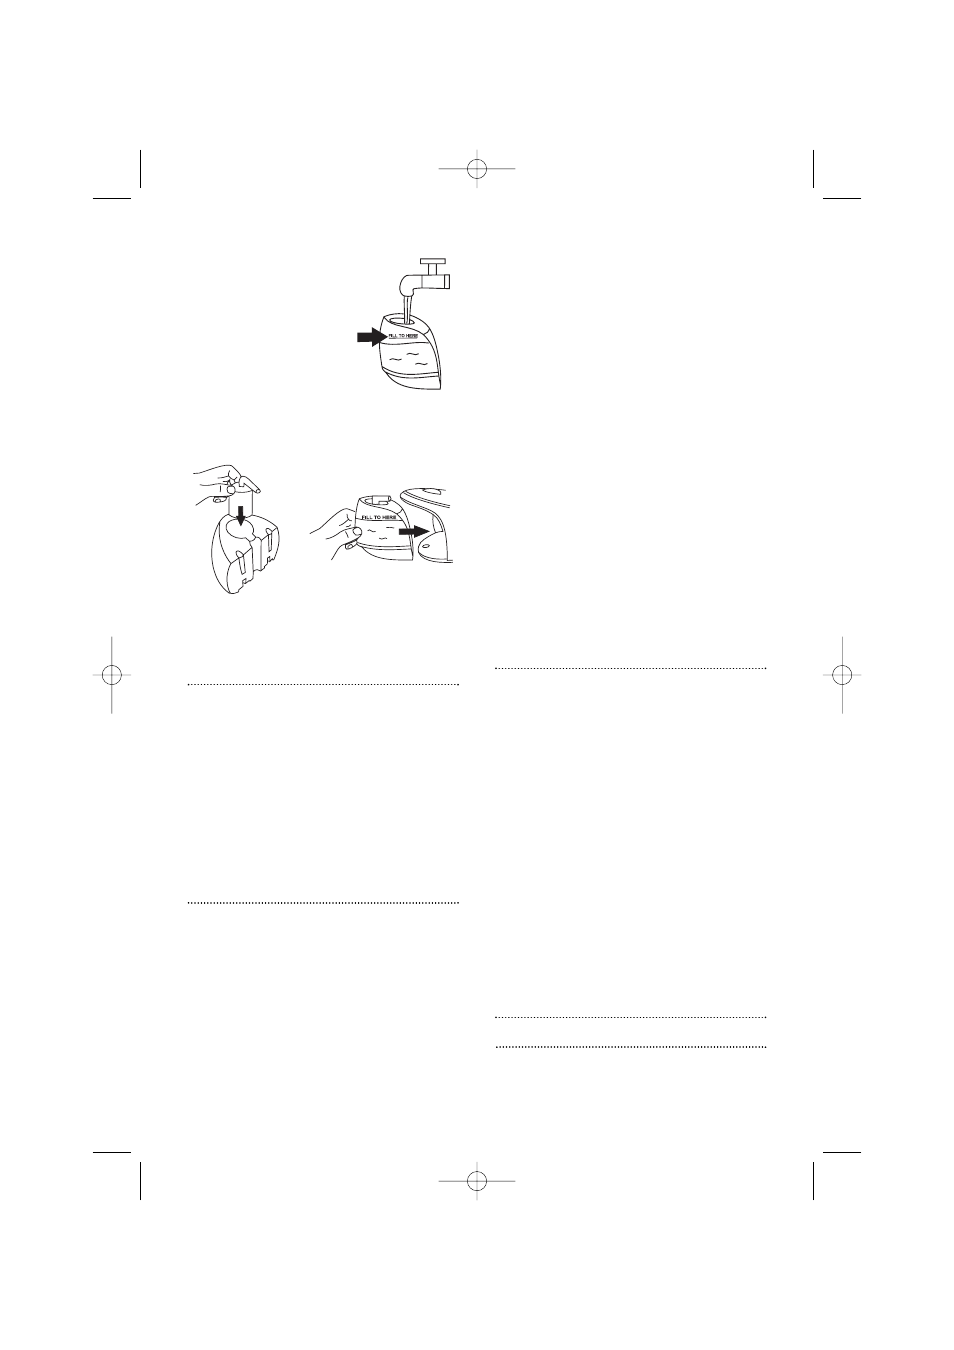
4 Fill the tank up to the
‘fill to here’ line with
clean tap water C.
Never use battery
topping up fluid or
water containing any
substances like
starch or sugar, or
defrosted water from
a refrigerator.
5 Re-install the anti-scale cartridge and
replace the water tank on the base
unit D.
6 Always pour out remaining water after
use.
Re-filling
1 When the water level reaches a low level,
the pump begins to emit a loud noise.
This is due to air being pumped instead
of water and is quite normal. Refilling
can be done whilst the appliance is in
operation. It is not necessary to wait for
the appliance to cool down.
2 Slide out the water tank and fill (see
‘Filling’ instructions).
Steam ironing
1 Unwind and straighten the power cord
·
and supply cord fi.
2 Slide out the water tank and fill (see
‘Filling’ instructions).
3 Connect the appliance to a suitable
mains outlet. Turn the power switch ‚
on the base unit to ‘
I’ (on) and the
indicator will glow.
4 The boiler ready indicator light „
situated above the ‘power switch’ ‚ will
also illuminate, indicating the boiler is on
it’s heating cycle and will extinguish
when the required temperature is
reached.
5 Turn the temperature dial on the iron in a
clockwise direction, select dot-1, dot-2
or dot-3 according to the
recommendation of the garment label.
6 The iron’s temperature indicator light ›
goes off when the required temperature
is reached.
7 Depress the steam button ⁄ for one
minute to clean the steam generating
system (for first time use). It will be
accompanied by a clicking noise which
is quite normal.
8 Begin first time ironing with an old towel.
It takes one minute to reach the required
temperature.
9 Press the steam button for steam
ironing.
10 To switch the unit off, turn the power
switch on the base unit to ‘
O’ (OFF).
Dry ironing
1 Connect the appliance to a suitable
mains outlet.
2 Turn the temperature dial on the iron in a
clockwise direction, select dot-1, dot-2
or dot-3 according to the
recommendation of the garment label.
3 The temperature indicator light glows on
the iron, indicating that it is switched on.
4 When the required temperature is
reached, the temperature indicator light
on the iron goes off. The iron is then
ready to use.
It is always a good idea to begin with
’cool’ fabrics and work up to higher
settings.
An iron heats up quicker than it cools
down, so you’ll save time and electricity.
Steam ironing
5
D
The spray unit (certain models only)
The spray unit can be used at any time and
does not affect any product settings.
C
42271 rev4 30/7/08 15:56 Page 5