Milwaukee 5374-1 User Manual
Page 5
page 5
TOOL ASSEMBLY
Removing and Replacing Quik-Lok
®
Cords (Fig. 1)
MILWAUKEE's exclusive Quik-Lok
®
Cords provide instant field replace-
ment or substitution.
Fig. 1
1. To remove the Quik-Lok
®
Cord, turn the cord nut 1/4 turn to the left
and pull it out.
2. To replace the Quik-Lok
®
Cord, align the connector keyways and
push the connector in as far as it will go. Turn the cord nut 1/4 turn
to the right to lock.
Attaching the Side Handle
MILWAUKEE Magnum Hammer-Drills are furnished with a side handle to
provide an insulated grasping surface and improved control of the tool.
A handle ring, which fits behind the hammer/drill selector collar, locks the
handle and depth rod in place. To change the setting of the depth rod,
loosen the handle slightly and slide the depth rod to the desired position.
Always tighten the side handle before operation. Be sure the handle ring
is flat against the collar hex and away from the chuck and selector collar.
When using large bits or exerting substantial pressure, position the side
handle 180° from the switch handle. This provides a "T" alignment to
balance the tipping effect of the force applied to each handle.
Adjusting the Side Handle Position (Fig. 2)
1. Loosen the depth gauge by unscrewing the side handle grip slightly.
2. Slide the depth gauge rod backward or forward until it is set for the
desired depth.
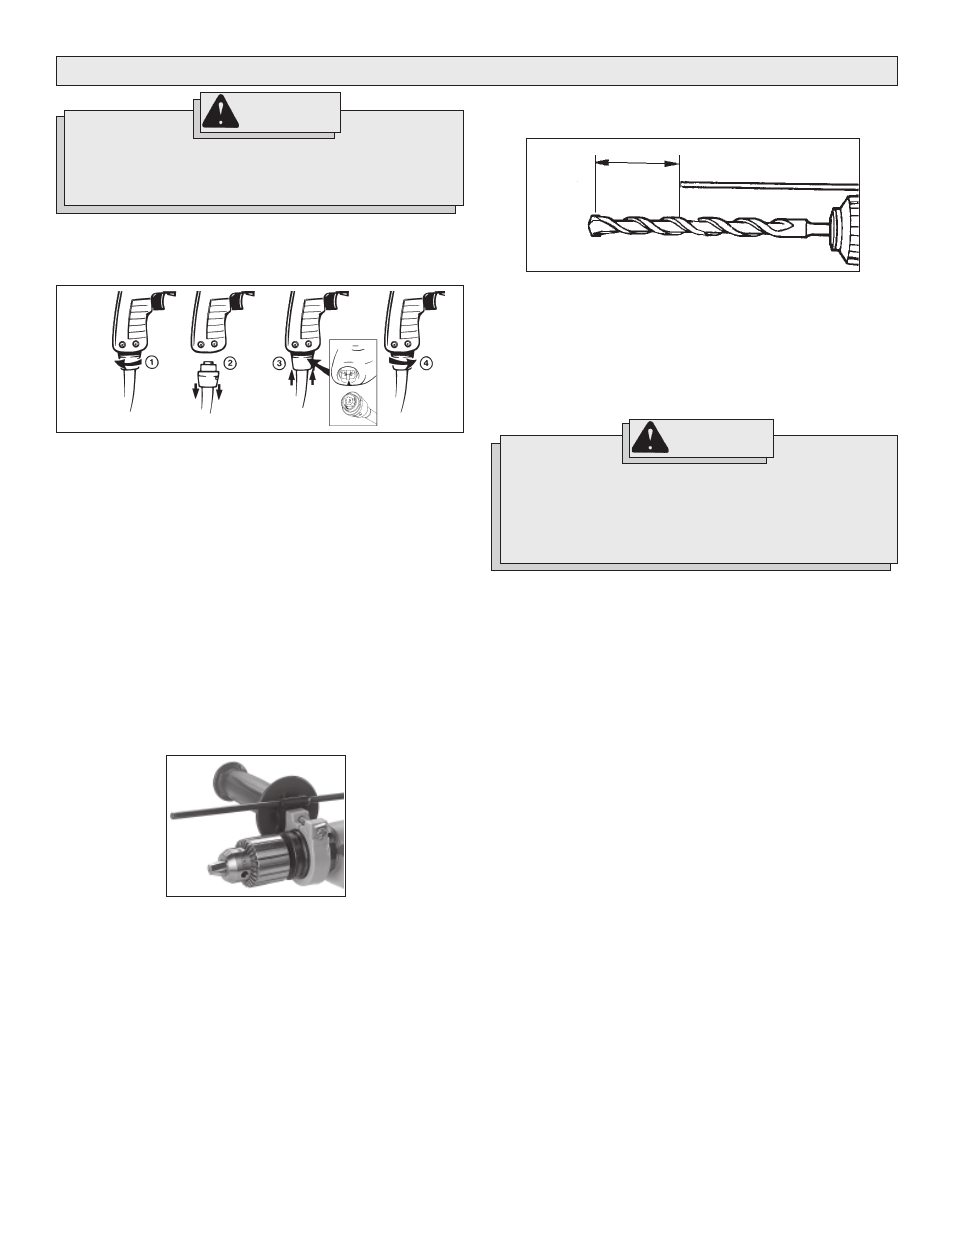
NOTE: The drilling depth is the distance between the tip of the bit and
the tip of the depth gauge rod.
3. Hold the side handle in the desired position and flat against the collar
hex while tightening the handle grip securely.
Setting the Depth Gauge (Fig. 3)
WARNING!
To reduce the risk of personal injury and damage to the tool,
hold and brace the tool securely. Brace tools with side
handles as shown. If the bit binds, the tool will be forced in
the opposite direction. Bits may bind if they are misaligned
or when breaking through a hole. Wood boring bits can also
bind if they run into nails or knots.
Fig. 3
Drilling Depth
Fig. 2
1. Loosen the side handle by unscrewing the handle grip slightly.
2. Rotate the side handle to the desired position.
3. Hold the side handle in the desired position and flat against the collar
hex while tightening the handle grip securely.
WARNING!
To reduce the risk of injury, always unplug tool before
attaching or removing accessories or making adjustments.
Use only specifically recommended accessories. Others
may be hazardous.