McIntosh C2300 User Manual
Page 16
16
How to Operate the C2300
Power On
The Red LED above the STANDBY/ON Push-button lights
to indicate the C2300 is connected to AC Power. To Switch
ON the C2300, press the STANDBY/ON Push-button on
the Front Panel or the PWR (Power) Push-button on the
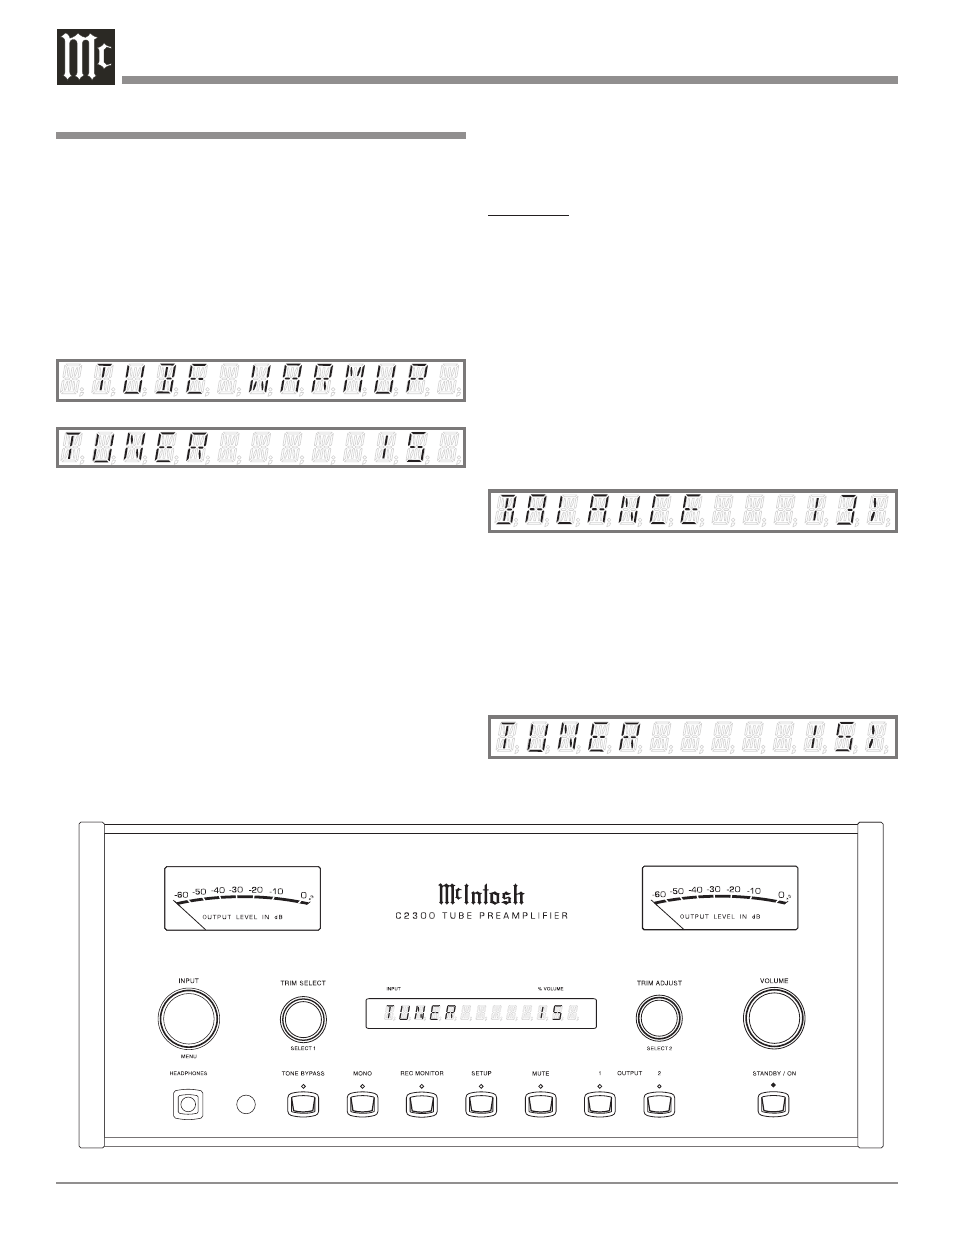
Remote Control. The title TUBE WARMUP will appear
on the Front Panel Alphanumeric Display after Turn-On,
with the Audio Outputs muted. Refer to figures 12, 13, 14
and 21.
Source Selection
Select the desired source using the INPUT Control or
Remote Control.
Volume Control
Rotate the Front Panel VOLUME Control or use the
VOLUME + (Up) or - (Down) Push-buttons on the Remote
Control for the desired listening level.
Trim Functions
The C2300 has six different Trim Selections with Adjust-
ments. The Trim Selections include Balance, Bass, Treble,
Tone Bypass, Input Level Matching and Meter Illumina-
tion. The Trim Settings are stored in memory independent-
ly for each Input Source Selected, the only exception being
Meter Illumination setting of On or Off which is the same
for all inputs.
BALANCE
Listening balance varies with different program sources,
room acoustics and listening positions relative to the
Loudspeakers. Use the Balance (Trim Function) as needed
to achieve approximately equal listening volume levels in
each Loudspeaker. To adjust the Balance perform the fol-
lowing:
1. Rotate the Front Panel TRIM SELECT Control or press
the TRIM Push-button on the Remote Control until
“BALANCE 00” appears on the Front Panel Alphanu-
meric Display.
2. Rotate the TRIM ADJUST Control or press the LEVEL
+ / - Push-buttons to emphasize the Left Channel or the
Right Channel. Refer to figure 15.
The Front Panel Display indicates the Balance changes
in steps from 0 to 107. After approximately 3 seconds the
Alphanumeric Display returns to indicate the Source Se-
lection and Volume Level. When the Balance is set to favor
either left or right channel, the volume number indicated
will have a “< or >” symbol on either side of the number.
Refer to figure 16. To verify the Balance setting without
Figure 14
Figure 13
Figure 12
Figure 15
Figure 16