7 connecting the rg300ex(lite), 8 configuring the rg300ex(lite) as an access point, 7 connecting the rg300ex ( lite) – MSI RG300EX User Manual
Page 27
M S I R G 3 0 0 E X ( L i t e )
3.7 Connecting the RG300EX(Lite)
1. Turn off the computer.
2. Connect the RG300EX(Lite) to a wall outlet using the supplied power adapter.
3. Connect the supplied UTP network cable to the ‘LAN 4’ port of the RG300EX(Lite).
4. Connect the other end of this UTP network cable to the network adapter of your computer.
Is my RG300EX(Lite) correctly connected to the wall outlet? You can check this by verifying that the
POWER LED is on or not.
Do I have a proper network connection? Turn on the computer and verify if the LED on the RG300EX
(Lite), corresponding with the LAN-port to which you connected the UTP networking cable, is lit. The
LED on the network adapter of your computer should also be lit.
3.8 Configuring the RG300EX(Lite) as an Access Point
Before you can configure the RG300EX(Lite) for an Internet connection you first need to connect to the
RG300EX(Lite) by following the procedure below.
1. Turn on your computer.
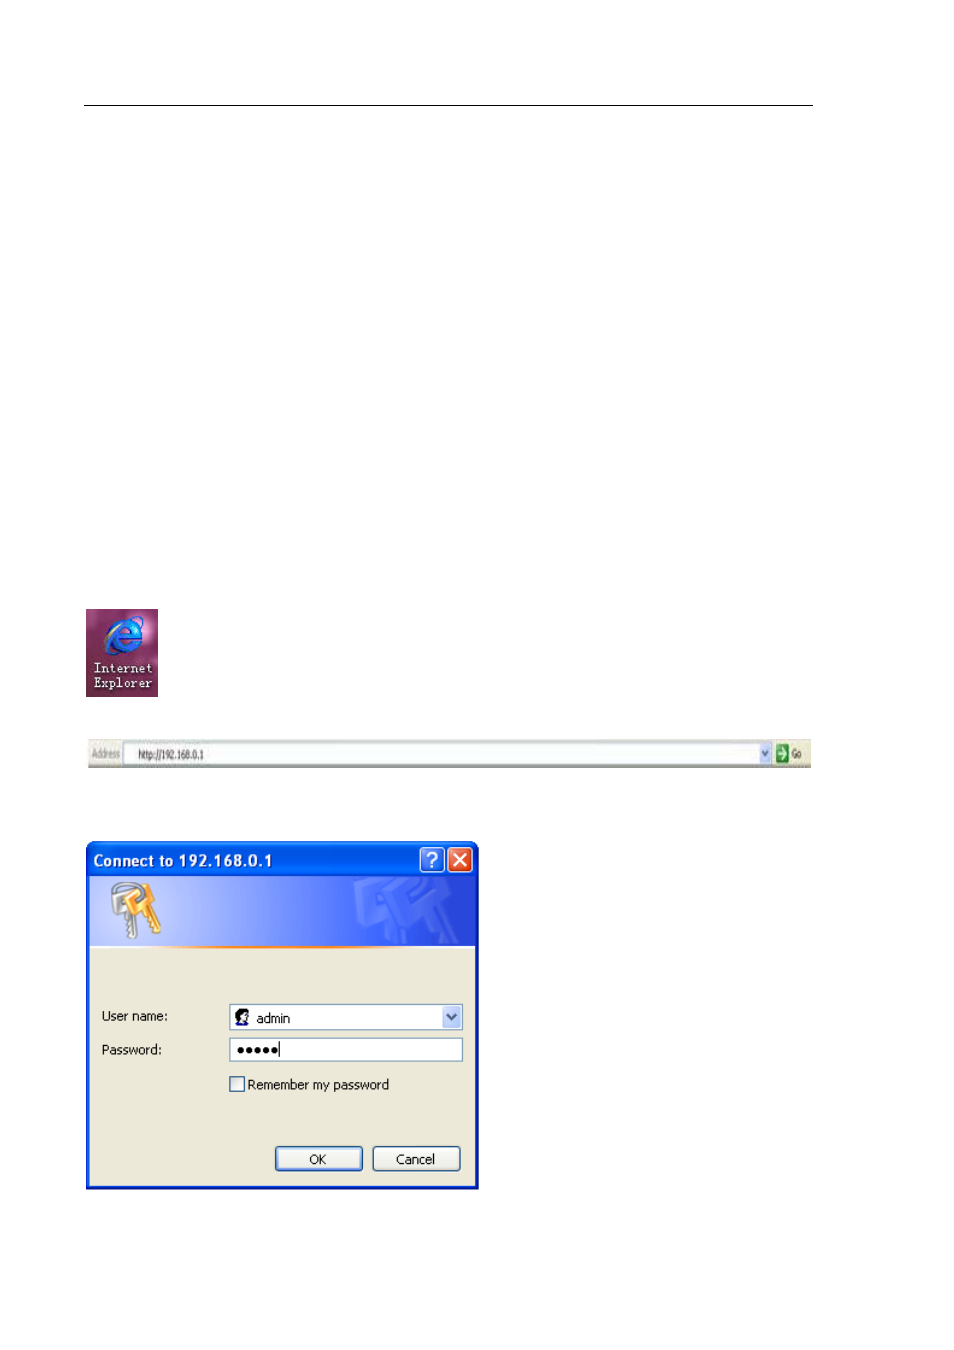
2. Open your web browser (e.g. Internet Explorer, Netscape of Firefox).
3. Type ‘http://192.168.0.1’ in the address bar.
4. Press the ‘Enter key’ or click ‘Go to’. You will now be asked for a ‘Username’ and a ‘Password’. Fill in
‘admin’ in the ‘Username’ field and ‘admin’ in the ‘Password’ field and press the enter key.
5. Click ‘Setup Tool’.
Page 26 of 52