Door – Genie INTELLIG 3024 User Manual
Page 18
©2010 The Genie Company
01/27/2010
18
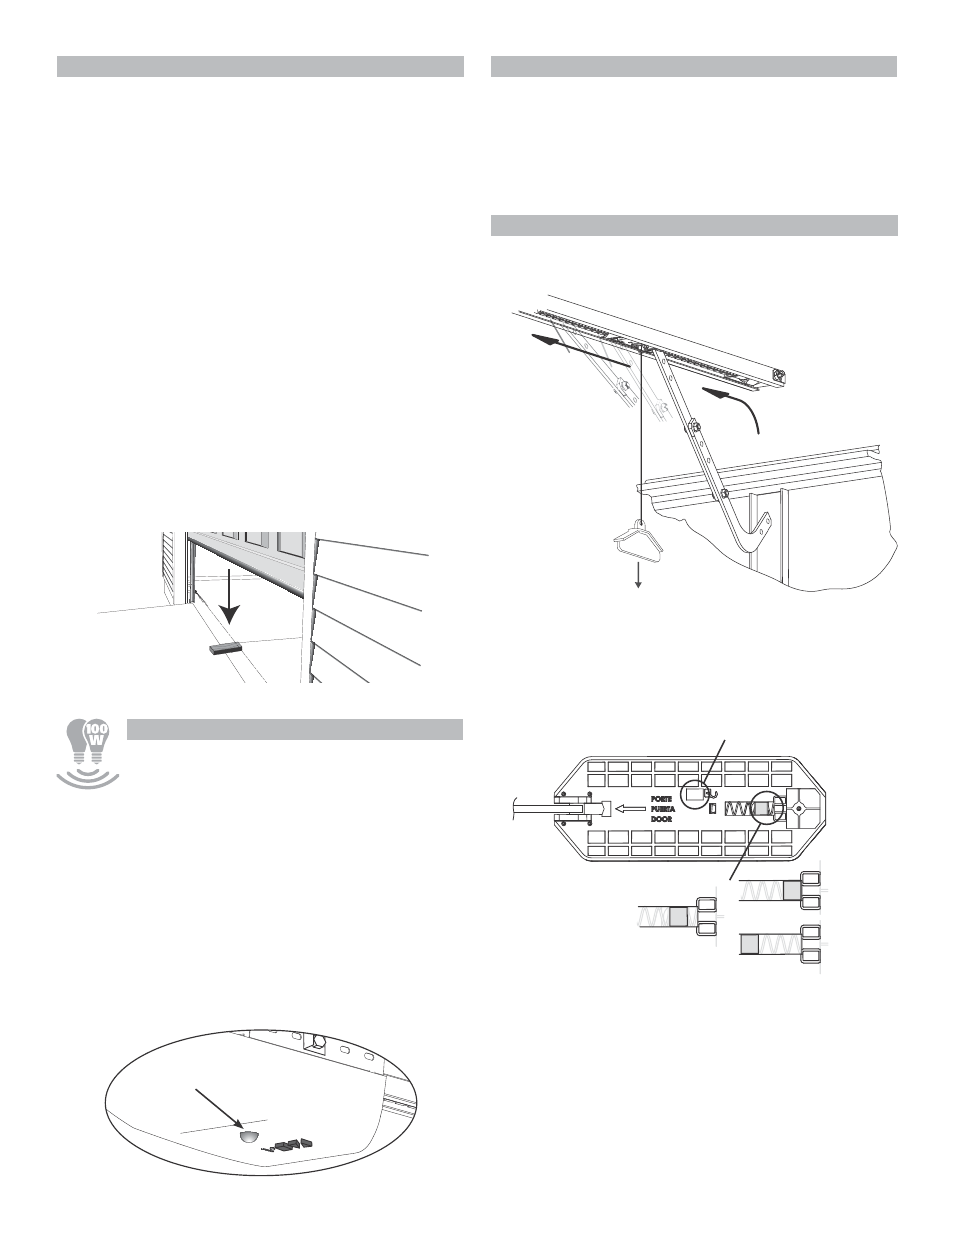
CARRIAGE ENGAGE/DISENGAGE
Use Release Handle to manually engage or
disengage Carriage.
RESET - OPEN/CLOSE TRAVEL LIMIT
Performing all ten (10) Limits/Force setting steps
(pages 6-7) erases previous Limits/Force settings.
NOTE: The opener will not close the door
automatically unless the Safe-T-Beam® System is
installed and Limits are programmed.
MOTION DETECTOR - OVERVIEW
(Not available on all models)
Power heads equipped with a motion detector
sensor provide additional security when
exiting or entering the garage area.
NOTE: Sensor positioning on the power head does not
provide motion monitoring above the power head.
OPERATION
• Motion detector sensor is always ON. There are NO
user controls or adjustments.
• Lights automatically turn ON when motion is
detected and will turn OFF after 4 minutes of no
motion.
• Motion detector sensor will not turn OFF lighting
turned ON at the wall
console.
• Lighting turned ON at the wall console will remain
ON until wall
console turns lighting OFF or opener
is used.
PROGRAM
T
— +
Motion Detector Sensor
CONTACT REVERSE TEST
The Force and Limit settings MUST be
COMPLETED before testing.
1. Testing.
• Open garage door using wall console.
– Place a 2" x 4" board (laid flat) under center of
garage door opening (Fig. 6-2).
• Close garage door using wall console.
• When door contacts board, the door must
stop (within 2 seconds) and reverse direction
returning to open position.
2. Adjustment.
• If the door does not reverse.
– Check to see if door has "down" limit properly
set in the fully closed position. It should not
have reached its "close" limit before hitting
board. Reprogram close limit with door
completely closed.
– If the door STOPS but does not reverse, reset
your limits. Remove board. Return to pages
6-7 and repeat Limits settings to correct down
limit.
• Test again. Repeat as necessary until door
reverses upon contacting board.
FIG. 6-2 2 x 4 under center of door opening
NOTICE
F DOOR B
COMES OB
STRUCTED
PULL DOW
N ON HAND
LE
TO RELEASE CARRIAGE:
1. Pull DOWN on handle and let go.
2. Verify RED block is showing.
3. Raise or lower door manually.
DOOR
PULL
TO ENGAGE CARRIAGE:
1. Pull DOWN on handle and let go.
2. Verify RED block is NO LONGER showing.
3. Raise or lower door using remote or wall console.
Release Handle
FIG. 6-3 Disengage Carriage
LOCKED
UNLOCKED
WHEN RED BLOCK IS SHOWING
CARRIAGE IS UNLOCKED
or
FIG. 6-4 Carriage
(Standing below rail looking up at
carriage)