Step 8, start icemaker, Step 9, temperature controls, Step 10, install toekick – GE Monogram ZFSB26D SS User Manual
Page 10: Installation instructions, Step 8 start icemaker, Step 9 temperature controls, Step 10 install toekick
10
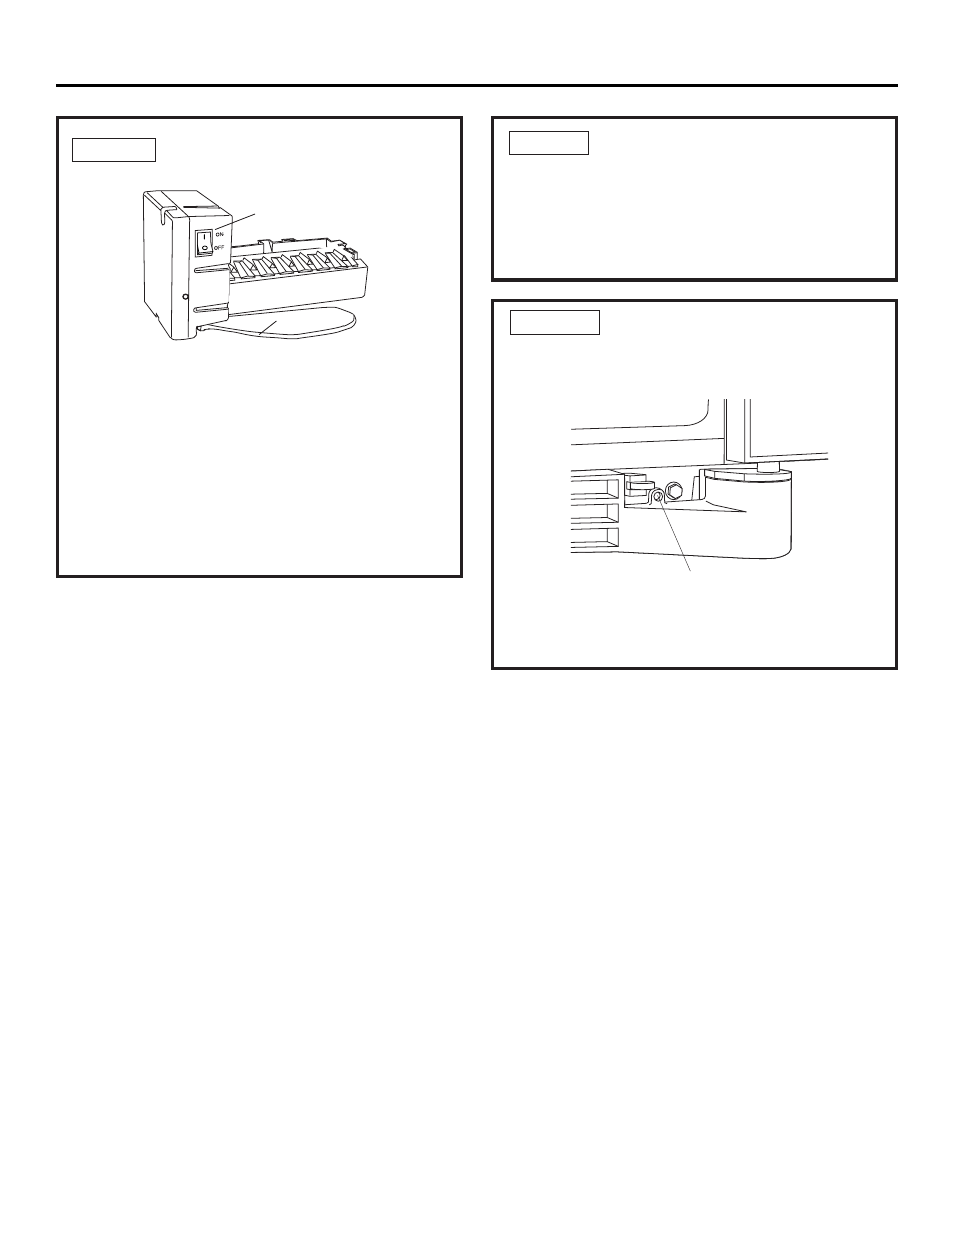
STEP 8 START ICEMAKER
• Flip the switch to I (ON) position. The icemaker
will not begin to operate until it reaches its
operating temperature of 15°F (–9°C)or below.
It will then begin operation automatically. It will
take 2–3 days to fill the ice bin.
• Be sure nothing interferes with the sweep of the
feeler arm. Do not place objects in the path of the
feeler arm.
• Discard the first full bucket of ice cubes.
• To turn the icemaker off, set the switch to O (OFF).
STEP 9 TEMPERATURE
CONTROLS
• The temperature controls are preset at 37° for the
refrigerator and 0°F for the freezer.
• Allow 24 hours to stabilize before making
adjustments.
STEP 10 INSTALL TOEKICK
• Press toekick into position and reinstall one screw
on each side.
IMPORTANT:
The vented toekick must remain
unobstructed for proper air circulation.
Power Switch
Feeler Arm
Toekick Screw
Installation Instructions