Test run – Grizzly T10010 User Manual
Page 11
Model T10010 Wet Grinder
-11
-
Test Run
Once your Model T10010 is positioned,
test run the machine to make sure it runs
properly.
If, during the test run, you cannot easily
locate the source of an unusual noise or
vibration, stop using the machine immedi-
ately, then review the Troubleshooting on
Page 20
.
If you still cannot remedy a problem, con-
tact our Tech Support at (570) 546-9663 for
assistance.
To test run the machine:
1.
Make sure you have read the safety
instructions at the beginning of the
manual and that the grinder is setup
properly.
2.
Make sure all tools and objects used
during set up are cleared away from
the grinder.
3.
Make sure the switch is in the OFF
position.
4.
Connect the grinder to the power
source.
5.
Flip the switch to the right to turn the
grinder ON. Make sure that your hand
stays poised over the switch in case
you need to quickly turn the machine
OFF
.
6.
Listen to and watch for abnormal nois-
es or actions. Under normal conditions,
the grinder will make a humming noise,
with only minor vibration.
— Strange or unusual noises should
be investigated and corrected
before operating the machine fur-
ther. Always disconnect the machine
from power before investigating or
correcting potential problems.
7.
Turn the grinder OFF.
8.
Remove the switch disabling key and
attempt to turn the machine ON.
— If the grinder does not start, the
switch disabling feature is working.
— If the grinder starts, stop it. The
switch disabling feature is not work-
ing. This safety feature must work
properly before proceeding. Call
Tech Support for help.
4.
An undamaged wheel will emit a clear
metallic ring or “ping” sound in each
of these spots. A damaged wheel will
respond with a dull thud that has no
clear tone.
5.
If you determine from the ring test that
the wheel is damaged, DO NOT use it!
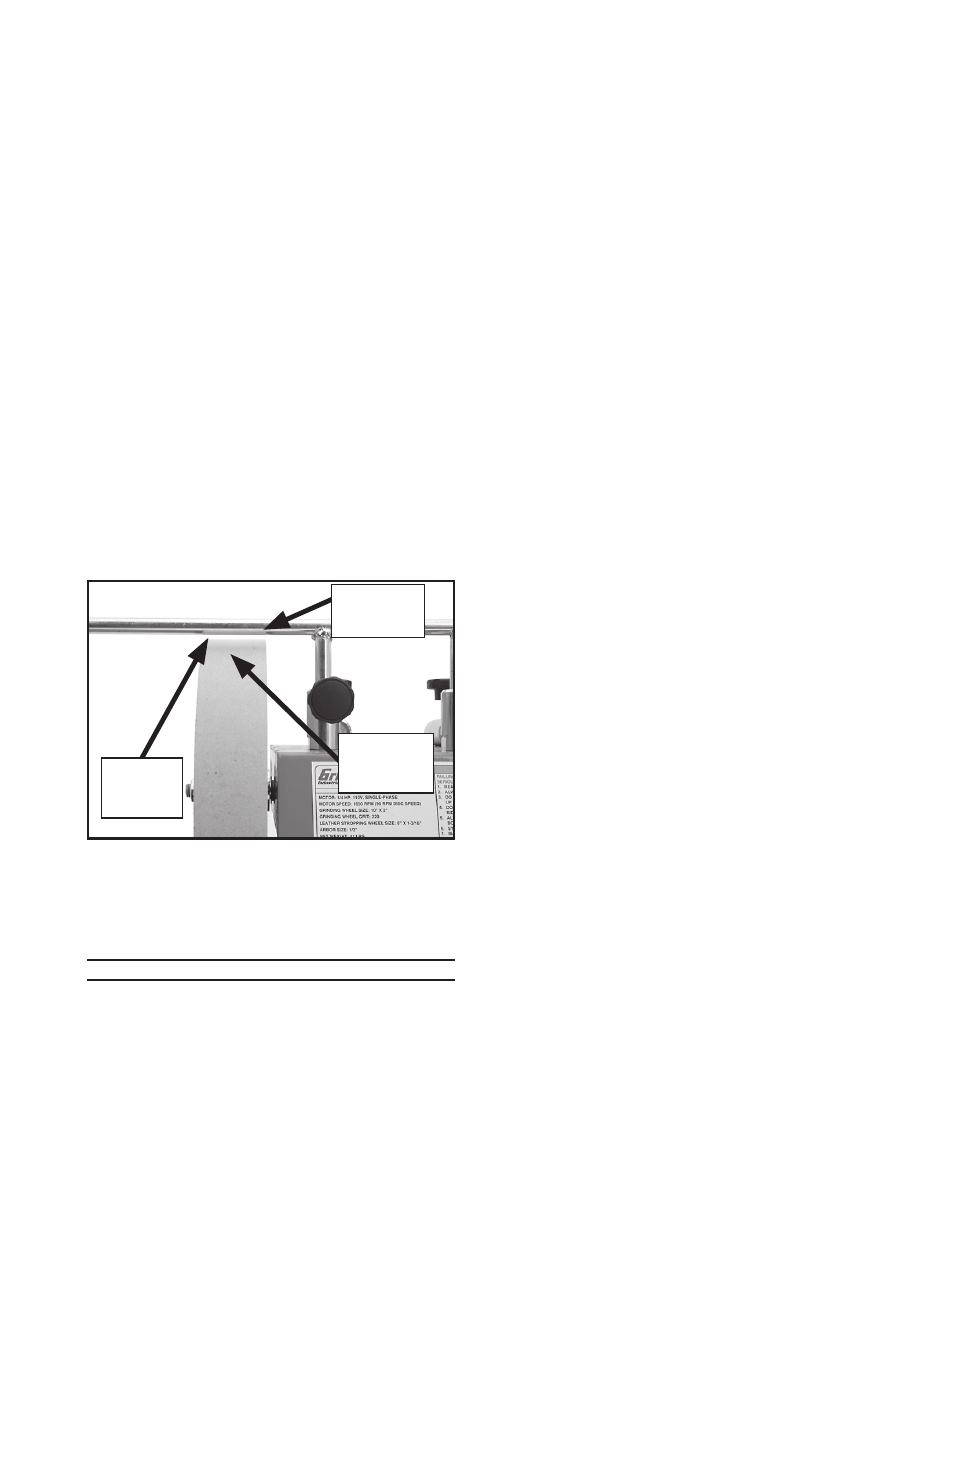
Finally, check that the grinding surface
is square.
Lower the universal support to
1
⁄
16
"-
1
⁄
8
" above the grinding wheel. Using
the universal support as a visual guide,
check that the entire surface of the grind-
ing wheel is consistent and parallel to the
universal support, as shown in Figure
5
. (If this is not the case, see Wheel
Dressing
on Page 16.)
Figure 5.
Parallel check.
Universal
Support
Grinding
Surface
Check
Parallel