Goodman Mfg CPG SERIES User Manual
Page 6
6
•
Curb insulation, cant strips, flashing and general
roofing material are furnished by the contractor.
The curbs must be supported on parallel sides by roof mem-
bers. The roof members must not penetrate supply and re-
turn duct opening areas as damage to the unit might occur.
NOTE: The unit and curb accessories are designed to allow
vertical duct installation before unit placement. Duct
installation after unit placement is not recommended.
A
LL
CURBS
LOOK
SIMILAR
. T
O
AVOID
INCORRECT
CURB
POSITIONING
,
CHECK
JOB
PLANS
CAREFULLY
AND
VERIFY
MARKINGS
ON
CURB
ASSEMBLY
. I
NSTRUCTIONS
MAY
VARY
IN
CURB
STYLES
AND
SUPERCEDE
INFORMATION
SHOWN
.
CAUTION
See the manual shipped with the roof curb for assembly and
installation instructions.
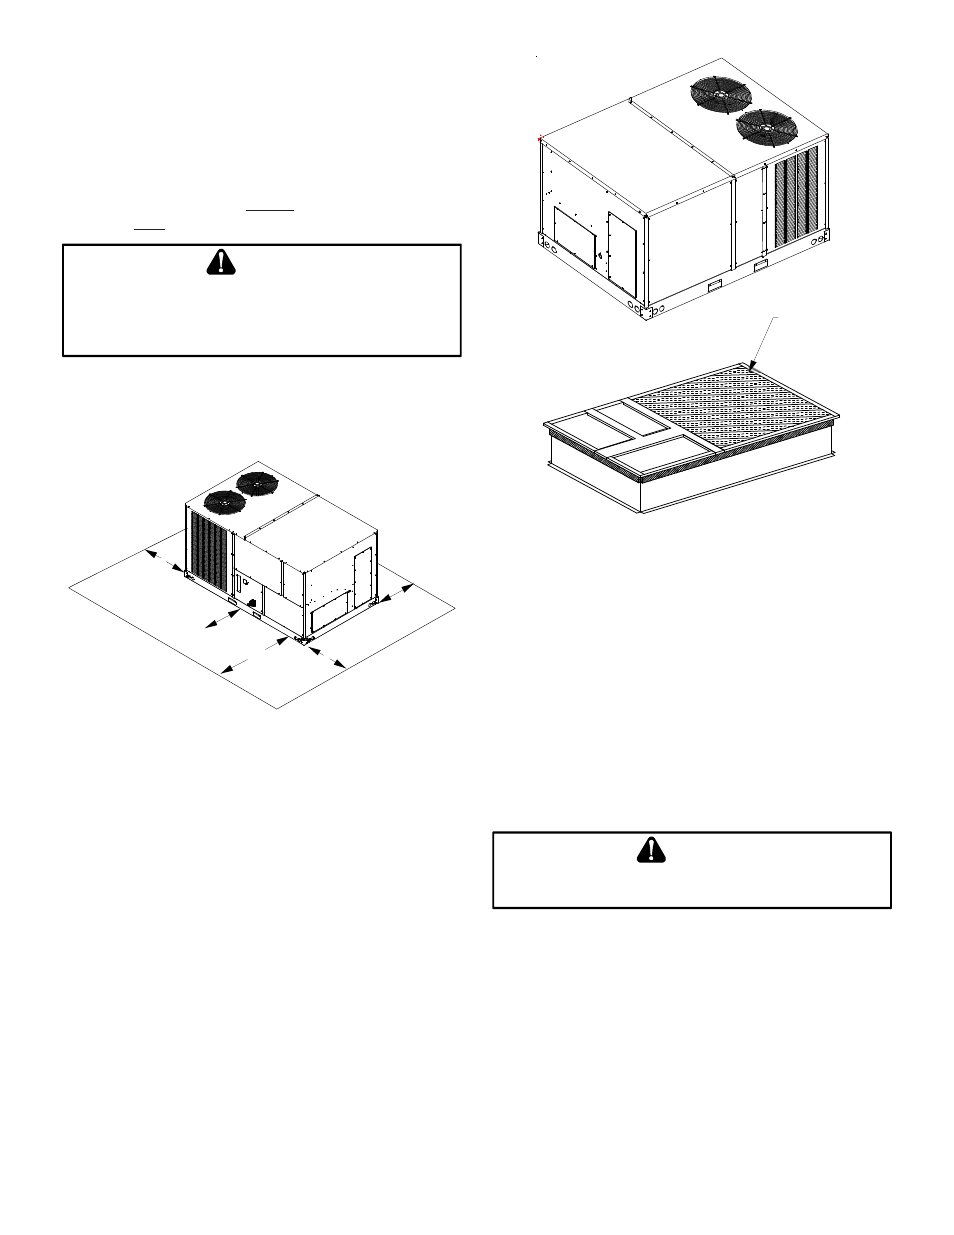
CLEARANCES
36” MIN.
75”
48”
6”
48”
UNIT CLEARANCES
Adequate clearance around the unit should be kept for safety,
service, maintenance, and proper unit operation. A total clear-
ance of 75” on the main control panel side of the unit is rec-
ommended to facilitate possible fan shaft, coil, electric heat
and gas furnace removal. A clearance of 48” is recommended
on all other sides of the unit to facilitate possible compressor
removal, to allow service access and to insure proper venti-
lation and condenser airflow. The unit must not be installed
beneath any obstruction. The unit should be installed re-
mote from all building exhausts to inhibit ingestion of exhaust
air into the unit fresh air intake.
INSULATED
PANELS
ROOF CURB INSTALLATION
ROOF CURB POST-INSTALLATION
CHECKS
After installation, check the top of the curb, duct connection
frame and duct flanges to make sure gasket has been ap-
plied properly. Gasket should be firmly applied to the top of
the curb perimeter, duct flanges and any exposed duct con-
nection frame. If gasket is loose, re-apply using strong
weather resistant adhesive.
P
ROTRUSION
Inspect curb to ensure that none of the utility services (elec-
tric) routed through the curb protrude above the curb.
I
F
PROTRUSIONS
EXIST
,
DO
NOT
ATTEMPT
TO
SET
UNIT
ON
CURB
.
I
NFORMATION
SHOWN
.
CAUTION
ROOF TOP DUCT CONNECTIONS
Install all duct connections on the unit before placing the unit
on rooftop.
H
ORIZONTAL
D
ISCHARGE
For horizontal discharge, remove the supply and return duct
covers and place them over the vertical discharge return and
supply openings. Install with insulation facing up, using the
longer screws provided in the literature package.