Switching on and off, Adjusting the cutting depth, Adjusting the blade angle – Global Machinery Company REDEYE LS250TS2000W User Manual
Page 14: Using the rip fence
14
Note.
You can adjust the laser line so that it is just to
one side of the cut or so that it is centred on the cut,
depending on how you wish to use the laser line when
cutting.
10. Tighten the 2 laser adjustment screws (11).
11. Check the adjustment and readjust if necessary
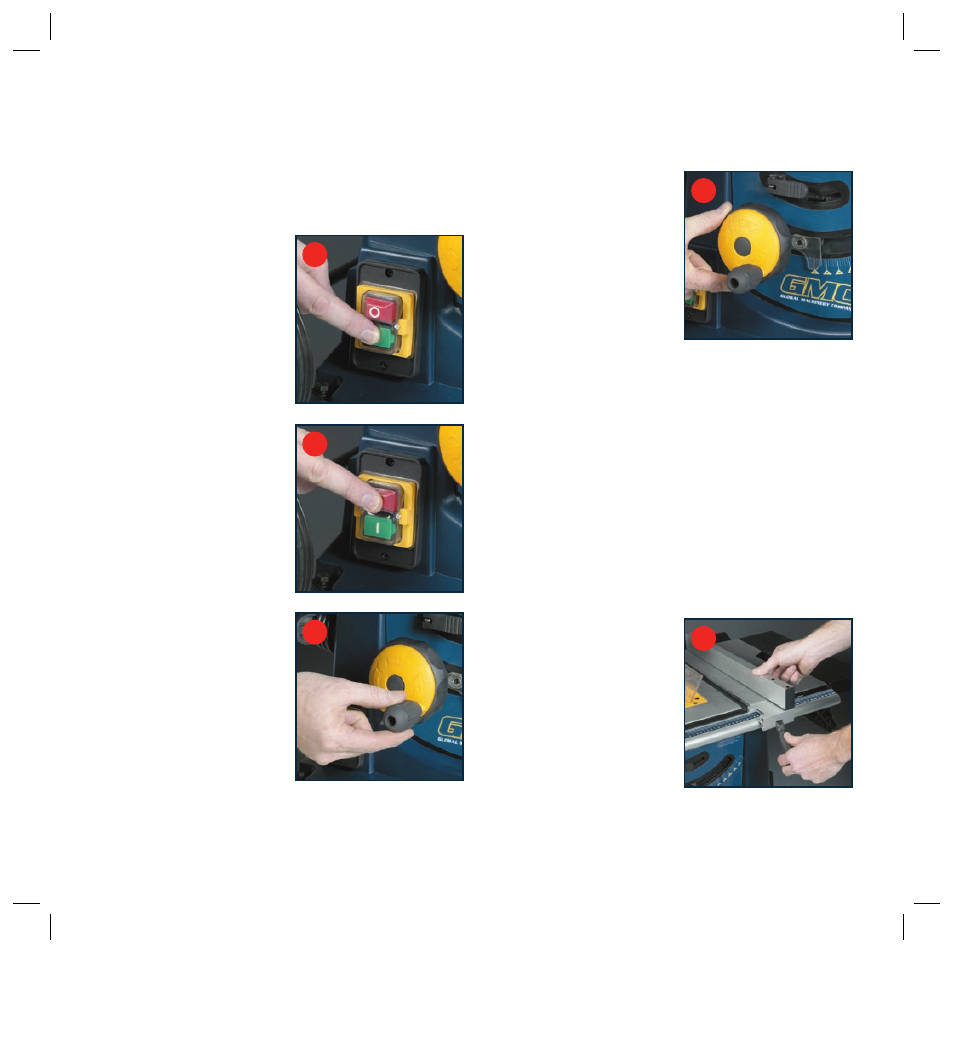
Switching on and off
1. To turn the table saw
ON, press the green push
button (fig e).
2. To turn the table saw OFF,
press the red push button
(fig f).
Note. This saw is fitted with
an electromagnetic switch.
In the case where the power
supply is turned off to the
saw, the saw must be turned
on by pressing the green ON
button after the power supply
is reconnected.
Adjusting the cutting
depth
Warning
. The blade lock (24)
must be loosened before the
blade height is adjusted, and
re-tightened once the desired
setting is reached.
1. Set the saw blade to the
required cutting depth by
turning the blade height
handle (20) (fig g).
2. Turning the wheel anti-
clockwise increases the
cutting depth.
3. Turning the wheel clockwise decreases
the cutting depth.
Adjusting the blade angle
1. Loosen the blade lock
(24) and turn the blade
angle wheel (21) until the
pointer (22) points to the
required angle on the scale
(23) (fig h).
2. The blade angle pointer
(22) can be adjusted when
checking the accuracy of
the blade angle. With the
power disconnected, place a set square against the
saw blade. Adjust the blade angle wheel until the
blade is parallel to the set square then move the
pointer to 0° on the blade angle scale.
Using the rip fence
1. Use the rip fence when making longitudinal cuts.
2. The rip fence (14) can be fitted to either side of the
table top (1). In order to use the rip fence scale
(16), move the fence up to the blade and take a
measurement on the scale. Now move the fence
away from the blade. The difference in measurements
will be equivalent to the width of cut. It is necessary
to make a trial cut,
measure the workpiece
and re-adjust the rip
fence in order to establish
accurate datum levels.
3. Lift the rip fence locking
lever (15) and slide the
fence to the required
position (fig i).
4. Retighten the fence
locking lever (15).
g
h
i
f
e