Frymaster 14 Series User Manual
Page 32
4-14
14. With
cook ID displayed on the left and a blinking P
13 displayed on the right, use the instructions in step eight
to enter a four-letter name for the menu item. This is the
shortened name that alternates with the cook time during a
cook cycle.
15. With the correct cook ID abbreviation entered, press the
u
(INFO) button (see Figure 40) to save the cook ID
abbreviation and scroll to the
DUTY TIME 1 (Shake
Time), which is used to set the time in the cook cycle the
product should be shaken.
Figure 40
16. With
duty time1 displayed on the left and :00
displayed on the right use the number keys to enter the
time in minutes and seconds for the first duty to be
preformed (ex. shake the product after 30 seconds is
entered as 30) (see Figure 41).
Figure 41
17. With
duty time 1 (shake time) entered, press the
u
(INFO) button (see Figure 42) to save duty time one and
scroll to
DUTY TIME 2. If a product called for a
second duty to be preformed after a certain amount of
time, it can be entered here. Use the instructions above
to enter duty time two, otherwise press the
u (INFO)
button (see Figure 42) to save the duty time and scroll to
QUAL TMR (Quality Timer) which is used to set the
hold time before the food is to be discarded.
18. With
qual tmr displayed on the left and :00
displayed on the right use the number keys to enter the
time in minutes and seconds for the product hold time
(ex. 7:00 minutes as 700) (see Figure 43).
19. With
QUAL TMR (hold time) entered, press the
u
(INFO) button (see Figure 44) to save the quality time
and scroll to
AIF DISABLE
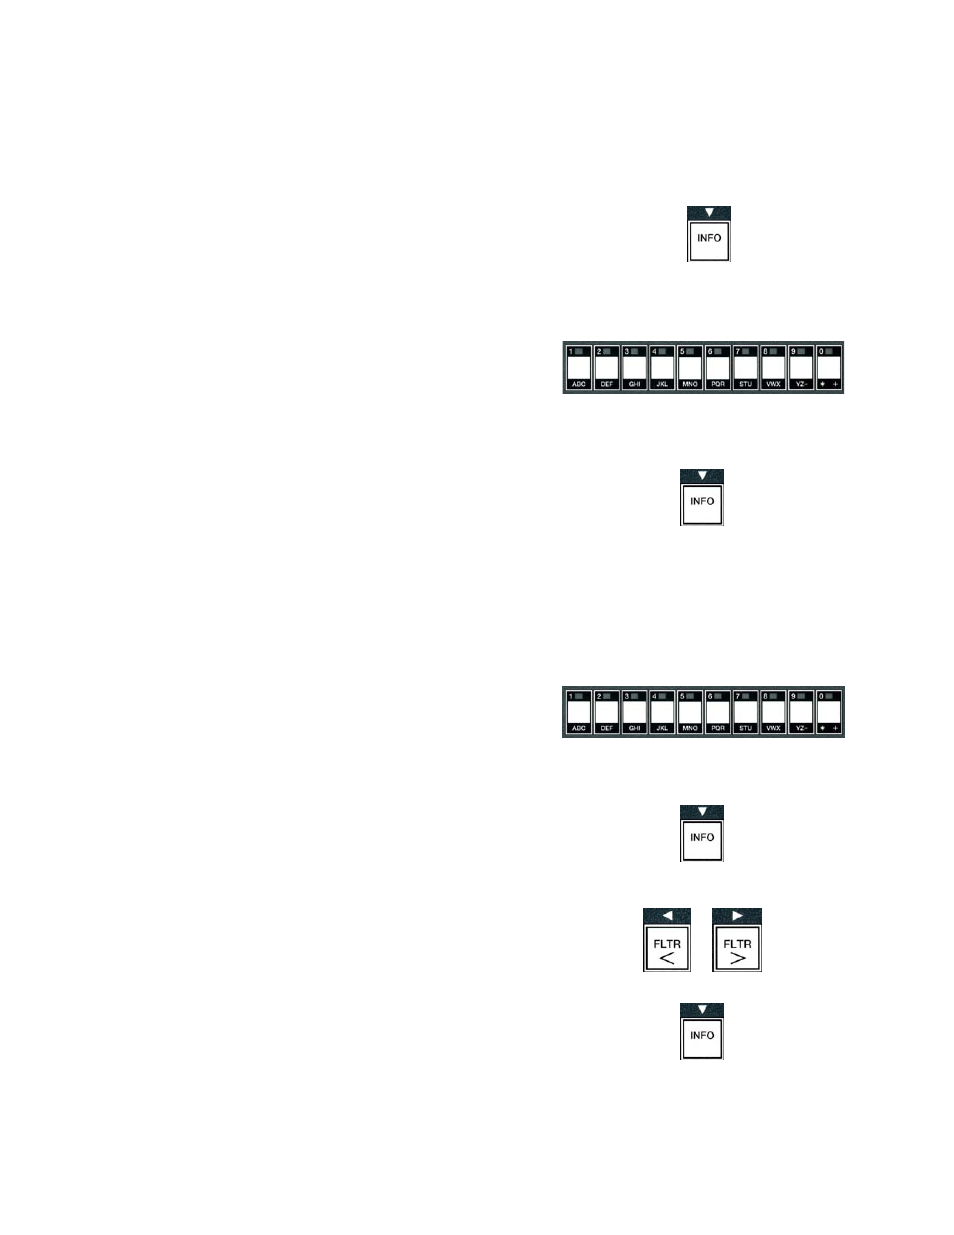
20. With
AIF Disable displayed on the left and yes
displayed on the right use the
3
and
4
buttons (see
Figure 45) to toggle between
YES and NO. This
feature, if set to yes, disables the AIF (auto intermittent
filtration) for the programmed product. This is used to
prevent co-mingling of product-specific oils.
21. If the
AIF DISABLE selection is set to NO press the
u (INFO) button (see Figure 46) to save the AIF disable
selection and scroll to the
ASSIGN BTN selection.
Figure 42
Figure 43
Figure 44
Figure 45
Figure 46