Frymaster 14 Series User Manual
Page 31
4-13
5. Press the
(1 yes) button to select the product to modify (see Figure
31).
Figure 31
The computer displays
modify alternating with yes no.
6. Press the
(1 yes) button to modify selection (see Figure 32) or the
(2
no)
button to return to
PRODUCT SELECTION.
Figure 32
If yes is chosen, left display shows
NAME and the right display shows product name (ex. PROD
13. The right display will show a blinking cursor alternating with a blinking letter under the first
character.
7. Using the number keys, enter the first letter of the new
product (see Figure 33). When entering letters using
the number keys use the following logic (ex. – To enter
B, press the ABC key twice).
Figure 33
The full product name is limited to eight characters including spaces (ex. FR FRIES).
8. Press the
4
button to advance the cursor to the next display space (see
Figure 34). Use the #0 key to insert a space. The
3
button can be used
to move the cursor back.
Figure 34
For example, to enter “
WINGS”, press the #8 key two times until W appears in the display. Then
use the
4
button to advance the cursor to the next display space. Press the #3 key until
I appears.
Continue on until
WINGS is spelled out on the display.
9. Once the name appears as it is to be saved, press the
u
button (see
Figure 35) to save the name and scroll to
cook time.
Figure 35
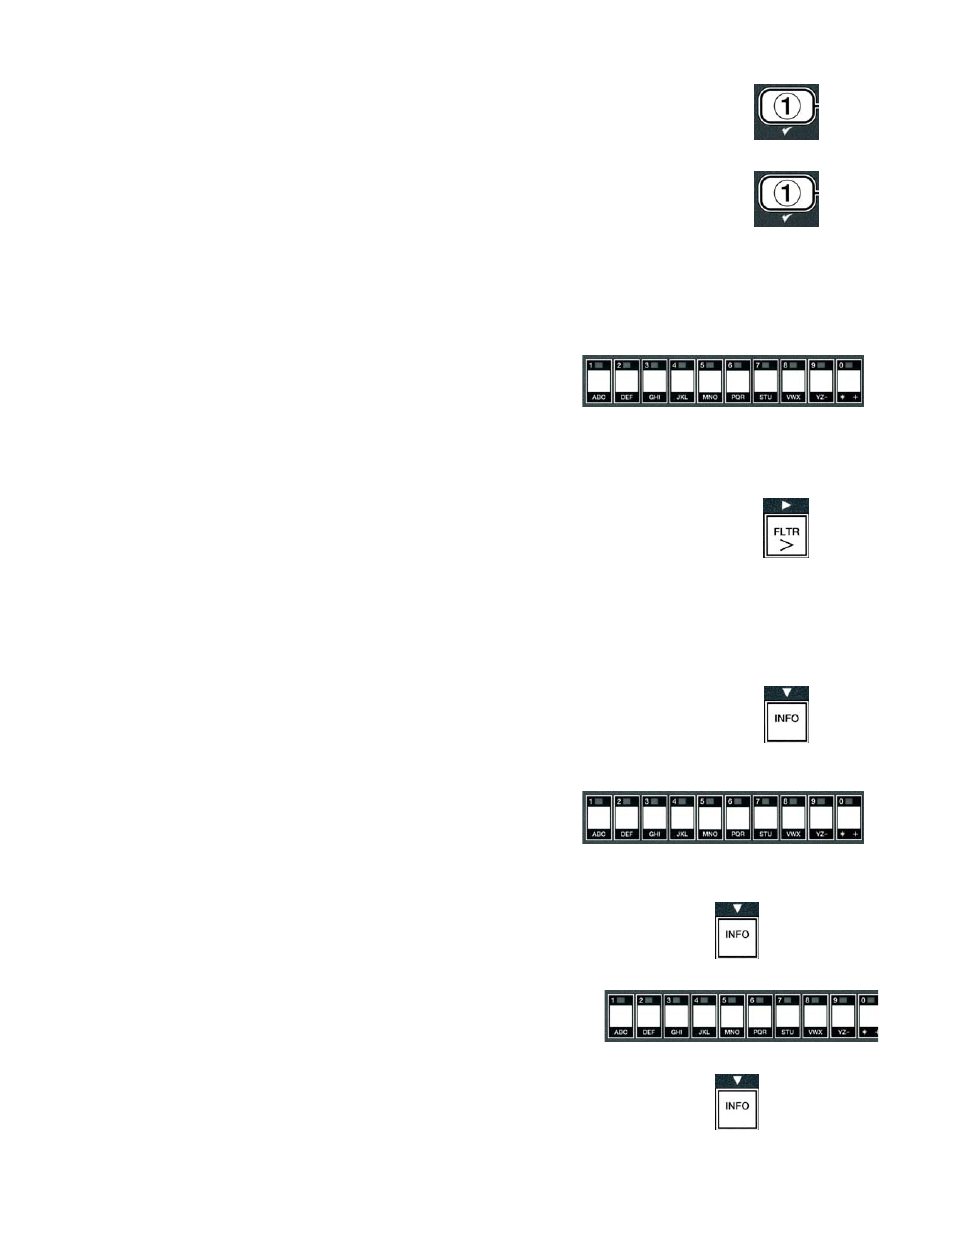
10. With
cook time displayed on the left and :00
displayed on the right use the number keys (see Figure
36) to enter the product cook time in minutes and
seconds (ex. 3:10 as 310).
Figure 36
11. With the cook time entered, press the
u (INFO) button
(see Figure 37) to save the
cook time and scroll to
TEMP (cook temperature).
12. With
temp displayed on the left and 32F displayed on
the right use the number keys (see Figure 38) to enter the
cook temperature for the product (ex. 335° as 335).
13. With the cook temperature entered, press the
u (INFO)
button (see Figure 39) to save the cook temperature value
and scroll to the
COOK ID.
Figure 37
Figure 38
Figure 39