5 selecting a range, 3 zoom display 1.4.4 user 1 and 2 displays, 1 range adjustment – Furuno FCV295 User Manual
Page 13: 4 user 1 and 2 displays, 2 manual range adjust- ment
1. OPERATION
5
1.4.4
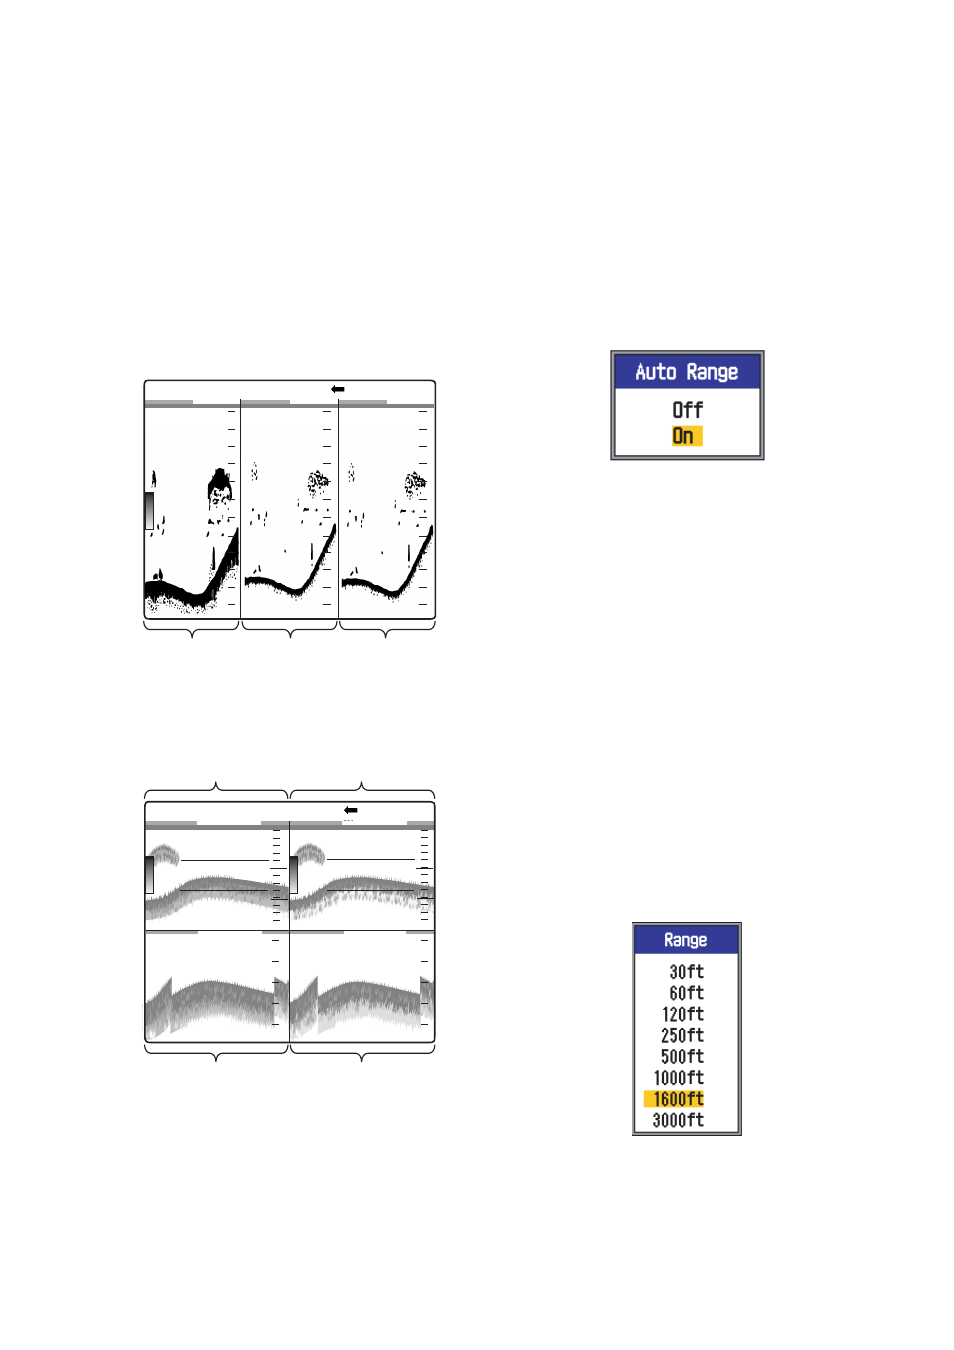
User 1 and 2 displays
The user displays let you customize displays
as desired. Two displays are provided and the
default settings for each are
User 1 display: This screen is split vertically
three ways and is comprised of LF, HF and
MIX displays.
User 2 display: This display is split in fourths
and is comprised of LF, HF, LF bottom zoom
and HF bottom zoom displays.
Default user 1 display
Default user 2 display
1.5
Selecting a Range
1.5.1
Range adjustment
Range can be adjusted manually or automat-
ically. Automatic adjustment is useful when
you are preoccupied with other tasks and do
not have the time to adjust the display.
1. Push the [RANGE] control to open the
auto range setting window.
2. Use S or T to select Off or On as appro-
priate.
On: The range is automatically changed
to keep the bottom echo on the lower half
of the screen. Range shift and gain are in-
operative when Auto Range is active.
"AUTO_R" is shown at the top left corner
on the screen.
Off: The range may be chosen from eight
basic ranges. MANUAL is shown at the
top left corner on the screen.
3. Press the [ENTER] key to save the set-
ting.
1.5.2
Manual range adjust-
ment
1. Rotate the [RANGE] control to show the
range selection window.
Note: If you are using the dual frequency
display, and are set up for independent
range adjustment, long push the
[RANGE] control to switch between low
Mix display
Low
frequency
display
49.6
m
MANUAL L:2.0/H:2.0 LF/HF/MIX
1/2
0.0
20
40
60
0
20
40
60
0
20
40
60
0
High
frequency
display
High freq. display
Low freq. display
MANUAL L:2.0/H:2.0 BZ-LF/BZ-HF
Bottom zoom
display (LF)
Bottom zoom
display (HF)
1/2
0.0
30.2
ft
20
40
60
0
20
40
60
0
40
30
40
30