Freecom hard drive secure – Freecom Technologies Hard Drive Secure User Manual
Page 22
EN
4
Freecom Hard Drive Secure
4.. Using your Freecom Hard Drive Secure with RFID protection
After configuring the two keycards, every time you connect your Freecom Hard Drive
Secure to your Mac or switch it on, the left LED will be red indicating the drive is locked
and can not be used. The drive will not appear on your Mac desktop. In order to use the
drive, you need to identify yourself by holding one of the keycards in front of the sensor
on the drive. The left LED will change from red to green, indicating that your Hard Drive
Secure is now unlocked and can be used. You will now see the Hard Drive Secure on
your Mac desktop.
IMPORTANT: If the Keycard security is enabled, the only way to access the
Hard Drive Secure is by presenting the keycard to the drive. Without the
keycard there is no possibility to access the data on the drive.
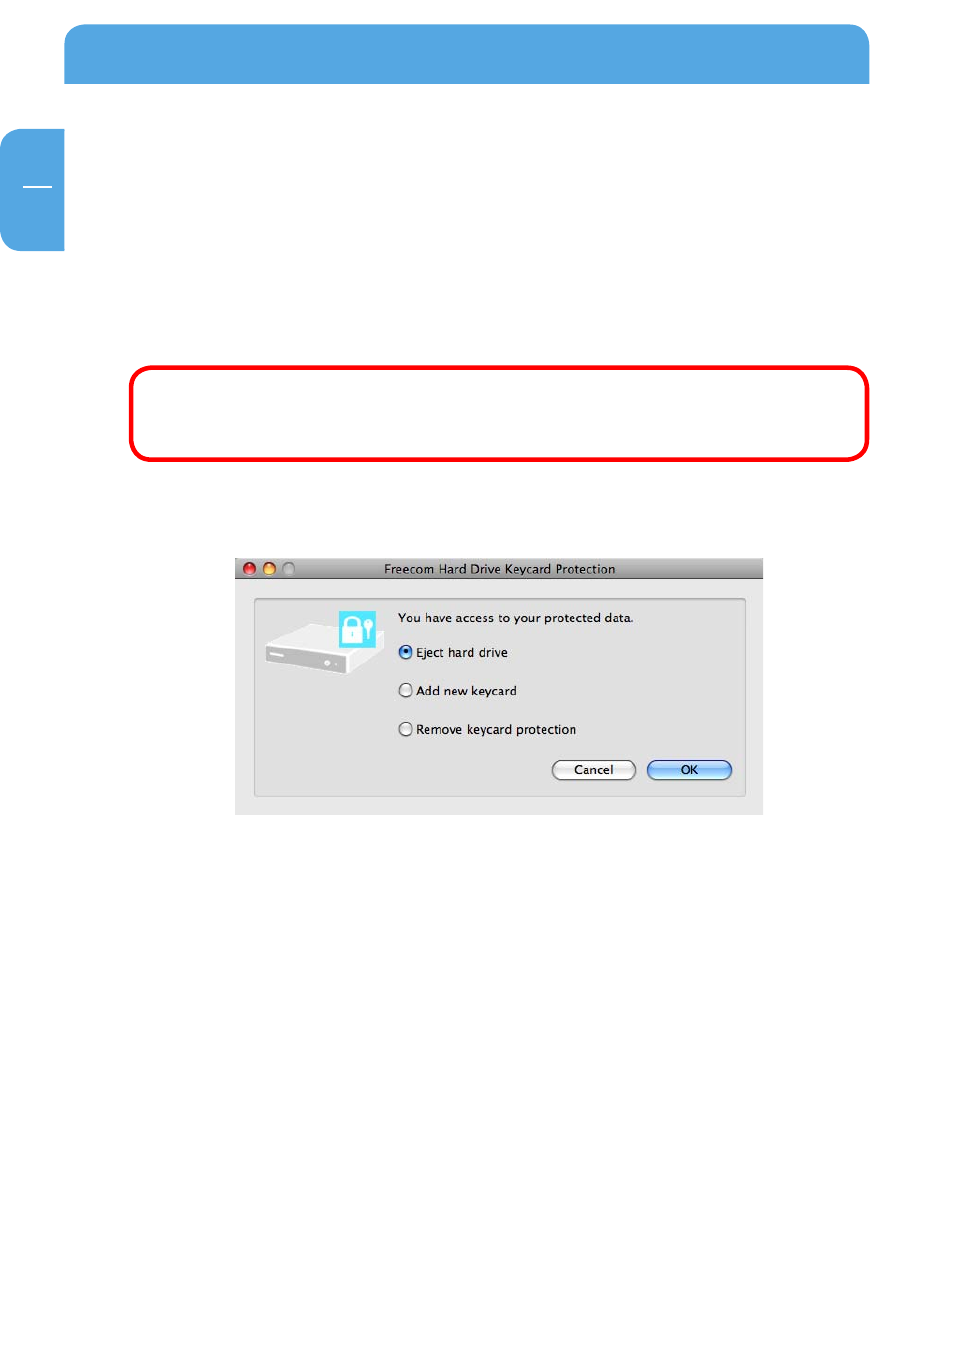
After having configured the two keycards, when running the Freecom RFID protection
tool it will give you three options to choose from:
1. Eject hard drive
This option allows you to safely remove the hard drive from your system. After using the drive
we recommend you use this option to remove the drive, in order to prevent data loss.
After use, we recommend you switch off the power of the Hard Drive Secure. Next time
you switch the drive back on, you will need to present one of the keycards to the drive
in order to use the drive.