Operating framing nailer – Harbor Freight Tools 98733 User Manual
Page 10
SKU 98733
For technical questions, please call 1-800-444-3353.
Page 10
to perform in the manner explained
in bold, have it repaired by a quali-
fied service technician.
WARNING! Disconnect the Nailer
from the air compressor when-
ever loading or servicing.
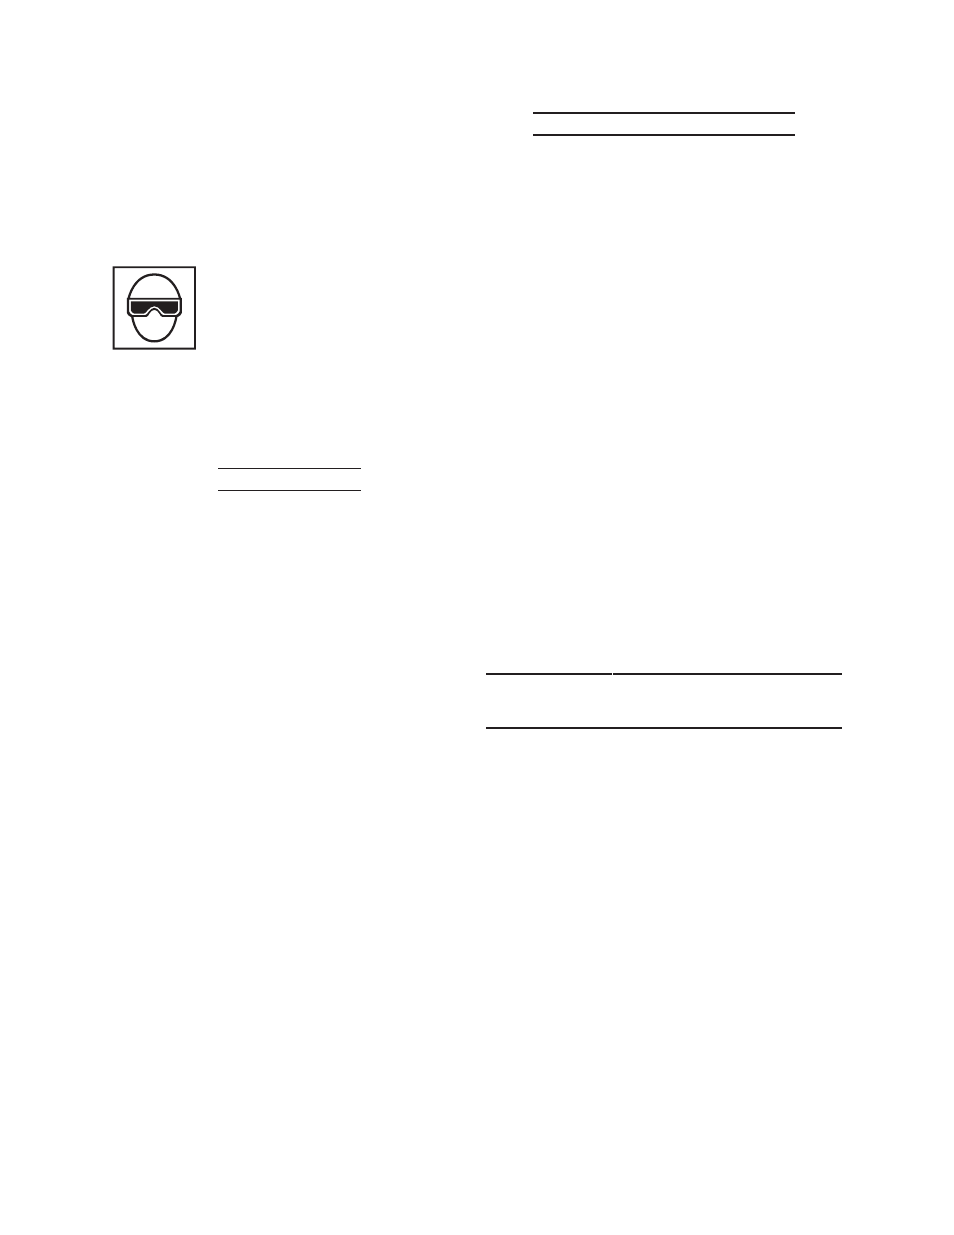
ALWAYS WEAR ANSI-
APPROVED IMPACT SAFETY
GOGGLES WHEN
RELOADING OR DOING ANY
OTHER MAINTENANCE ON
NAILER. Other people in work
area must also wear ANSI-
approved safety goggles.
Loading Nails
1.
CAUTION! Make sure Nailer is not
attached to the air hose when loading
tool.
2.
CAUTION! Keep Nailer pointed away
from yourself and others at all times.
Always disconnect Nailer from its air
supply before loading nails. Do not
load Nails with Trigger (56) or Safety
(37) depressed.
3. Pull the Feeder Shoe (69) all the way
to the rear, until it latches.
4. Orient a strip of nails with the tips
down and drop the strip of nails into
Magazine (71).
5. Slide the strip of 60 10-Gauge nails
forward in Magazine.
6. Unlatch the Feeder Shoe (69) and
allow Feeder Shoe to slide forward
against strip of nails.
Operating Framing Nailer
1. Adjust the Exhaust Cover (4) to direct
as desired.
2. To fire a nail, place the nose of the
Nailer on the workpiece. The Nailer
should not fire if the Safety (37) is
not depressed.
Once the Safety
is depressed, gently and briefly
squeeze the Trigger once to fire
one nail. Release the Trigger.
Do not fire repeatedly; nails could
bounce off on one another, damaging
the workpiece or causing personal
injury.
3.
Move the Nailer to another spot
on the workpiece and squeeze the
Trigger again to fire another nail.
Continue firing nails as needed.
4. When the work is completed, discon-
nect the air supply and remove the
nails from the nailer.
OPERATING FRAMING
NAILER
1. The depth to which a nail is driven is
controlled by the Safety (37).
2. To adjust the depth of drive, loosen
the Screw (39). Slide Safety up or
down to the desired position. Then,
re-tighten the Screw.
Note: Sliding
Safety upward increases the depth
of drive. Sliding Safety downward
decreases the depth of drive.
3. Test fire a nail, and check its depth of
drive. Repeat Step #2 as necessary
to achieve the desired depth of drive.