Ilt the, Elease the, Ads from the – Wood’s Powr-Grip MTA8LP6FAIR User Manual
Page 13
Rev 2.0/12-12
11
MTA8LP6FAIR: #35096
Controlling the Lifter and Load
When the vacuum gauge shows that the lifter is ready, use the hoisting equipment to raise the
lifter and load as needed to clear any obstacles in their path. Use the control handles to keep the
lifter and load in the desired orientation while they are suspended from the crane. Once
sufficient clearance is established, the load can be tilted as desired (see T
O
T
ILT THE
L
OAD
to
follow).
In Case of Power Failure
WARNING: Stay clear of any suspended load in the event of a power failure.
Although the lifter is designed to support the load for at least 5 minutes without power, this
depends on many factors, including the condition of the load and the lifter’s vacuum system (see
INTENDED USE: L
OAD
C
HARACTERISTICS
and MAINTENANCE: V
ACUUM
P
AD
M
AINTENANCE
,
V
ACUUM
T
EST
). If a power failure occurs, keep all personnel clear of the suspended load until it can safely
be placed on the ground or a stable support. Correct any deficiency before resuming normal
operation of the lifter.
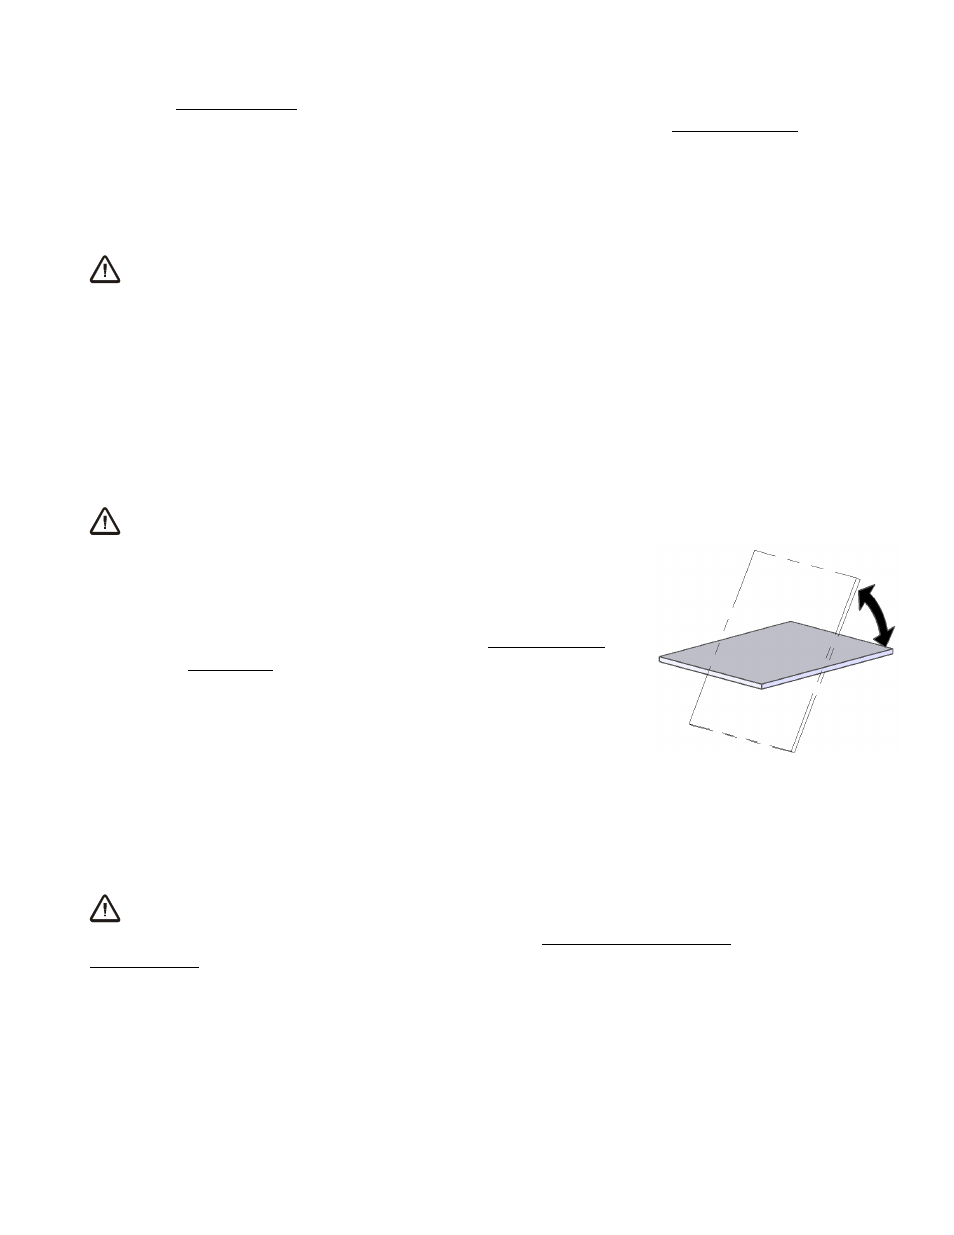
T
O
T
ILT THE
L
OAD
WARNING: Always keep hands and fingers away from bars of tilt linkage.
Remember that the load requires more vertical space when tilted
to the upright position, as well as more horizontal space when
tilted to the flat position. Make sure there is sufficient clearance
for the load to tilt without contacting the operator or any nearby
objects. Lift upward or press downward on the control handle
(located on pad frame) to tilt the load as desired. Since the tilt
linkage is designed to automatically maintain the load in either
the upright or the flat position, the load force on the control
handle changes direction during the tilt. If load size permits,
maintain control with the handle throughout the tilt. For loads
with overhang, it may be necessary to release the control handle as the load approaches the flat
position. If so, keep the load under control using hand cups or other appropriate means.
T
O
R
ELEASE THE
P
ADS FROM THE
L
OAD
WARNING: Load must be fully supported before releasing vacuum pads.
When the load is at rest and fully supported, push the vacuum release button to force air into the
vacuum pads, quickly breaking the vacuum seal. After the pads have disengaged completely
from the load, move the lifter away. Continue to hold the release button until the pads are well
away from the load; otherwise, the lifter would reattach itself to the load.