Seal around the backsplash and screws, Rinse riser and anchor installation, Plumbing connections – Power Soak 34453 PS-225/275 Installation Manual User Manual
Page 23
19
Seal around the Backsplash and Screws
Examine the installation to see that the wall and backsplash are clean and
free of dust and oils. Seal the top and sides of the backsplash to the wall
using the clear NSF approved sealant provided with the Power Soak. Seal
around the screw heads to be sure they do not allow water to leak behind
the backsplash. Wipe off all excess sealant leaving a smooth, clean and
sanitary bead of sealant on all the edges.
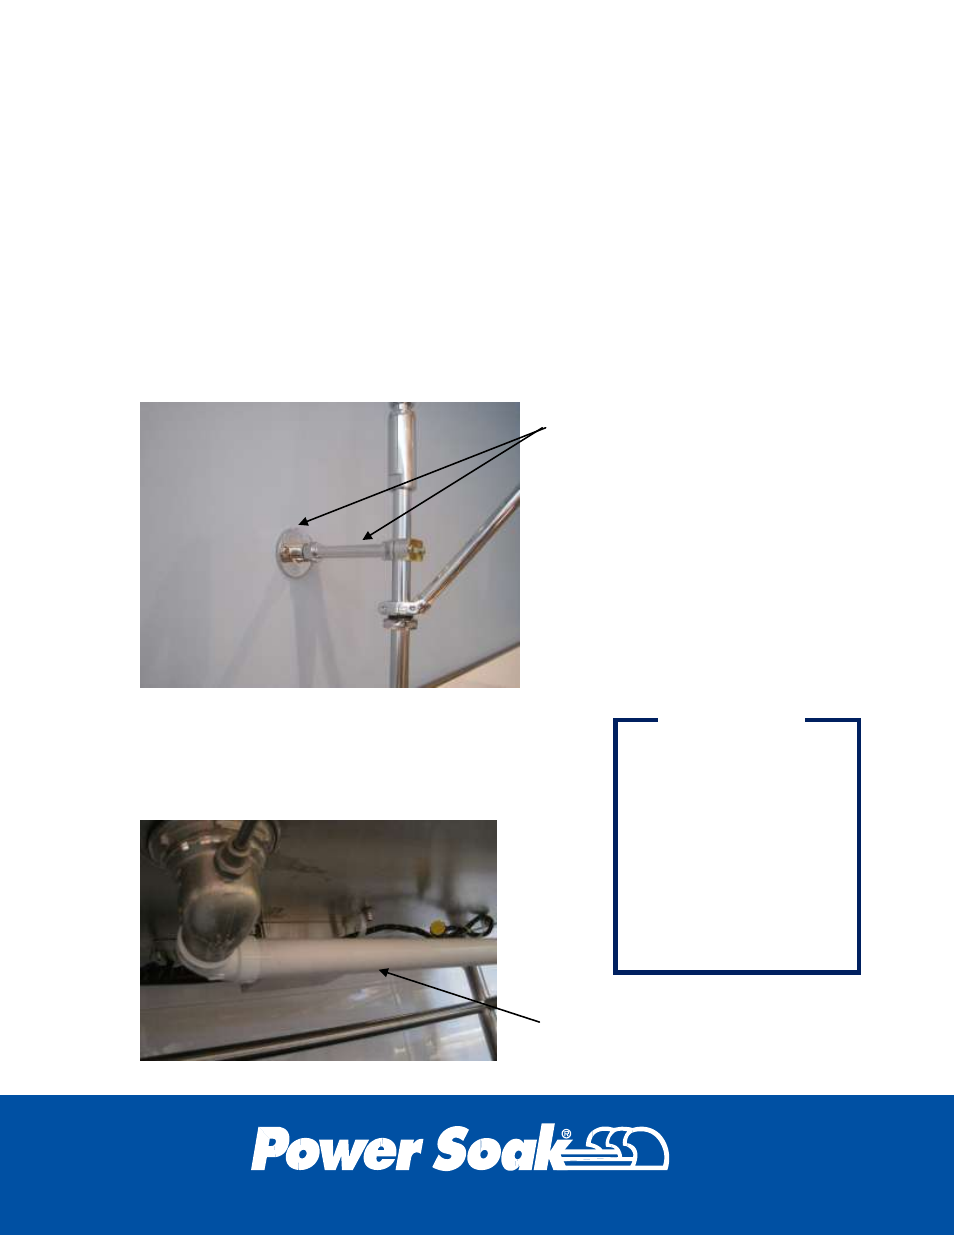
Rinse Riser and Anchor Installation
Follow the faucet manufacturer’s directions on the assembly of the faucet
and riser. Anchor the riser supports to the wall using the flange plate
provided with the riser assembly. It may be necessary to cut the support
rods to a shorter length in order to fit between the wall and the riser.
Plumbing Connections
Connect the water supply lines to the faucet.
Connect all the drains to the waste drain connection.
Cut the riser support rods
to the proper length and
attach flanges to the wall
INSTALLER IS
RESPONSIBLE FOR
ALL PLUMBING TO
CONFORM TO LOCAL
BUILDING CODES
WHICH MAY BE
DIFFERENT FROM
ILLUSTRATIONS
SHOWN IN THIS
MANUAL
IMPORTANT
Complete the connection
of all drains and water
supply lines