Setup operation flow – Proface APL3000B - Node Box PC User Manual
Page 6
5
Setup operation flow
The following shows the flow of the setup operation from the purchase of the PS-A to the completion of the required
setup before use.
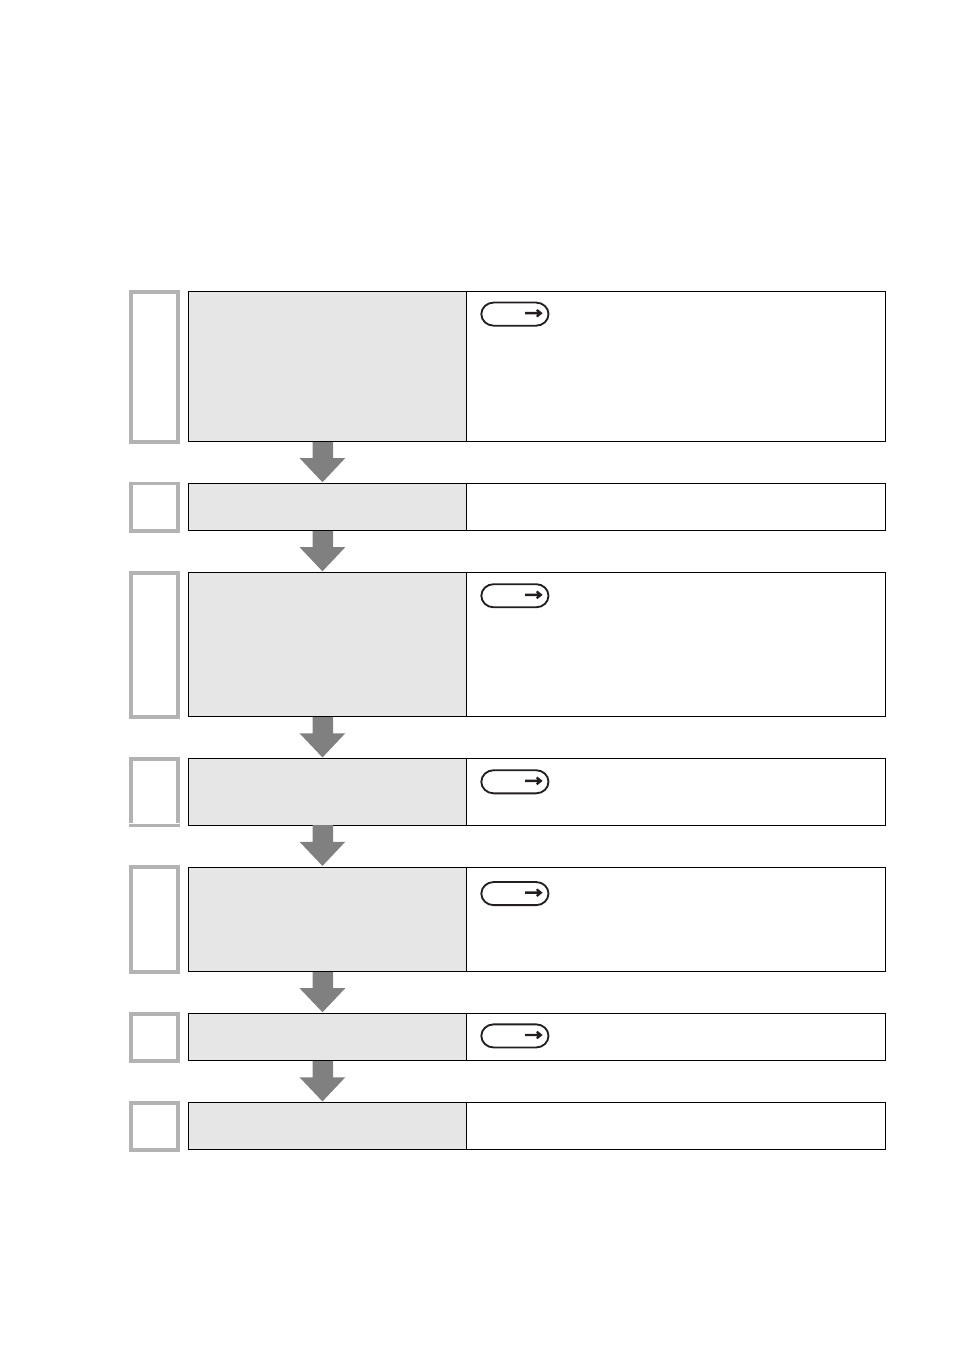
PS-A with no pre-installed OS
1
Connect peripheral devices and wiring
to the PS-A unit. When using the PS-
3710A, connect a USB or PS/2 key-
board. When using the PS-3711A, con-
nect a commercial USB CD/DVD-
ROM drive and a USB or PS/2 key-
board.
PS-3710A/3711A Hardware Manual
3 Hardware Installation
2
Turn the PS-A’s power ON.
Set the power switch on the rear of the PS-A to ON.
3
Configure the BIOS settings. When the
PS-3710A is used, in the [Boot] menu,
move [IDE2] to the top of the list. When
the PS-3711A is used, in the [Boot]
menu, move [USB CD-ROM] to the top
of the list. Save the setting and exit the
BIOS setting screen.
2.1 System Setup Screen Operation (page2-2)
2.2.5 Boot (page2-28)
2.2.6 Exit (page2-30)
4
Insert the OS setup media into the drive.
Install the OS by following the mes-
sages on the screen.
Refer to the manual of the OS to be installed.
5
Download and install the necessary
drivers and utility software.
Visit the download page at the Otasuke Pro!
site.
URL http://www.pro-face.com/otasuke/
1.4 PS-A Dedicated Software (page1-12)
6
Install the necessary application pro-
grams.
Refer to the manual of the software to be
installed.
7
Install the PS-A unit.
SEE
SEE
SEE
SEE
SEE