Operating instructions, Power up and boot sequence, Power down – Lectrosonics SMV User Manual
Page 8: Standby mode, Lcd backlight settings, Selecting the compatibility mode, And output power, Selecting the compatibility mode and output power, Audio screen
SMV Series
LECTROSONICS, INC.
8
Operating Instructions
Power Up and Boot Sequence
1) Ensure that good batteries are installed in the unit.
2) Simultaneously press and hold the AUDIO and
FREQ buttons until the Power On Boot Sequence is
initiated.
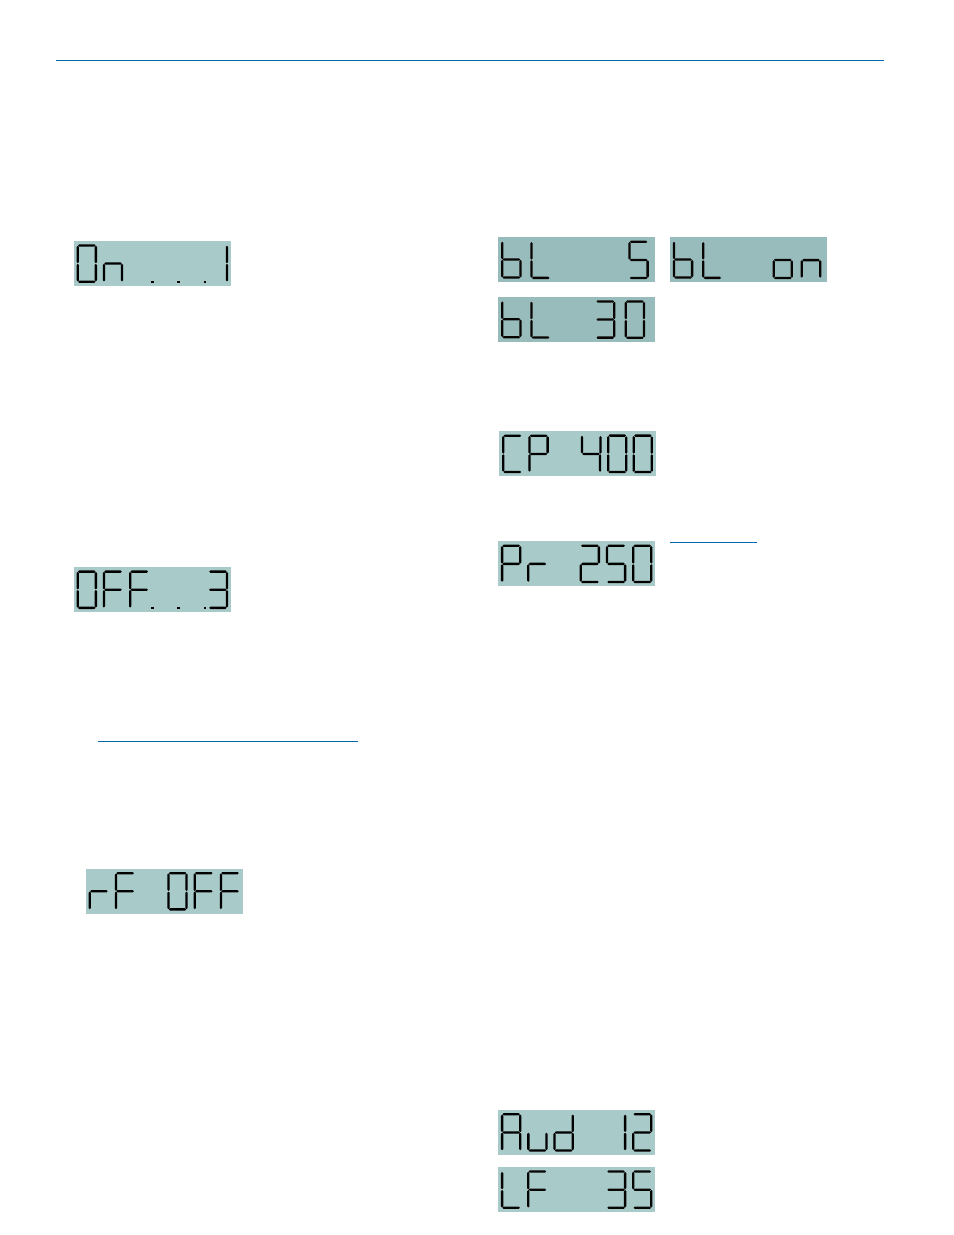
The count will progress from 1
through 3 and the unit will then
power up with the RF output
turned on. During this turn on sequence, the
modulation and power LEDs all glow red, then
green, and then revert to normal operation.
The LCD displays a bootup sequence which con-
sists of four screens:
Company Name:
Lectro
Frequency Block (bXX) and
Firmware Version (rX.X):
b21r1.1 (typ)
Power Level
Pr 250
Compatibility Mode:
CP 400 (typ)
Audio:
Aud 12 (typ)
Power Down
Initial Power Off
Timer Screen
1) Simultaneously press and hold the AUDIO and
FREQ buttons while observing that the word “Off”
appears in the LCD along with a counter.
2) When the counter reaches “0”, the unit turns off.
Note: If the AUDIO and FREQ buttons are
released before the LCD goes blank at the end of
the countdown, the unit will not turn off. Instead, it
will stay energized and the display will return to the
previous screen.
Standby Mode
Standby Screen
With the power turned off,
pressing the AUDIO and
FREQ buttons briefly places
the unit in Standby Mode. In
this mode the RF output is
turned off so all setup adjustments can be made
without interfering with other systems operating in the
same location. The screen displays “rf OFF” to remind
the user that the unit is not transmitting.
While the unit is in the standby mode, access the setup
screens using the AUDIO and FREQ buttons and make
adjustments using the Up and Down arrows.
LCD Backlight Settings
The LCD backlight can be set to turn off after either 5
minutes or 30 seconds or stay on continuously. Hold
the UP arrow in while powering up the unit to enter
the setup screen. Press the AUDIO button repeatedly
to step through the setup items to reach the backlight
settings screen. Use the UP or DOWN arrow button to
select the desired setting.
Selecting the Compatibility Mode
and Output Power
Power setting
400 Series or Digital
Hybrid Wireless™
compatibility mode
The transmitter will work with
200 Series, 100 Series and
IFB analog receivers, plus
some other analog wireless
receivers in addition to the
native digital hybrid mode.
Note: The unit
automatically enters the
Standby Mode when
selecting compatibility.
1) Set the receiver’s audio controls to minimum.
2) From a power off condition, hold down the Up
arrow, then simultaneously press the AUDIO and
FREQ buttons.
3) Press either AUDIO or FREQ button to select the
compatibility screen and use the Up and Down ar-
rows to select the desired mode.
The following Compatibility Modes are available:
• 100 Series mode:
CP 100
• 200 Series mode:
CP 200
• Mode 3
(contact the factory for details):
CP 3
• 400 Series mode:
CP 400
• IFB Series mode:
CP IFB
• Mode 6
(contact the factory for details):
CP 6
4) Press either AUDIO or FREQ button to select the
power setting screen and use the Up and Down
down arrows to select the desired level of power.
5) Simultaneously press the AUDIO and FREQ but-
tons to exit this mode and turn off the power.`
Audio Screen
The Audio screen is used to
adjust input gain from 0 to +44