GIGABYTE GA-MA790XT-UD4P User Manual
Page 84
GA-MA790XT-UD4P Motherboard
- 84 -
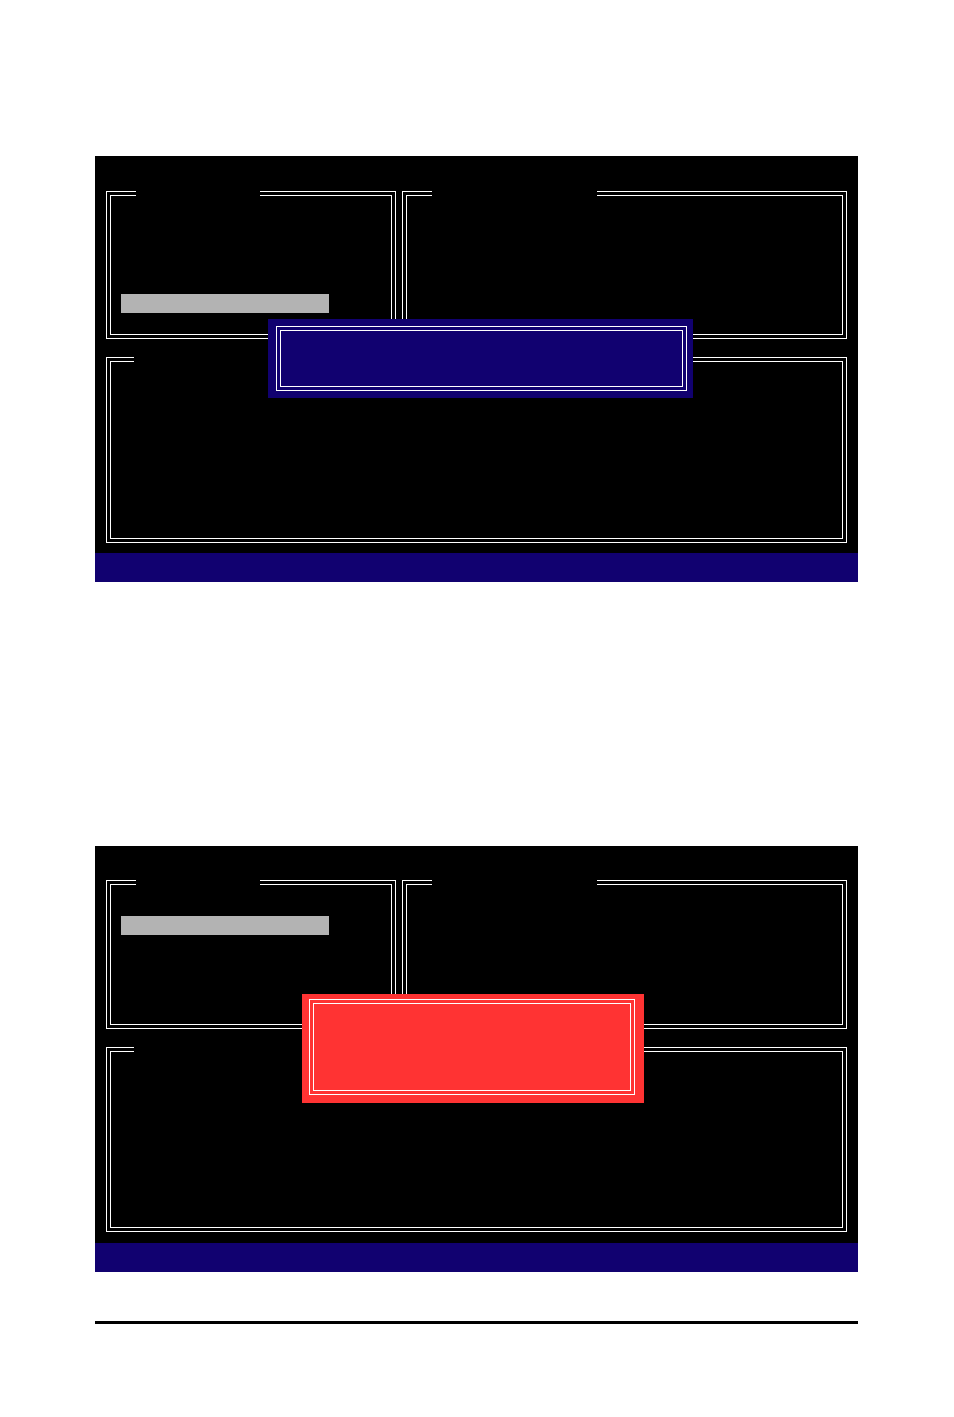
7. Save and Exit Setup: After configuring the RAID array, select the Save And Exit Setup item in the
main screen to save your settings before exiting the RAID BIOS utility, then press
Figure 10
Figure 11
Delete the RAID Array:
To delete the array, select Delete RAID Disk Drive in the main menu and press
bar will move to the RAID Disk Drive List block. Press the space bar on the array to be deleted; a
small triangle will appear to mark the selected array. Press
selection (Figure 11), press
Now, you may proceed to create the SATA RAID/AHCI driver diskette and the installation of the SATA
RAID/AHCI driver and operating system.
GIGABYTE Technology Corp. PCIE-to-SATAII/IDE RAID Controller BIOS v1.06.78
[ Main Menu ]
Create RAID Disk Drive
Delete RAID Disk Drive
Revert HDD to Non-RAID
Solve Mirror Conflict
Rebuild Mirror Drive
Save And Exit Setup
Exit Without Saving
[ RAID Disk Drive List ]
[]-Select RAID
[SPACE]-Mark Delete
[DEL]-Confirm
[ESC]-Abort
[ Hard Disk Drive List ]
Model Name
Capacity
Type/Status
HDD0: ST3120026AS
120 GB
RAID Inside
HDD1: ST3120026AS
120 GB
RAID Inside
Model Name
RAID Level
Capacity
Status
Members(HDDx)
RDD0: GRAID
0-Stripe
240 GB
Normal
01
ALL DATA ON THE RAID WILL LOST!!
ARE YOU SURE TO DELETE (Y/N)? N
GIGABYTE Technology Corp. PCIE-to-SATAII/IDE RAID Controller BIOS v1.06.78
[ Main Menu ]
Create RAID Disk Drive
Delete RAID Disk Drive
Revert HDD to Non-RAID
Solve Mirror Conflict
Rebuild Mirror Drive
Save And Exit Setup
Exit Without Saving
[ RAID Disk Drive List ]
[ Hard Disk Drive List ]
Model Name
Capacity Type/Status
HDD0: ST3120026AS
120 GB
RAID Inside
HDD1: ST3120026AS
120 GB
RAID Inside
Model Name
RAID Level
Capacity
Status
Members(HDDx)
RDD0: GRAID
0-Stripe
240 GB
Normal
01
Save to Disk & Exit (Y/N)?Y
[TAB]-Switch Window
[]-Select ITEM
[ENTER]-Action
[ESC]-Exit