Go-Video R6530 User Manual
Go-Video DVD-players
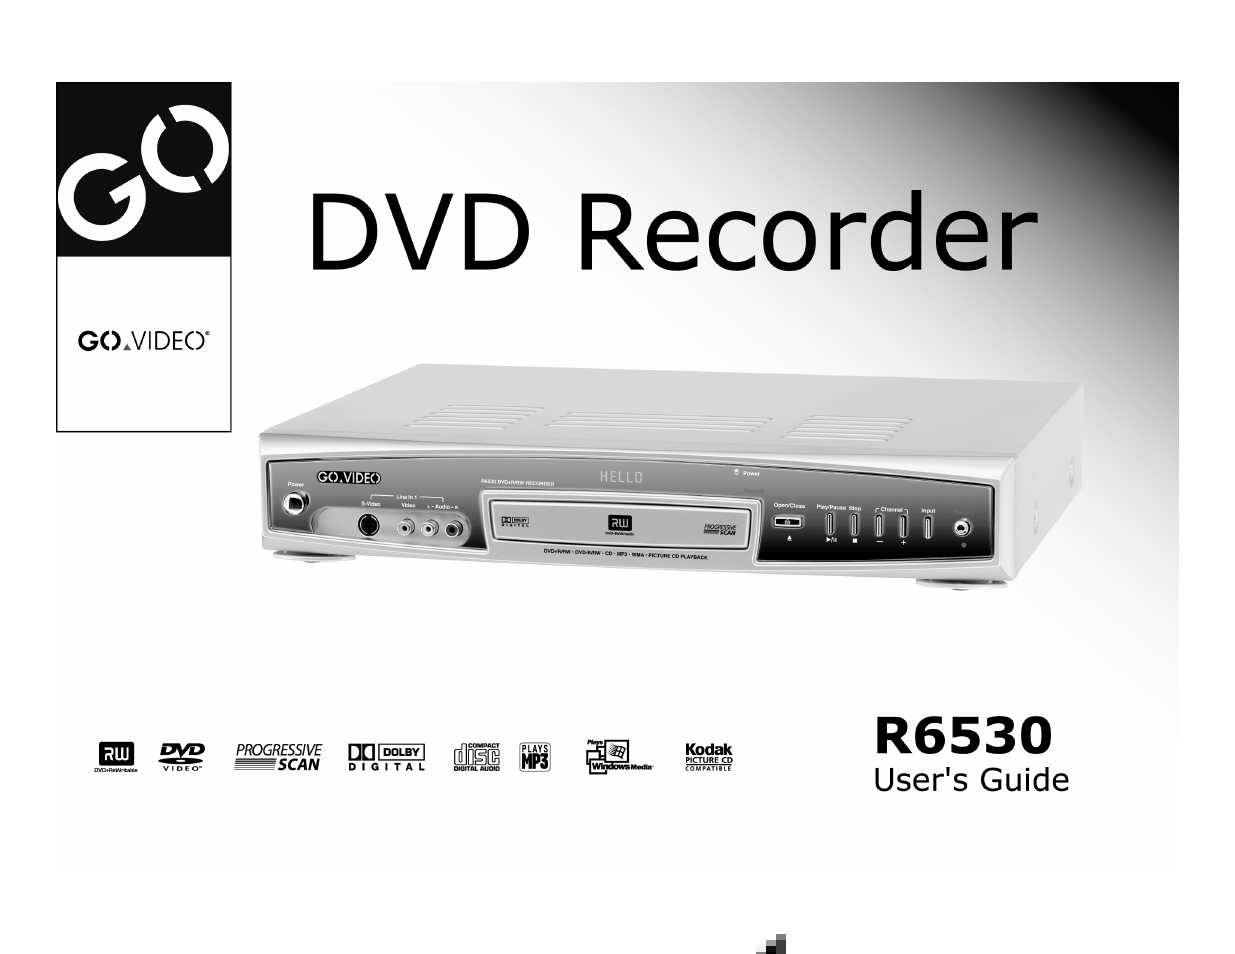
Table of contents
Document Outline
- Table of Contents
- Chapter 1 Getting Started
- :: Welcome
- :: DVD Recording FAQ
- :: Player Overview
- Front Panel Controls
- Front Panel Display
- 1 MP3 Indicator
- 2 Repeat Status Indicator
- 3 Channel Indicator
- 4 Dolby Digital Indicator
- 5 Timer Recording Indicator
- 6 Record Indicator
- 7 Angle Indicator
- 8 Random Indicator
- 9 Program Indicator
- 10 DVD Indicator
- 11 Progressive Scan Indicator
- 12 Play Indicator
- 13 Pause Indicator
- 14 Counter Display
- 15 AM/PM Indicator
- 16 L/R Indicator
- 17 Weekday Indicator
- Remote Control
- 1 On/Standby
- 2 Prog. Scan
- 3 Setup
- 4 Quality
- 5 Record
- 6 Input
- 7 Play /Enter
- 8 Arrow buttons
- 9 Return
- 10 Next
- 11 Prev
- 12 Zoom
- 13 Display
- 14 Disc Menu
- 15 0-9
- 16 Program
- 17 Audio
- 18 Subtitle
- 19 Open/Close
- 20 Channel +/-
- 21 Edit
- 22 Skip
- 23 Disc/Live
- 24 Stop
- 25 Rev
- 26 Fwd
- 27 Pause/Step
- 28 Slow
- 29 Title
- 30 Mute
- 31 Volume +/-
- 32 Go To
- 33 Clear
- 34 Repeat (A-B)
- 35 Repeat (1/ALL)
- 36 Angle
- Rear Panel
- Chapter 2 Basic Setup
- Chapter 3 DVD Recording
- :: Basic Recording
- Recording a TV Program
- 1 Press Open/Close on the remote control or front panel to open the disc tray.
- 2 Insert a DVD+R or DVD+RW into the disc tray with the label side facing up.
- 3 Press Open/Close again to close the disc tray.
- 4 Press Disc/Live to switch to Live mode.
- 5 Press Input on the remote control until the channel input is selected.
- 6 Select the desired channel using the Channel +/- or 0-9 buttons.
- 7 Press Quality to set the record quality to the desired level:
- 8 Press Record to start recording.
- 9 Options during recording:
- 10 When recording is complete, press Stop .
- 1 Press Open/Close on the remote control or front panel to open the disc tray.
- Recording from an External Device
- 1 Press Open/Close on the remote control or front panel to open the disc tray.
- 2 Insert a DVD+R or DVD+RW into the disc tray with the label side facing up.
- 3 Press Open/Close again to close the disc tray.
- 4 Press Disc/Live to switch to Live mode.
- 5 Press Input on the remote control to select the desired input:
- 6 Press Quality to set the record quality to the desired level:
- 7 Press Record to start recording.
- 8 Options during recording:
- 9 When recording is complete, press Stop .
- 1 Press Open/Close on the remote control or front panel to open the disc tray.
- Recording a TV Program
- :: Editing during DVD Playback
- :: Editing from the Disc Menu
- :: Timer Recording
- 1 Press Open/Close on the remote control or front panel to open the disc tray.
- 2 Insert a DVD+R or DVD+RW into the disc tray.
- 3 The unit will take a few moments to read the disc and then switch to Disc mode automatically.
- 4 The disc menu for the DVD+R or DVD+RW will appear.
- 5 Press Setup on the remote control.
- 6 Use the / buttons to select Timer Recording, and then press Play /Enter.
- 7 Use the / buttons to select any available event number (1-8) and press Play /Enter.
- 8 Set event details:
- Set Date of Recording
- Set Start Time
- Set Length of Recording
- Set Input Source
- Set Record Quality
- Enable Timer Recording
- 1 Press Open/Close on the remote control or front panel to open the disc tray.
- :: Basic Recording
- Chapter 4 DVD Playback
- :: Basic Disc Playback
- :: CD Playback
- 1 Press Open/Close on the remote control or front panel to open the disc drawer.
- 2 Place the CD in the drawer with the label side facing up and playback side facing down.
- 3 Press Open/Close again to close the disc drawer.
- 4 The CD Track List menu appears and the first Track on the CD begins playing.
- 5 Use the / buttons to select any individual Track, and press Play /Enter.
- 6 Other options during CD playback:
- 7 To create a custom playlist, stop playback and press Program.
- 1 Press Open/Close on the remote control or front panel to open the disc drawer.
- :: MP3 Playback
- 1 Press Open/Close on the remote control or front panel to open the disc drawer.
- 2 Place the MP3 CD in the drawer with the label side facing up and playback side facing down.
- 3 Press Open/Close again to close the disc drawer.
- 4 The MP3 Track List menu appears and the first Track on the MP3 CD begins playing.
- 5 Use the / buttons to select any individual Track, and press Play /Enter.
- 6 To browse to the next or previous page use the / buttons.
- 7 Other options during MP3 playback:
- 8 To create a custom playlist, stop playback and press Program.
- 1 Press Open/Close on the remote control or front panel to open the disc drawer.
- :: Photo CD Playback
- 1 Insert a Photo CD into the DVD disc tray.
- 2 A slideshow will begin automatically starting with the first image on the disc.
- 3 To browse images manually:
- 4 To manipulate on-screen images:
- 5 To stop the slideshow and view thumbnails of each picture (9 per screen), press Stop once.
- 6 To exit thumbnail view and see directory of all pictures on the disc, press Stop again.
- 7 To create a custom slideshow from the directory view, press Program.
- 1 Insert a Photo CD into the DVD disc tray.
- :: Special Disc Features
- Chapter 5 Advanced Settings
- Chapter 6 Help
- :: Customer Service Information
- :: Troubleshooting
- :: Warranty
- :: Safety
- Important Safety Instructions
- 1 Read Instructions
- 2 Retain Instructions
- 3 Heed Warnings
- 4 Follow Instructions
- 5 Cleaning
- 6 Attachments
- 7 Water and Moisture
- 8 Accessories
- 9 Ventilation
- 10 Power Sources
- 11 Grounding or Polarization
- 12 Power–Cord Protection
- 13 Protective Attachment Plug
- 14 Outdoor Antenna Grounding
- 15 Lightning
- 16 Power Lines
- 17 Overloading
- 18 Object and Liquid Entry
- 19 Servicing
- 20 Damage Requiring Service
- 21 Replacement Parts
- 22 Safety Check
- 23 Wall or Ceiling Mounting
- 24 Heat
- Safety/Regulatory Information
- Notes about Discs
- Recommended Media
- Important Safety Instructions