Harbor Freight Tools 32208 User Manual
Page 9
SKU 32208/32206
For technical questions, please call 1-800-444-3353.
PAGE 9
2.
Place the V-Belt (2C) onto the Belt Pulley (23B) and also onto the Motor Pulley
(1C). NOTE: During this step, you may need to push the Motor (11A) upward along
the grooves in the Motor Plate (10A) in order to mount the V-Belt onto the Motor
Pulley. (See Figures G and H.)
3.
To adjust the V-Belt (2C) to its proper tension, pull down on the Motor (11A). While
pulling down on the Motor, push in on the V-Belt with your finger until the V-Belt can
only be pushed in about 1/2”. While holding the Motor in place, wrench tighten the
Motor (11A) to the Motor Plate (10A) with the four Hex Bolts, Washers, Spring
Washers, and Nuts (
IV
). (See Figures G and H.)
4.
NOTE: For additional technical information, see Figure M.
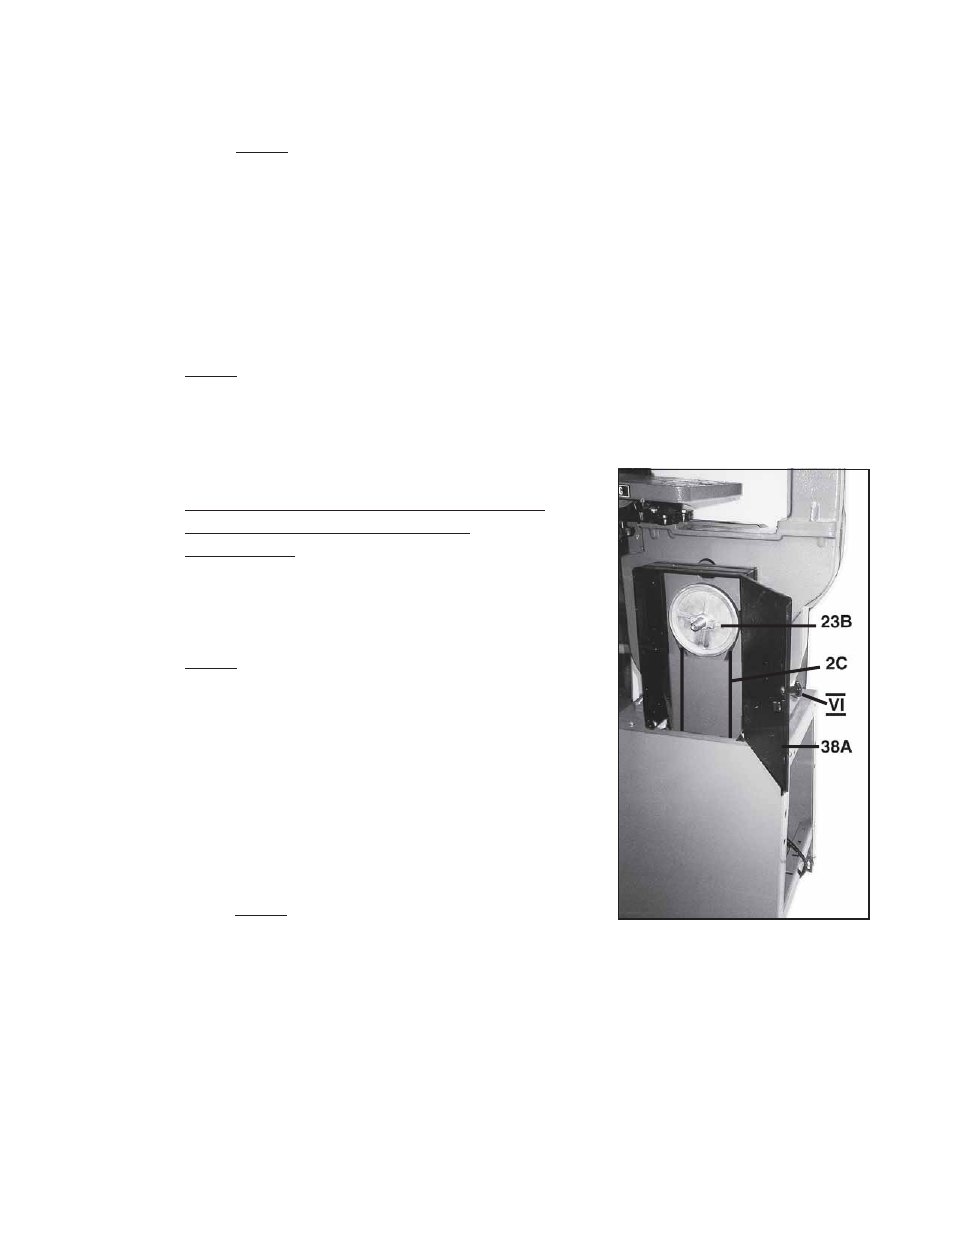
5.
While the Side Panel Door (38A) is still open, attach the Knob (
VI
) to the Door.
Then, close the Side Panel Door securely. (See Figure K and Hardware Dia-
gram.)
To Mount The V-Belt Onto The Belt Pulley
And Motor Pulley - Model 32208/
Four Speed:
1.
Open the Side Panel Door (38A).
(See Figure K.)
2.
NOTE: This particular model Bandsaw features
four different RPM speeds from which to choose.
In order to mount the two V-Belts onto the correct
pulleys to achieve the desired RPM see Figure M.
3.
Place the V-Belt (5D) onto the Belt Pulley
(23B) and also onto the Middle Pulley
(1D). (See Figure L.)
4.
Place the other V-Belt (4D) onto the Middle
Pulley (1D) and also onto the Motor Pulley
(3D). NOTE: During this step, you may need
to push the Motor (11A) upward along the
grooves in the Motor Plate (10A) in order to mount the V-Belt onto the Motor
Pulley. (See Figures G and H.)
5.
To adjust the V-Belt (4D) to its proper tension, pull down on the Motor (11A). While
pulling down on the Motor, push in on the V-Belt with your finger until the V-Belt can
only be pushed in about 1/2”. While holding the Motor in place, wrench tighten the
Motor (11A) to the Motor Plate (10A) with the four Hex Bolts, Washers, Spring
Washers, and Nuts (
IV
). (See Figures G and H.)
FIGURE K
REV 07/01