Harbor Freight Tools 99640 User Manual
Page 11
SKU 99640
For technical questions, please call 1-800-444-3353.
Page 11
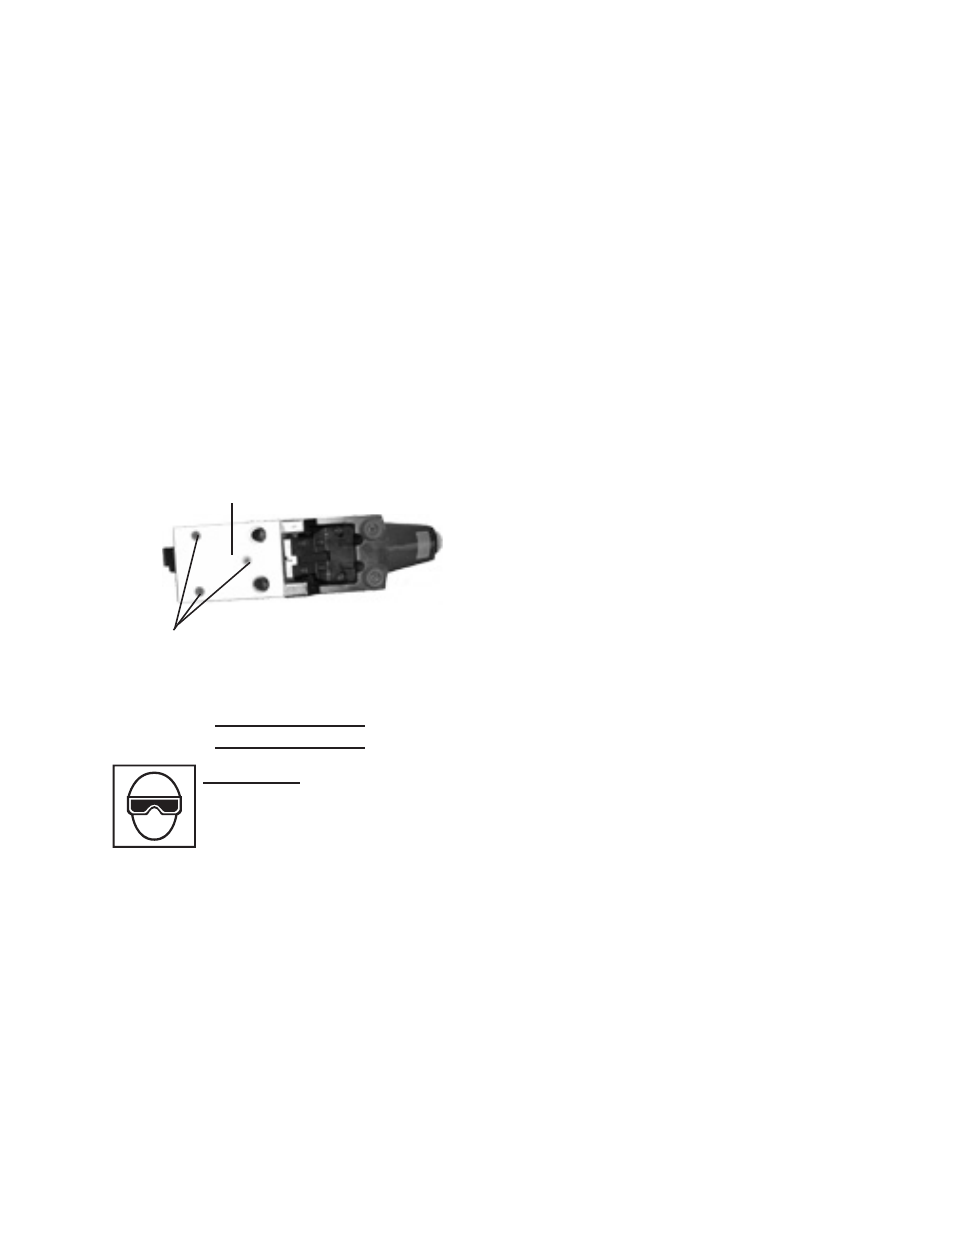
hardwood flooring. To change the
Spacer:
a. Empty the Magazine (52) complete-
ly.
b. Attempt to fire the Floor Nailer into a
piece of scrap wood to ensure that it
is disconnected and is incapable of
firing any nails/staples.
c. Set the tool on its side to expose the
three Screws (37).
d. Remove the three Screws (37).
Then, remove the Spacer.
e. Align the three mounting holes in the
replacement Spacer with the three
threaded mounting holes.
f.
Screws (37)
Spacer (36)
Secure the Spacer to the tool, using
the three Screws (37).
Clearing Jams
WARNING! Anytime any
maintenance or repairs are
done (including clearing
jams), wear ANSI-approved
impact safety goggles and appro-
priate hearing protection. THEN:
1.
Disconnect the Floor Nailer from
its air supply.
2.
Empty the Magazine and Slide
Load Magazine completely.
3.
Try to fire the Nailer into a piece of
scrap wood or flooring to ensure
that it is disconnected and inca-
pable of firing any nails/staples.
4. Occasionally, a cleat nail/staple may
become jammed in the firing mecha-
nism of the Floor Nailer, making the
tool inoperable.
5. To remove a jammed cleat nail/
staple, disconnect the tool from its air
supply, push in the Lock and slide the
Magazine back until it locks in place.
Then, lean the Floor Nailer back.
6. Remove all cleat nails/staples from
the Magazine. Then press the Lock
and slide the Moveable Magazine
forward all the way.
7. Attempt to fire the Floor Nailer into a
piece of scrap wood to ensure it is
disconnected and is incapable of fir-
ing any nails/staples.
8. With the Driver Guide (49) facing
away from you, remove the two Bolts
(42, 43). Then remove the Driver
Guide to expose the jammed cleat
nail/staple.
9. Remove jammed cleat nail/staple.
Replace the Driver Guide and Bolts.
10. Reload the tool with cleat nails/sta-
ples. Then, reconnect the air supply
hose to the tool.
11. Press the Driver Guide against a
piece of scrap wood, and test fire the
Nailer several times while checking
for proper operation. If the tool is
properly firing, you may continue us-
ing the tool. If the tool fails to perform
properly, immediately discontinue use
and have the tool repaired by a quali-
fied service technician.
12. When finished working, disconnect
the air supply. Remove nails/staples.
Discharge any trapped air. Then,
Rev 09i