Turning off dubbed mark from thumbnail (mark off) – Hitachi DZ-HS500SW User Manual
Page 83
En
g
lish
83
SELECTING SCENES RECORDED ON HDD AND DUBBING THEM (SCENE
“SELECT” DUBBING)
You can select desired scenes recorded on HDD and dub only those scenes on DVDs.
1
Press the DUBBING button.
The Dubbing Menu will appear.
You can also display the Dubbing Menu from
the Disc Navigation screen: Press the DISC
NAVIGATION button, press the MENU
button, choose “Scene”, “Dubbing”,
“Execute”, and then press the
button.
2
From the Dubbing Menu screen, choose
“Select” and press the
button.
If no DVD is loaded in this DVD video
camera/recorder, a message will appear:
Press the DISC EJECT button, and then load a
DVD.
3
Place the cursor on a scene to be dubbed, and
then press the
or PHOTO/SELECT
button: The cursor of the selected scene will
change to red (see p. 74), and the scene with
red cursor will be dubbed to a DVD.
If you wish to dub other
scenes, place the cursor
on a scene in the same
way, and press the
or PHOTO/SELECT
button to select it.
To cancel a selected
scene, press the
or PHOTO/SELECT
button again. To cancel all selected scenes,
press
(STOP/EXIT).
If the total capacity size of the selected scenes
exceeds the remaining free space on DVD, the
remaining bar at the top right of screen will
be red, and a message will appear. Select the
scenes again.
If you select a scene whose size exceeds one
DVD, a message that prompts you to divide it
will appear: After dividing the scene, execute
dubbing again.
4
Press the DUBBING button.
The screen for verifying dubbing will appear.
Instead of pressing the DUBBING button, you
can press the MENU button, choose “Edit”,
and then “Enter”: The same screen will appear.
Choosing “YES” will start dubbing.
To cancel dubbing, choose “NO” or press
(STOP/EXIT).
5
When dubbing is finished, check the “Delete
Scene” screen.
Choosing “YES” will delete the dubbed
scenes from the HDD.
To retain the dubbed scenes on the HDD,
choose “NO”.
6
Press the DISC EJECT button to remove the
DVD.
Close the cover of DVD insertion block.
If you do not want to remove the DVD, press
the
(STOP/EXIT) button to end dubbing.
TURNING OFF DUBBED MARK FROM THUMBNAIL (MARK OFF)
If the dubbed mark
makes the thumbnail difficult to see, you can turn off the mark.
1
Press the DISC NAVIGATION button, and
then press the MENU
2
Choose “Scene”,
“Dubbing”, “Mark
Off”, and then press the
button.
The “Cancel Dubbed
Mark” screen will appear.
3
Place the cursor on a scene for which you
want to turn the dubbed mark off, and then
press the PHOTO/SELECT button.
You can also select multiple scenes.
4
If there is no change in the scene for which
you want to turn the mark off, press the
button.
5
Press the
(STOP/EXIT) button to end the
mark-off procedure.
Note
:
• You can use “New” dubbing to dub scenes with the
dubbed mark turned off.
• Pressing the MENU button in step 3 will display the
submenu screen (see “Editing using submenu” on
page 85).
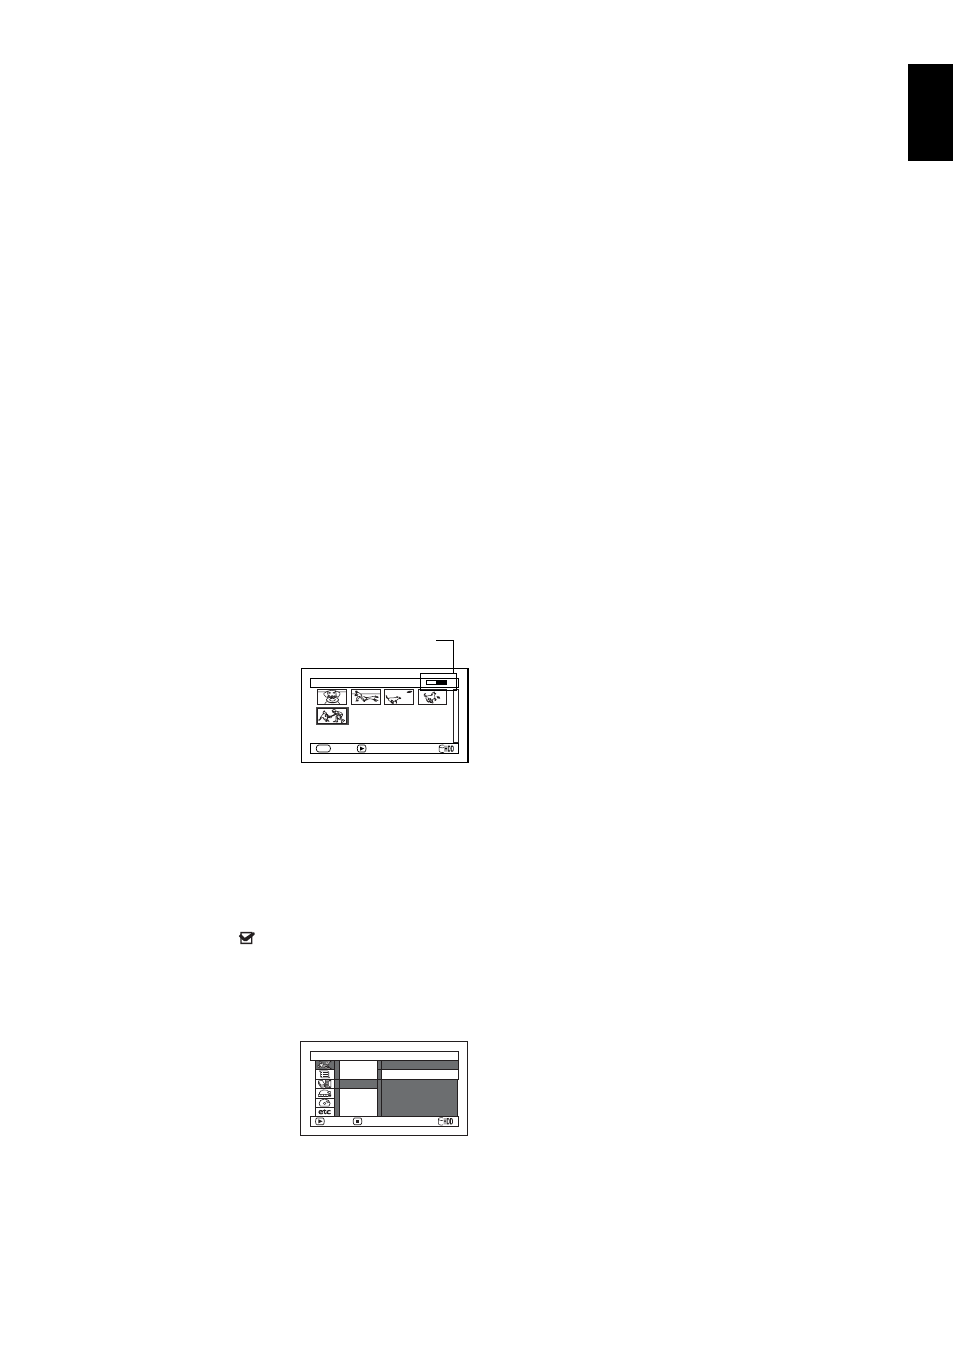
D u b b i n g ( S e l e c t )
ENTER
SELECT
DUB
DVD remaining bar
S c e n e
ENTER
RETURN
E x e c u t e
Ma r k O f f
Dubbing