Setting up motion detection recording – Honeywell HRDP DVR User Manual
Page 46
Setup
______________________________________________________________________________________________
46
Setting Up Motion Detection Recording
To record data only when motion is detected:
1.
Press Setup on the front of the DVR or remote control.
2.
Select Record > Motion/Event Configuration and set MOTION to On.
3.
Set SENS level. [Normal / High / Highest / Low].
4.
Select AREA and press ENTER to set a motion area (global setting;
each channel can be configured individually).
5.
Use the arrow buttons and the numeric buttons 1, 2 and 3 to navigate
the motion area grid. (Selected motion areas are highlighted green on
the grid.)
1 = Set Mode 2 = Clear Mode 3 = Move Mode
a.
Press 3 on the front of the DVR or remote control.
b.
Use the arrow buttons to move the cursor to the desired location on
the screen.
c.
Press 1 on the front of the DVR or remote control.
d.
Use the arrow buttons to highlight the desired motion detection area.
e.
Repeat the steps above to create additional motion detection areas.
6.
When finished selecting motion areas press ENTER on the front of the
DVR or remote control to save changes.
7.
Repeat as necessary for each channel.
8.
When motion area setup is complete select SAVE to save settings and
exit setup.
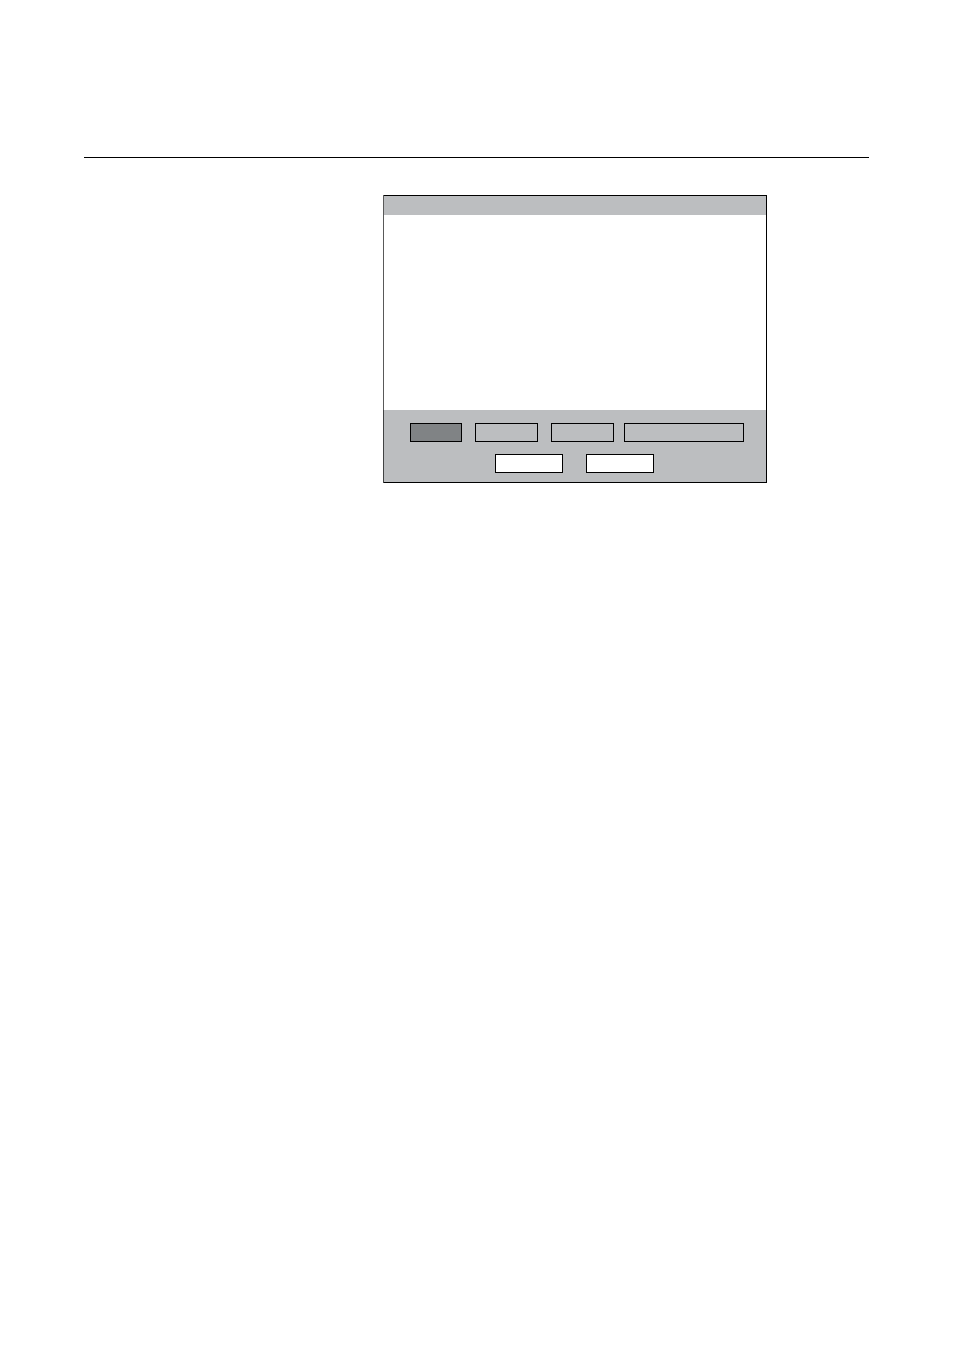
MOTION/EVENT CONFIGUR ATION
INPUT
INPUT
SENSOR
ACTION
ALARM MONITOR
SAVE
CANCEL
CHT
1
2
3
4
5
6
7
8
9CH-16CH
MOTION
ON
ON
ON
ON
ON
ON
ON
ON
SENS
NORMAL
NORMAL
NORMAL
NORMAL
NORMAL
NORMAL
NORMAL
NORMAL
V-LOSS
OFF
OFF
OFF
OFF
OFF
OFF
OFF
OFF
AREA
`
`
`
`
`
`
`
`
SENSOR
OFF
OFF
OFF
OFF
OFF
OFF
OFF
OFF