Maintenance and servicing – Harbor Freight Tools Electric Hammer 68147 User Manual
Page 10
Page 10
For technical questions, please call 1‑800‑444‑3353.
SKU 68147
against the work surface. Hold the
Electric Hammer with just enough
pressure so that the tool’s own
weight supplies the needed force.
6.
NOTE: If the Electric Hammer has not
been used for a long period of time
or is being used in low temperatures,
keep the tool running for about five
minutes to allow for warm-up.
7. When work is complete, release
the Switch Trigger. The Switch
Lock will automatically activate.
8. To prevent accidents, turn off the
tool and disconnect its power supply
after use. Clean, then store the tool
indoors out of children’s reach.
MAINTENANCE AND
SERVICING
Procedures not specifically
explained in this manual
must be performed only by
a qualified technician.
NOTE: The Breaker Hammer will cease
operation once Carbon Brushes are
worn. Check Brushes every 100
hours and replace when necessary.
TO PREVENT
SERIOUS INJURY
FROM ACCIDENTAL
OPERATION: Release Trigger and
unplug the tool from its electrical
outlet before performing any
inspection, maintenance, or
cleaning procedures.
TO PREVENT SERIOUS INJURY
FROM TOOL FAILURE:
Do not use damaged equipment.
If abnormal noise or vibration
occurs, have the problem
corrected before further use.
Maintenance, and Lubrication
1.
BEFORE EACH USE, inspect the
general condition of the tool. Check
for loose hardware, misalignment
or binding of moving parts, cracked
or broken parts, damaged electrical
wiring, and any other condition that
may affect its safe operation.
2.
AFTER USE, wipe external surfaces
of the tool with clean cloth.
3. Wipe tool with lint-free cloth after each
use to remove all dust and grit from tool.
NOTE: The Breaker Hammer has an
air‑tight construction, allowing
for six months of continuous
usage before any additional
lubrication is needed.
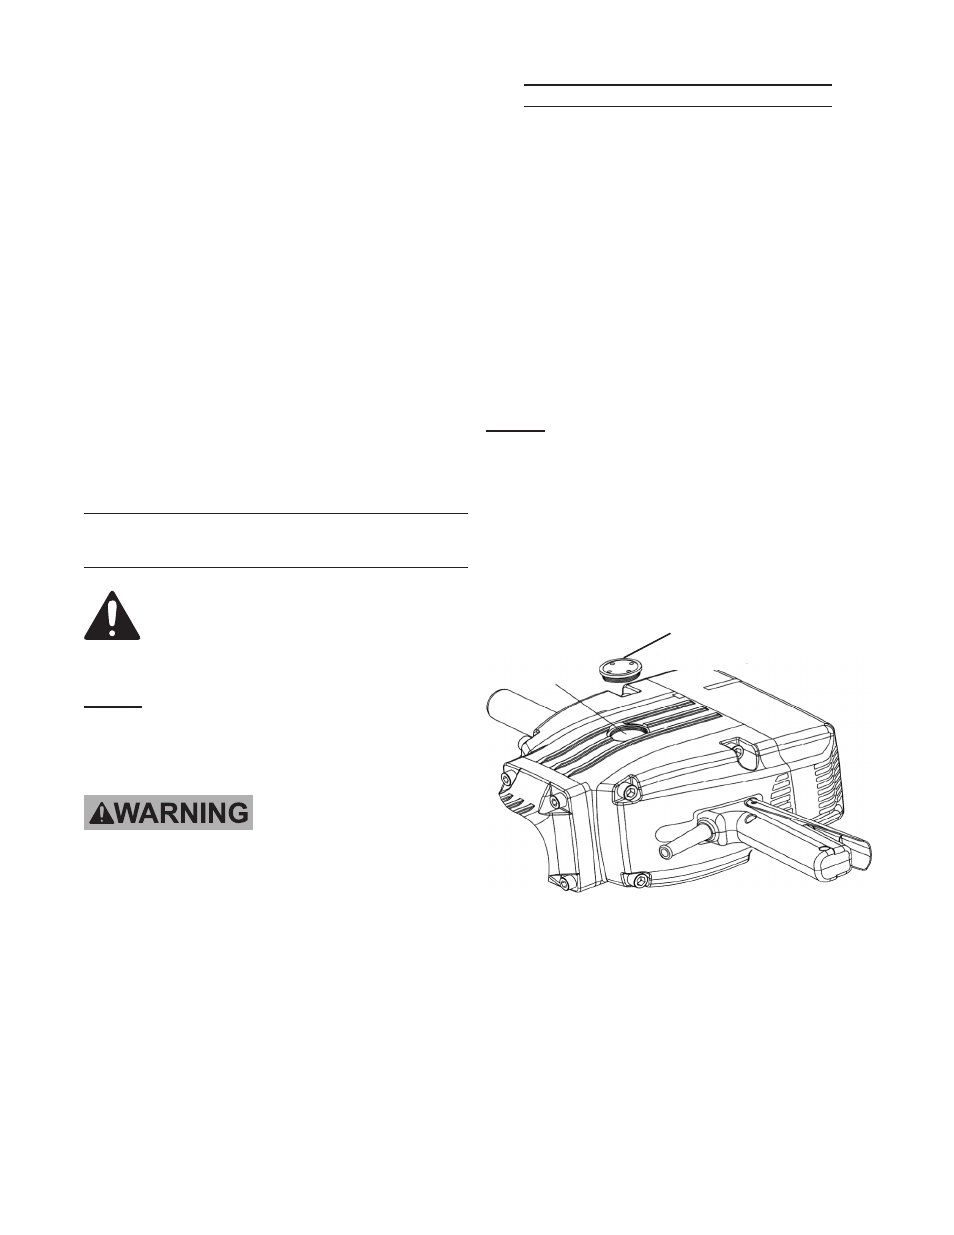
4. To add lubricating grease, the Tank
Cover Wrench (105) to open the Tank
Cover (48). See Figure 4, below.
Oil Tank Cover (48)
Oil Hole
Figure 4
5. Fill with 2 ounces of lubricating grease.
6. Replace Tank Cover,
tightening until secure.
7. Examine the tool before each use. Make
sure the Chisel is sharp and not dull
or cracked. Replace worn or broken