Start date screen – Sybase OneBridge 4.1 User Manual
Page 68
58
Managing meetings
5
Type text in the following text boxes:
• Subject
• Location
• Description
6
Repeat until you have filled in all the fields you want.
7
From the Show Time list box, choose one of the following values:
• Busy
• Free
• Out Of Office
• Tentative
8
When you have finished editing, click OK.
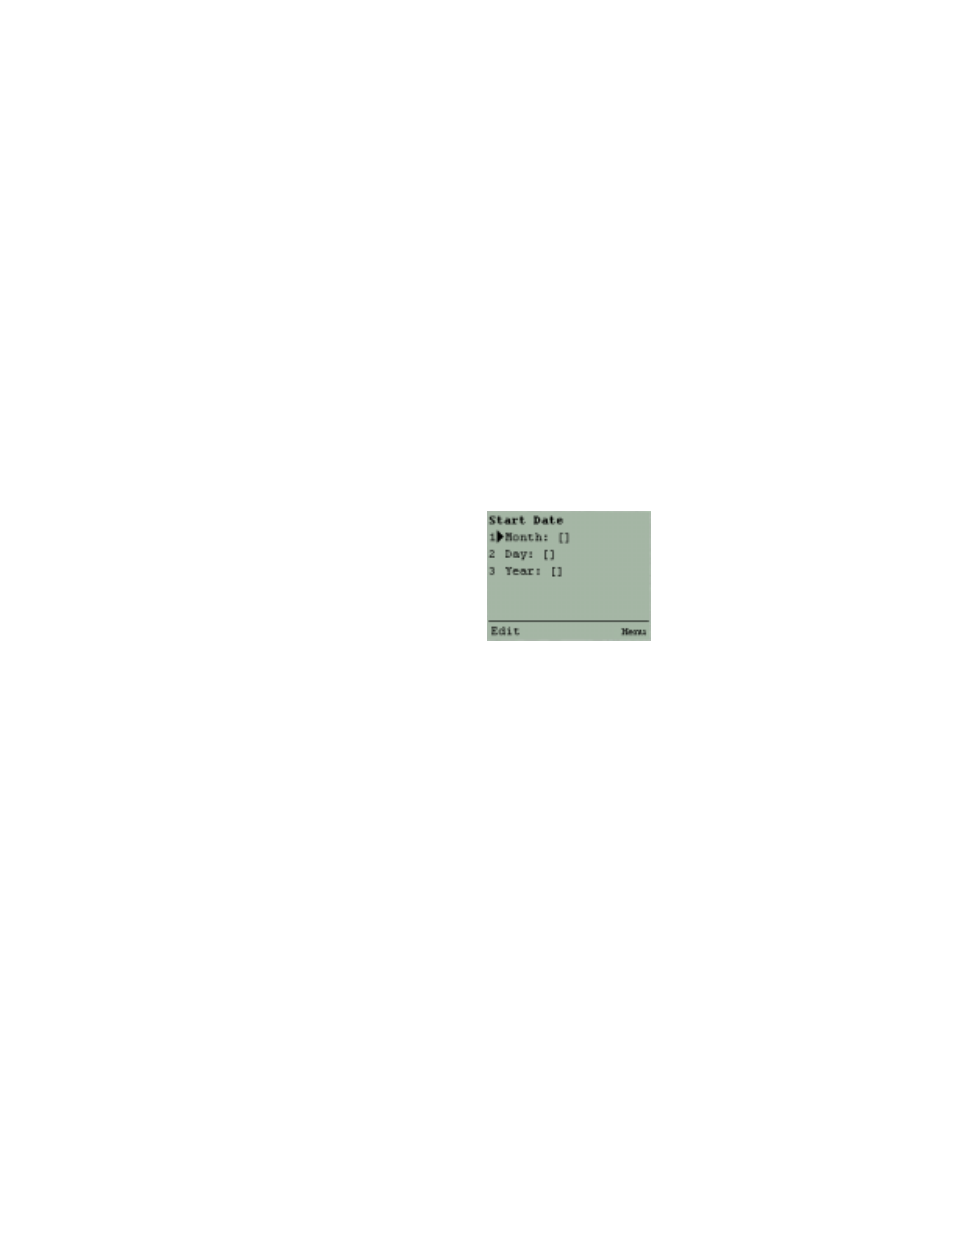
The Start Date screen appears.
Figure 5-6: Start Date screen
9
Type text in the following text boxes:
• Month
• Day
• Year
• Hour
• Minute
10
Click OK.
The Duration screen appears.
11
Type text in the following boxes:
• Hours
• Minutes
12
Click OK.
The Add Recipients screen appears.
The Recipient List screen displays a list of meeting attendees. You can
add and remove attendees from the recipient list. For more
information, see “Using the recipient list” on page 41.