Using custom project types – Epson 1160 User Manual
Page 31
26
Using Custom Project Types
Your EPSON Stylus COLOR 1160 printer software includes custom project types
with preset options for printing specific types of documents—such as reports, graphs,
or drafts. These options let you quickly select the best settings for your particular type
of document and paper, or select a color-matching method for your project.
Follow these steps to print with custom project types:
1. Create your image or document in your application software.
2. On a Macintosh, first choose your paper size, orientation, and printable area
settings by selecting
Page Setup
from the File menu. See your electronic Reference
Guide for details. (You can often make these settings in your application software.
If so, you should make the changes there.)
3. Access the printer settings dialog box as described on page 15 (Windows) or
page 21 (Macintosh).
4. Choose the
Media Type
you want to print on. (If you’re not sure which setting to
choose, see page 35.)
5. Choose
Color
or
Black
ink.
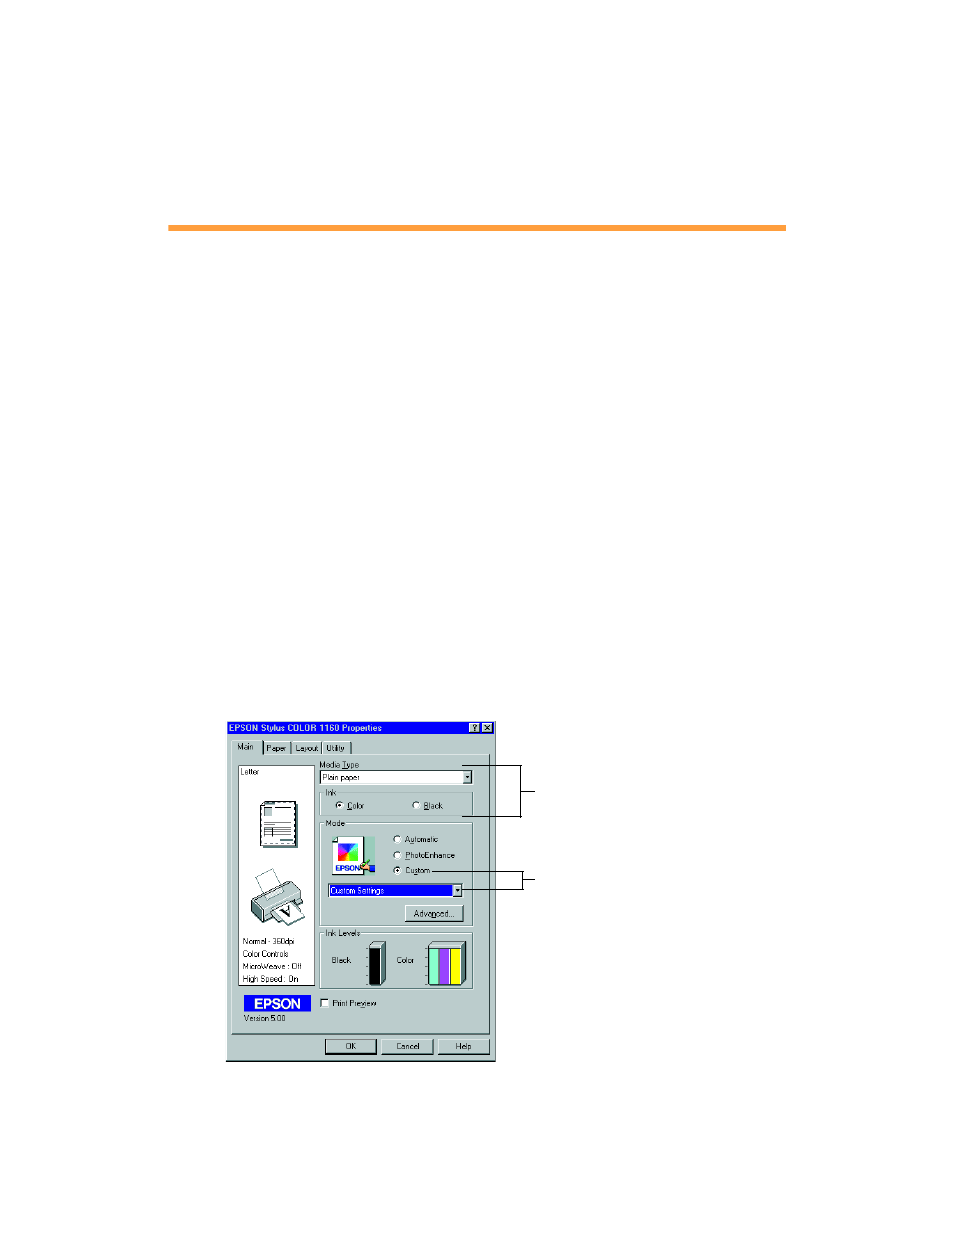
6. Click
Custom
, and then click
Custom Settings
. You see the list of project types.
Click Custom, then click here
to select a project type
Always choose your Media Type
and Ink settings before you select
a custom project type
Windows