Epson 1160 User Manual
Page 30
25
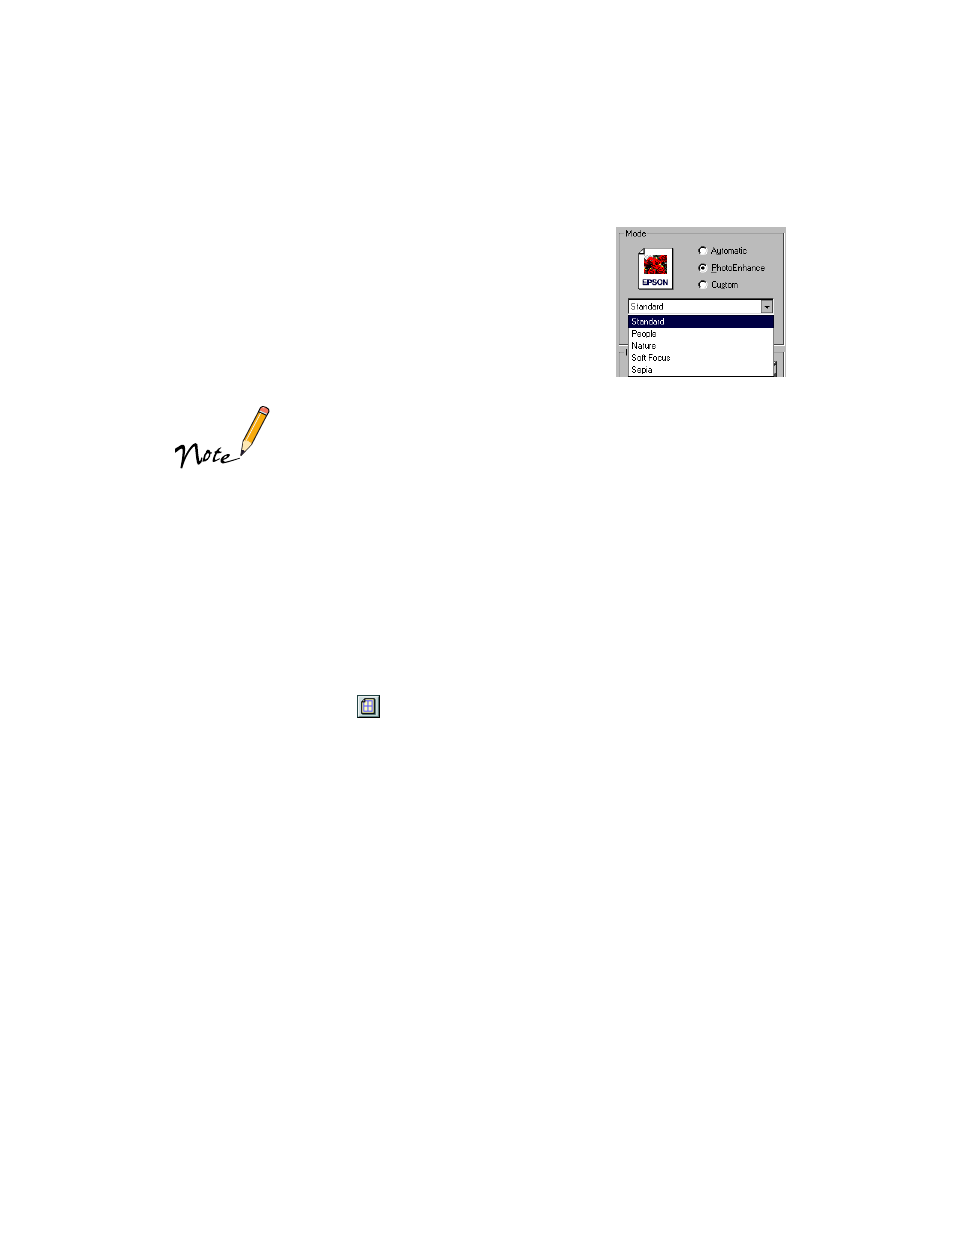
8. For more fine-tuning, click
Standard
. You see a list of
specialized settings for photographs.
Select the setting that most closely matches your
photograph (
People
or
Nature
) or select one of the
special filters (
Soft Focus
or
Sepia
). You may need to
experiment with these settings to get the exact look you
want, especially if you have multiple images on a page.
You can also make detailed settings on the Advanced dialog
box to fit your individual needs, as described on page 28.
9. Windows: If you need to change your paper size, number of copies, orientation,
and printable area, click the
Paper
tab. (You can often make these settings in your
application software. If so, you should make the changes there.)
Macintosh: Go to step 10; you already made paper changes in step 2.
10. If you need to reduce or enlarge the image (proportional printing), print multiple
pages on a single sheet, “tile” an image to make a large poster, or add a watermark,
do the following:
Windows: Click the
Layout
tab.
Macintosh: Click the
Layout button.
(You can often make these settings in your application software. If so, you should
make the changes there.)
11. Windows: Click
OK
to return to your application’s Print dialog box. Then click
OK
(or
, depending on your application) to start printing.
Macintosh: Click
to start printing.
For more details on the printer settings, see your electronic Reference Guide, as
described on page 9.