Scanning from a program, Restoring color while scanning photos – Epson Stylus Parts CX5800F User Manual
Page 12
Epson Stylus CX5800F
12
8/05
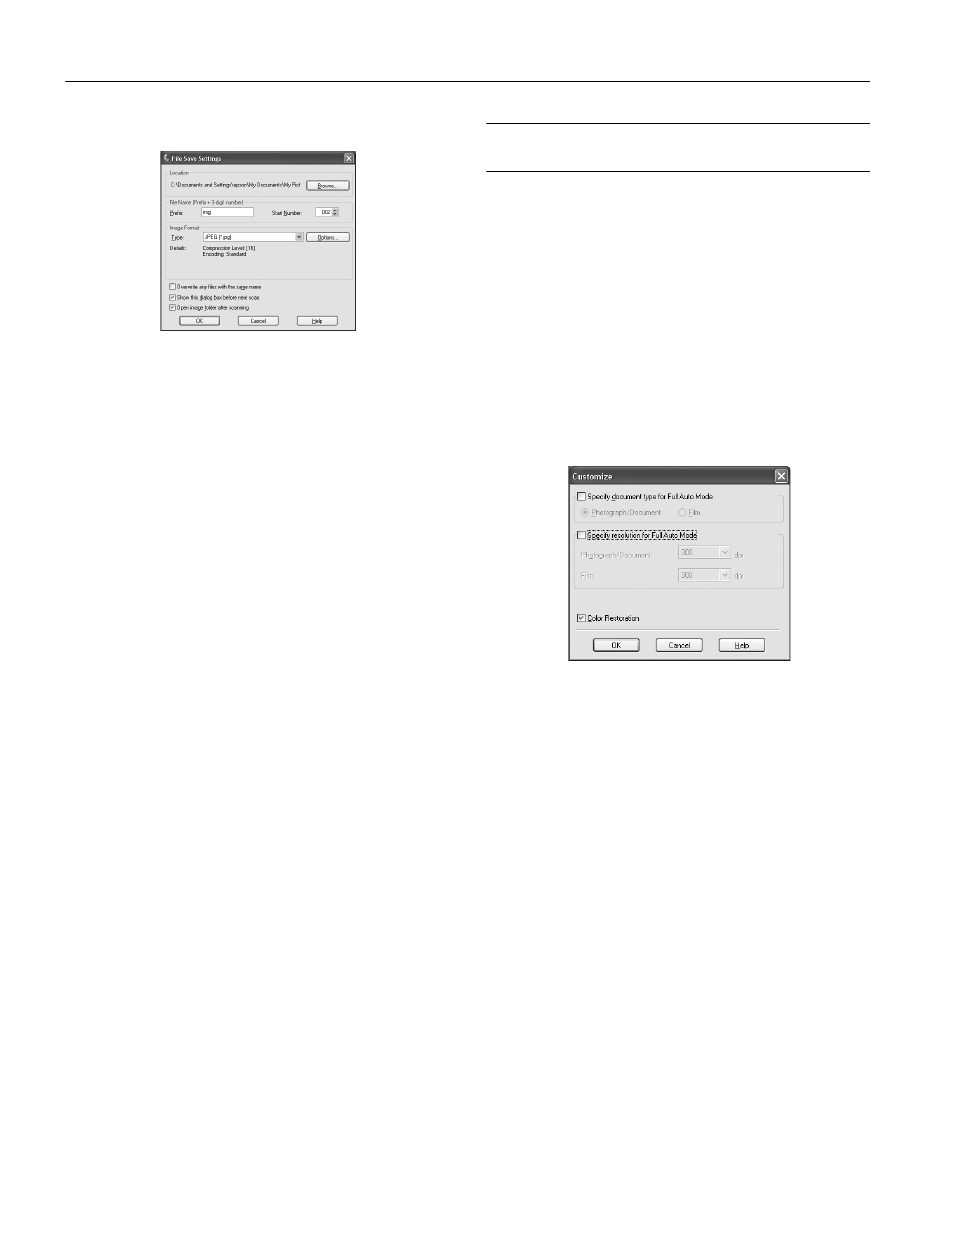
4. You see the File Save Settings window:
Choose the location where you want to save your scanned
file and type a name for it in the Prefix box. Select a file
format in the Image Format box.
5. Click
OK
. The image is scanned and you see its icon in an
open folder.
Scanning From a Program
1. Place your original on the scanner as described on page 7.
2. Start your scanning program.
Double-click the program icon from your desktop, if it is
available, or do one of the following:
❏ Windows: Select
Start > All Programs
or
Programs >
program folder > program icon
.
❏ Mac OS
®
X: Open the
Applications
folder, select the
program folder
, and click the
program icon
.
3. Select your program’s scanning option. (See your scanning
program help for instructions.)
For example, in ArcSoft PhotoImpression, open the File
menu and select
Get Photo
. Then click the
Camera/
Scanner
icon.
Note:
In some programs, you must select the Epson Stylus CX5800F
as the “source” first. If you see a Select Source option, choose
it and select your Epson Stylus CX5800F there first.
4. Select your Epson Stylus CX5800F. EPSON Scan starts
automatically.
Note:
With Windows XP, do not choose a WIA option for your Epson
Stylus CX5800F; it will not work correctly.
Restoring Color While Scanning
Photos
Using the
Color Restoration
feature in EPSON Scan, you can
automatically transform an old, faded, or badly exposed photo
into one with true-to-life color and sharpness as you scan.
1. Place your original photo on the document table as
described on page 7.
2. Start EPSON Scan. See page 11 for instructions.
3. When the EPSON Scan window appears, do one of the
following, depending on the currently selected scan mode:
❏ Home or Professional Mode: go to step 4.
❏ Full Auto Mode: click the
Customize
button, click the
Color Restoration
checkbox, and click
OK
. Continue
with step 9.
4. Select the basic settings for the type of original(s) you are
scanning, then select the destination setting for the way you
will use your image(s). See the on-screen User’s Guide for
instructions.
5. Click the
Preview
button to preview your image(s), then
select your scan area.
6. Do one of the following to select the Color Restoration
option:
❏ Home Mode: Click the
Color Restoration
checkbox.
❏ Professional Mode: Scroll down to the Adjustments
area and click the
Color Restoration
checkbox.
7. Make any other necessary image adjustments.
8. Size your image as necessary.
9. Click the
Scan
button to scan and restore the color in your
image(s).
What happens next depends on how you started EPSON
Scan. See the on-screen User’s Guide for details.