Internet, Data voip entertainment, Hardware installation – PLANET FRT-401 User Manual
Page 8
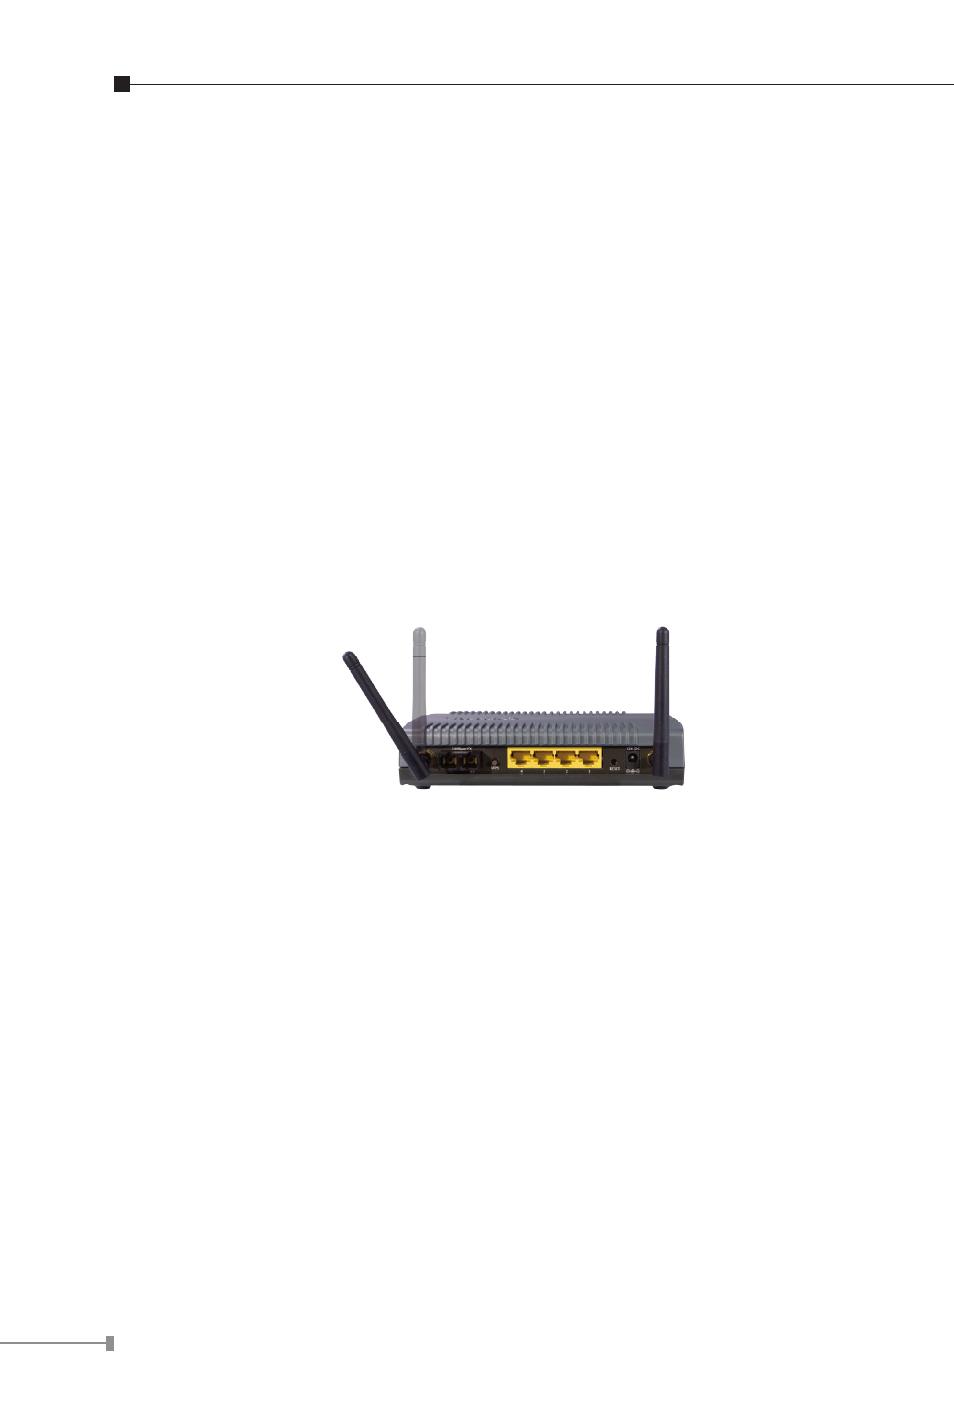
3. Hardware Installation
This section describes how to install your Internet Fiber Router and
make connections to the Fiber Network. Please read the following
topics and perform the procedures in the order being presented. The
hardware installation of PLANET Fiber Router do not need software
configuration. To install your Fiber Router on a desktop or shelf, simply
complete the following steps.
In the following steps, terms of Fiber Router will mean the two series
- FRT-40x / FRT-40xN unless model number is specified; and photo of
FRT-401N will be used as the photo example.
STEP 1: Locat the FRT-401N on an optimum place, install and adjust
the antenna for the best coverage.
STEP 3: Connect the PC to LAN port. Check the LAN LED on the front panel is on accordingly
STEP 1: Locat the VC-230N on an
optimum place, install and
adjust the antenna for the best
coverage
STEP 2: Connect the Power Adapter to VDSL2 Router. Check
the PWR LED on the front panel is on accordingly
Power Adapter
PC
(DHCP Client or 192.168.1.2)
Power Adapter
In the following steps, terms of VDSL2 Router will mean the two models – VC-230/VC-230N
unless model number is specified; and photo of VC-230N will be used as the photo example.
Internet
Data VoIP
Entertainment
STEP 2: Connect the Power Adapter to Fiber Router. Check the PWR
LED on the front panel is on accordingly.
STEP 3: Connect the PC to LAN port. Check the LAN LED on the front panel is on accordingly
STEP 1: Locat the VC-230N on an
optimum place, install and
adjust the antenna for the best
coverage
STEP 2: Connect the Power Adapter to VDSL2 Router. Check
the PWR LED on the front panel is on accordingly
Power Adapter
PC
(DHCP Client or 192.168.1.2)
Power Adapter
In the following steps, terms of VDSL2 Router will mean the two models – VC-230/VC-230N
unless model number is specified; and photo of VC-230N will be used as the photo example.
Internet
Data VoIP
Entertainment