Screen capture – Casio FA-123 User Manual
Page 14
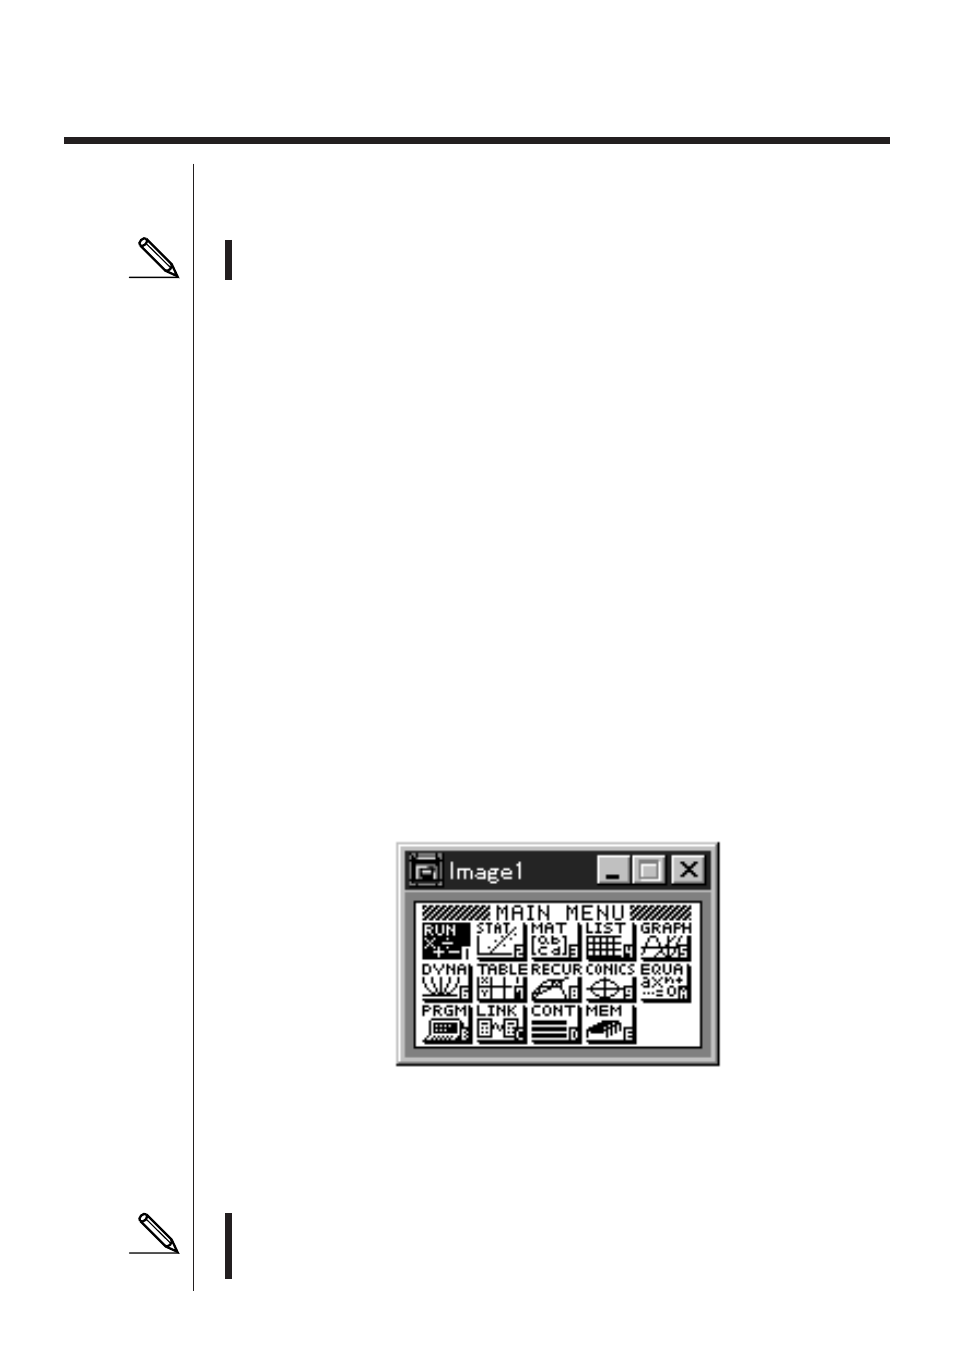
Sample screen
7. Screen Capture
The screen image of the calculator can be captured as a bit pattern and transferred
to your computer.
• For details on how to operate your calculator for screen capture, see the section
of the calculator’s User’s Guide titled “Data Communications.”
k
k
k
k
k
Capturing a Screen to Your Computer
uuuuu
ALGEBRA FX Series
1. Set up the calculator to send a screen shot to a computer.
• Use the calculator’s LINK Mode set up (
u3
(SET UP)) to specify Direct
(direct send) for the H-Copy item.
2. On the calculator, display the screen you want to send to the computer.
3. On the FA-123 menu bar, select
Link-Screen Capture.
4. On the calculator, press
u6
(H-COPY) to send the screen shot.
uuuuu
CFX-9850/fx-7400 Series
1. Set up the calculator to send a screen shot to a computer.
• On the calculator’s LINK Mode, press
6
(IMGE) and then turn on the Image
Set Mode. In the case of a color calculator, you can select either MONO or COLR
for the Image Set Mode.
2. On the calculator, display the screen you want to send to the computer.
3. On the FA-123 menu bar, select
Link-Screen Capture.
4. On the calculator, press
M
to send the screen shot.
• The screen shot is shown on the display of your computer after the transfer
operation is complete.
5. Save the data in a file.
Select
File-Save As.
Specify a file name and save the file.
To change the format of the image file, specify the file type and then save the file.
• Selecting
File-Save As causes a dialog box to appear. This dialog box can be
used to specify a file name and also to specify a drive and directory (a folder in
the case of a Macintosh).
17