Casio EX-TR35 User Manual
User’s guide, Digital camera
Digital Camera
EN
User’s Guide
Thank you for purchasing this CASIO product.
• Before using it, be sure to read the precautions contained in this User’s Guide.
• Keep the User’s Guide in a safe place for future reference.
• For the most up-to-date information about this product, visit the official EXILIM
Website at http://www.exilim.com/
This manual is related to the following products:
Table of contents
Document Outline
- Accessories
- Read this first!
- Contents
- General Guide
- Monitor Screen Contents and How to Change Them
- Quick Start Basics
- What you can do with your CASIO camera
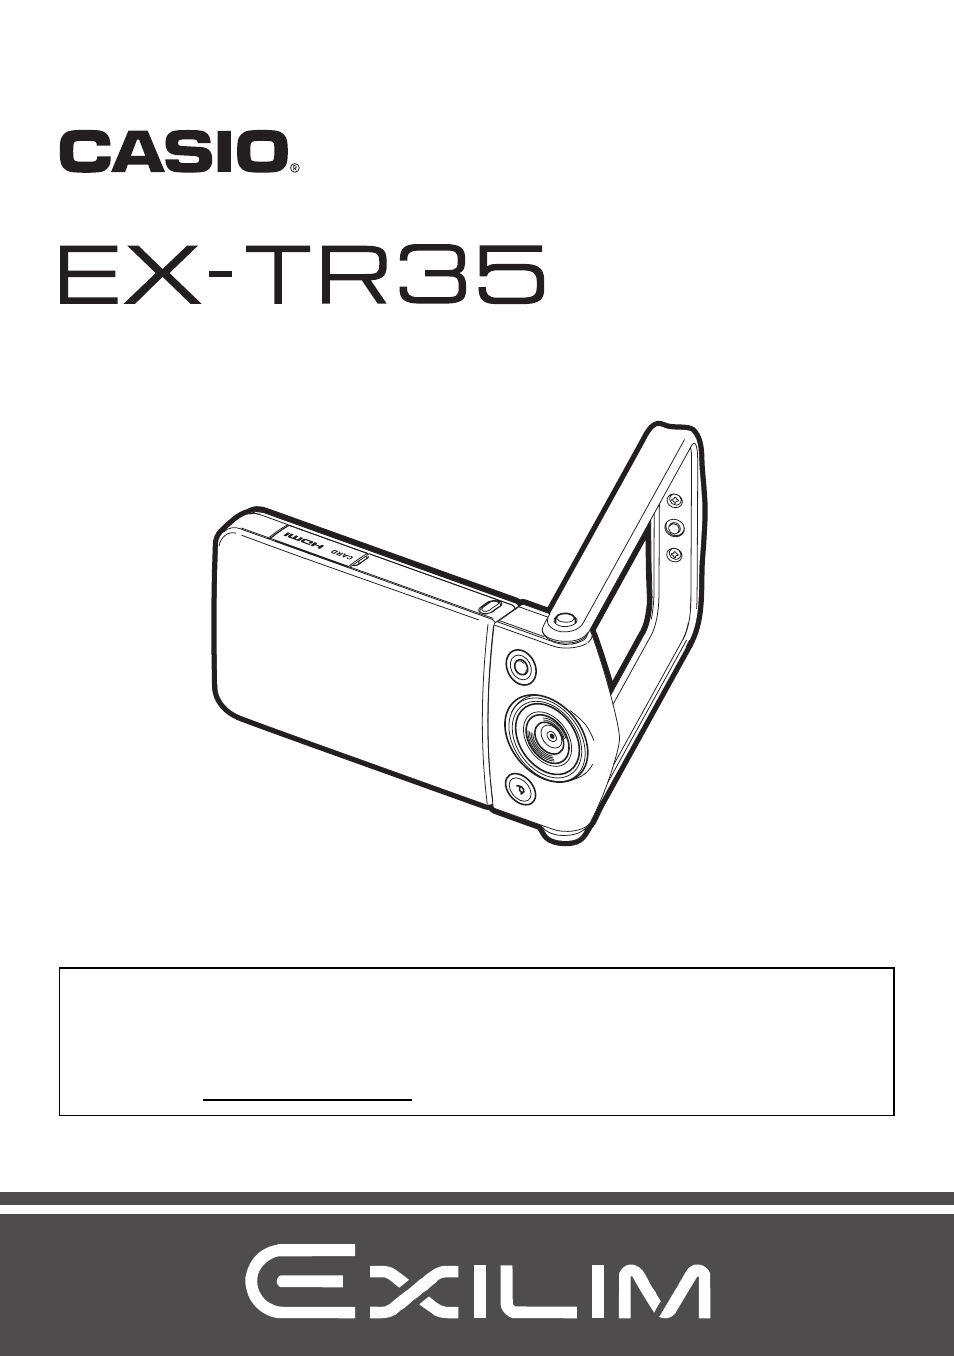
- Changing the Camera Style to Suit Shooting Conditions
- Using the Touch Panel
- First, charge the battery prior to use.
- Configuring Basic Settings the First Time You Turn On the Camera
- Preparing a Memory Card
- Turning Power On and Off
- To Shoot a Snapshot
- Viewing Snapshots
- Deleting Snapshots and Movies
- Snapshot Shooting Precautions
- Recording Images
- Using BEST SHOT
- Shooting with Triple Shot
- Using Motion Shutter to Trigger a Self-timer Operation (Motion Shutter)
- Digitally Correcting for Overexposure and Underexposure (HDR)
- Shooting Clearer Snapshots (Multi SR Zoom)
- Shooting with Priority on Subject Faces (HS Best Selection)
- Shooting with High Speed Night Scene (HS Night Scene)
- Shooting with High Speed Anti Shake (HS Anti Shake)
- Shooting a Panorama Image (Slide Panorama)
- Advanced Recording Settings
- Using the REC Menu
- Using Touch Shutter (Touch Shutter)
- Using the Self-timer (Self-timer)
- Using the LED Light (LED)
- Changing the Image Size (Image Size)
- Movie Image Quality Settings (Movie Quality)
- Correcting Image Brightness (EV Shift)
- Adjusting White Balance (White Balance)
- Specifying ISO Sensitivity (ISO)
- Selecting a Focus Mode (Focus)
- Turning on Image Review (Review)
- Checking a Snapshot before Saving It (Self-portrait check)
- Using the REC Menu
- Viewing Snapshots and Movies
- Other Playback Functions (PLAY)
- Using the PLAY Menu
- Creating a Promotion Movie (Promotion Movie)
- Performing Paint Operations on an Image (Paint)
- Playing a Slideshow on the Camera (Slideshow)
- Extracting an Image from a Snapshot (Cut out subject)
- Inserting a Subject into another Snapshot or Adding a Built-in Frame to a Snapshot (Paste subject)
- Protecting a File Against Deletion (Protect)
- Rotating an Image (Rotation)
- Resizing a Snapshot (Resize)
- Cropping a Snapshot (Trimming)
- Using the PLAY Menu
- Establishing a Wireless LAN Connection
- Wireless LAN Functions
- Establishing a Connection between a Smartphone and Your Camera
- Using a Smartphone as a Camera Remote Controller (Remote Capture)
- Sending a Just-recorded Snapshot to a Smartphone (Quick Send)
- Sending a Snapshot or Movie File from Camera Memory to a Smartphone (Send to phone)
- Resizing Snapshots before Sending Them to a Smartphone (Resize before send)
- Viewing Snapshots and Movies in Camera Memory on a Smartphone (View on phone)
- Printing
- Using the Camera with a Computer
- Other Settings (Set Up)
- Adjusting Monitor Screen Brightness (Screen)
- Automatically Orienting the Monitor Screen Contents to Match Camera Orientation (Auto rotate)
- Resizing Snapshots before Sending Them to a Smartphone (Resize before send)
- Configuring Camera Sound Settings (Sounds)
- Time Stamping Snapshots (Timestamp)
- Configuring World Time Settings (World Time)
- Setting the Camera’s Clock (Adjust)
- Specifying the Date Style (Date Style)
- Specifying the Display Language (Language)
- Selecting the HDMI Terminal Output Method (HDMI)
- Changing the Camera Password for Wireless LAN Connection (WLAN password)
- Displaying a Startup Screen at Power On (Startup)
- Formatting Built-in Memory or a Memory Card (Format)
- Resetting the Camera to Factory Defaults (Reset)
- Appendix