Setting up hdx, Changing the input voltage, Hdx line voltage selection – Grass Valley SHED Jul 25 2014 User Manual
Page 11
7
SHED and HDX
User Guide
Setting Up HDX
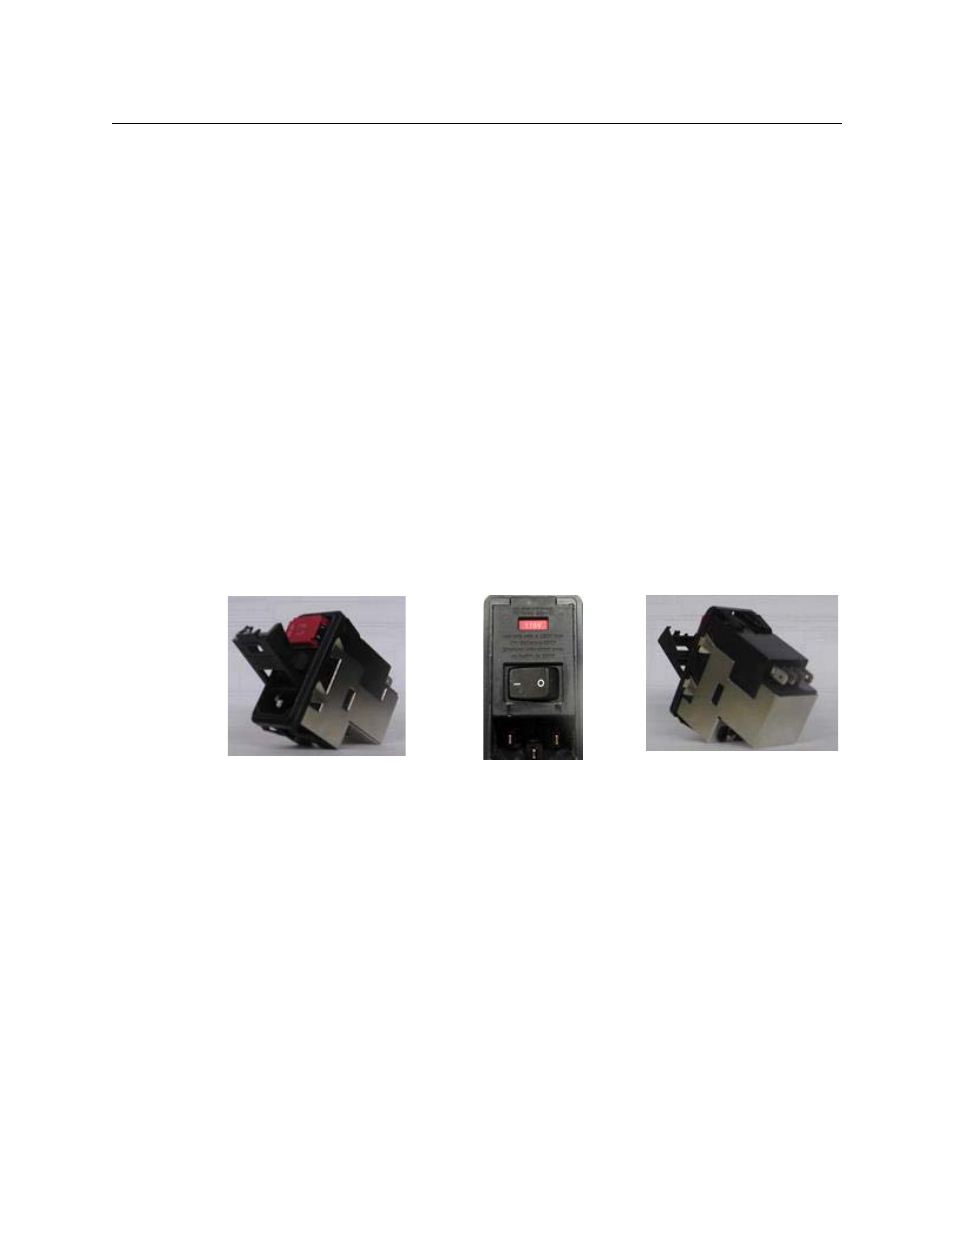
The HDX can accept either 120 VAC or 240 VAC by use of the Power Entry Module (
The unit accepts AC line voltage with a standard IEC/NEMA type power cord. A window on
the Power Entry Module reflects the current VAC setting, either 115 or 230. Verify that the
voltages on the units are set properly before operating the system.
Changing the Input Voltage
To change the input voltage to the Cobra:
1 Use a small, flat-blade screwdriver in the notch at the top of the module to gently pry
open the module cover and expose the fuse block. The cover is hinged at the bottom
and will open easily.
2 Gently pop out the fuse block.
3 Turn the block over and replace it back into the module.
4 Close the module cover.
The new input voltage value will be visible in the voltage value window.
The same procedure is followed for fuse replacement. Be careful to replace fuses with ones
of equal voltage, current and duration (3 Amp, 250V, Slo-Blo)
Fig. 2-3: Power Entry Module for HDX
HDX Line Voltage Selection
The HDX operates on AC mains power and can work with a variety of voltages. The internal
power supply can be set for two operating ranges: 120/240 VAC (normal) and 100/200 VAC
(low) +/- 10%, both at 50/60 Hz.
To change from Normal to Low line voltages,
• Change the transformer connections to the Power Entry Module.
• Remove all external connections from the HDX.
• Remove the (4) #4-40 screws in the HDX faceplate and carefully withdraw the chassis
from the cover. The connections to the transformer are color-coded and are connected
to the Power Entry Module with 0.187" spade-type connectors ("Fastons"). These are
labeled "A", "B", "C", and "D" on the rear of the power module.