Timex 086 User Manual
Page 2
CHRONOGRAPH (STOPWATCH) OPERATION EXAMPLE
• Press MODE to enter CHRONOGRAPH mode.
• Press LAP/RESET button to select one of the three display format choices for the
chronograph: 1. Lap/Split Time, 2. Lap Time/Number, 3. Lap Time and Split Time/Lap
Number (alternating). Chronograph must be stopped to make selection.
• Press START/STOP to start chronograph.
• Press LAP/RESET once to take ten lap readings (10 sec. auto release of lap time).
• At end of last lap press STOP.
• To recall lap times press RECALL/SET button (you may also recall while chronograph
is timing).
• Example of lap times:
1. 2.50.30
3. 2.70.30
5. 2.10.30
7. 2.40.30
9. 2.80.30
2. 2.70.30
4. 2.90.30
6. 2.30.30
8. 2.40.30
10. 3.00.30
• The first lap recalled will be the lap with the best time (Lap 5 in example)
• The second lap recalled will be the next to last lap stored in memory (Lap 9 in
example).
• The third lap recalled will be the second to last (Lap 8 in example).
• Each press of RECALL/SET will recall laps in descending lap order (Lap 7, 6, 5, 4, 3, 2,
1..then repeat..best lap 5, Lap 9, 8, 7, 6, 5, 4, 3, 2, 1).
• Press LAP/RESET to view last lap (Lap 10).
• Press and hold LAP/RESET again to reset chronograph to zero.
• After resetting chronograph to zero, pressing RECALL/SET will recall laps in ascending
order (in example best lap 5, 1, 2, 3, 4, 5, 6, 7, 8, 9, 10)
NOTES:
1. To view split time during recall press LAP/RESET button.
2. While recalling before resetting chronograph, the best lap time, if it is actually the
last lap, will not appear as "best" lap during recall before resetting. However, after
resetting the chronograph, the best lap time appears correctly.
3. The “last lap” is not recalled in sequence before resetting due to the pause feature
(stopping the chronograph and then restarting to continue to take more lap
readings). The reason is that the "last" lap may not actually be complete, it may be a
paused partial lap.
D. Continue to press LAP/RESET to take more lap time readings. The last 50 readings
will be stored in memory and can be recalled at any time during a timing sequence or
after it has been completed.
E. To review the times stored in memory, press RECALL/SET button. The best LAP
reading will be the first one to be displayed and further presses of RECALL/SET
button will first display the reading prior to the one presently being performed and
then in descending order to the first reading or the first of the last 50 if more than 50
lap readings have been taken. To view the split time, as of the lap number being
displayed, press the LAP/RESET button. To review the next lap time, press the
RECALL/SET button.
F. To reset the chronograph, it must first be stopped, then press
LAP/RESET and hold it for 2 seconds. The menu display will
remain on until the reset has been accomplished.
G. At this time the memory can still be recalled, but now the laps
will be recalled in ascending order. The memory will be
retained for your reference until a new timing sequence is started.
NOTE: The chronograph times will be displayed with 1/100 second resolution up to one
hour then in 1 second resolution up to 100 hours.
QUICK PEEK - Press START/STOP to view the CHRONOGRAPH status while in NORMAL
TIME mode.
B. Press LAP/RESET to adjust seconds. Each push of LAP/RESET will reset seconds
to zero.
C. Press MODE or START/STOP to select HOURS, press LAP/RESET to adjust HOURS.
D. Press MODE or START/STOP to select MINUTES, press LAP/RESET to adjust
MINUTES.
E. Press MODE or START/STOP to select MONTH, press LAP/RESET to adjust MONTH.
F. Press MODE or START/STOP to select DATE, press LAP/RESET to adjust DATE.
G. Press MODE or START/STOP to select DAY OF WEEK, press LAP/RESET to adjust
DAY OF WEEK.
H. Press MODE or START/STOP to select 12/24 hour, press LAP/RESET to select 12 or
24 hour format.
This sequence can be repeated until the display is returned to NORMAL TIME or by
pressing RECALL/SET to exit from the Set mode.
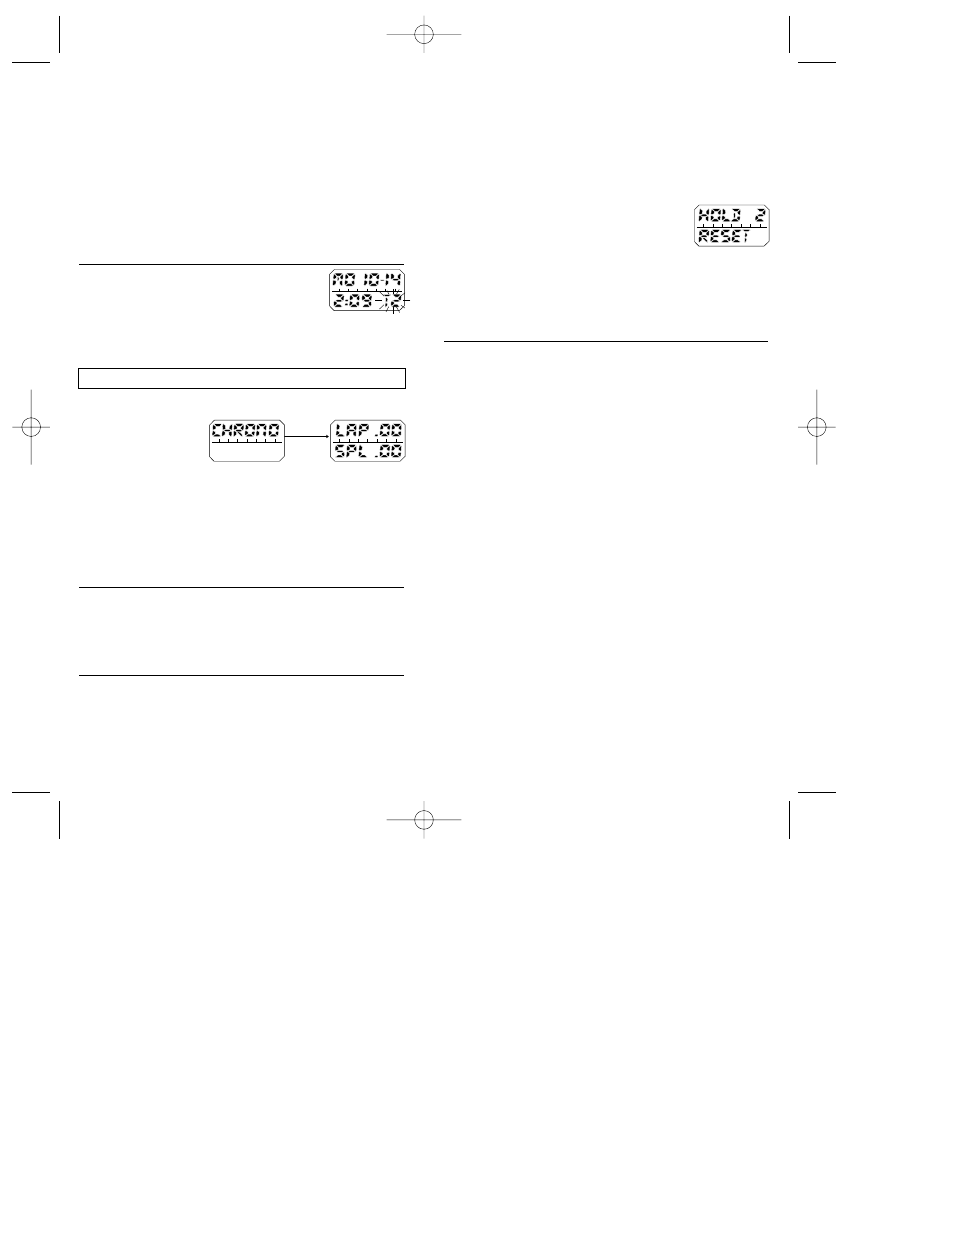
From NORMAL TIME press MODE once. You are now in CHRONOGRAPH mode. After
displaying CHRONO for about 1 second the display will look like this:
You can now select the display
format you wish to use by
pressing LAP/RESET until the
desired display appears.
The options are:
1. Lap Time/Split Time
2. Lap Time/Lap Number
3. Lap Time and Split Time/Lap Number (alternating).
NOTES:
1. The display selection can only be made when the CHRONOGRAPH is stopped or reset.
2. If the words TIMER and CHRONO are alternating in the display, then the TIMER is
currently operating in the Countdown/Countup mode (CDC) and must first be reset
before the Chronograph mode will operate. See Section 8 to deactivate the timer.
STANDARD CHRONOGRAPH OPERATION
A. Press START/STOP to begin timing.
B. Press START/STOP to Stop/Pause. (CHR) will appear on the line between upper and
lower display.
C. Press START/STOP to resume timing.OR,
D. Press and hold LAP/RESET to reset display to zero.
ADVANCED CHRONOGRAPH WITH LAP AND SPLIT FUNCTIONS AND MEMORY
RECALL OF 50 READINGS
A. Press RECALL/SET to select display format (3 options).
B. Press START/STOP to start timing.
C. Press LAP/RESET to take the first LAP reading and place it into memory. After 10
seconds the display will be released and the second lap time will appear, or if
LAP/RESET is pressed again prior to the display being released, then a second lap
time will be displayed. (CHR) will appear flashing on the line between the upper and
lower display.
NOTE: Press MODE to release the display before 10 seconds have elapsed to show the
current running lap time.
SECTION 6 – HOW TO USE THE CHRONOGRAPH (STOPWATCH)
1 SECOND
SECOND TIME ZONE OPERATION
A. While in NORMAL TIME mode, press LAP/RESET to view
SECOND TIME ZONE time (T2). The T2 will be flashing to
indicate the displayed time zone.
B. To have the SECOND TIME ZONE be the primary display, press
and hold LAP/RESET until a beep is heard. This indicates that
the two time zone displays have changed places. The NORMAL TIME can now be
viewed the same way that the second time zone was, when it was the alternate display.
086Instr 1/17/97 4:08 PM Page 3