Configuring a network connection and furnace – Super Systems SuperDATA Compact Load Entry User Manual
Page 5
SuperDATA Compact Load Entry User Guide
Super Systems Inc.
Page 5 of 12
Using CLE is fairly straightforward. For optimal operation, it is recommended that the steps
described in the table below be followed.
Step
Refer to Section
A.
(If setting up network connection and furnace for the
first time)
With CLE running, configure the network
connection to the Standard Load Entry server, as well
as the furnace setup.
Configuring a Network Connection
and Furnace, page 5
1.
Log in with an appropriate user name and password
that provide the needed access level. (User names
and passwords are configured in Standard Load
Entry.)
Logging In, page 6
2.
Create a load.
Creating a Load, page 7
3.
Select a recipe.
Selecting a Recipe, page 10
4.
Confirm the load and start the recipe.
Starting the Recipe, page 11
Configuring a Network Connection and Furnace
Before load information can be entered, a server connection and furnace name must be set up
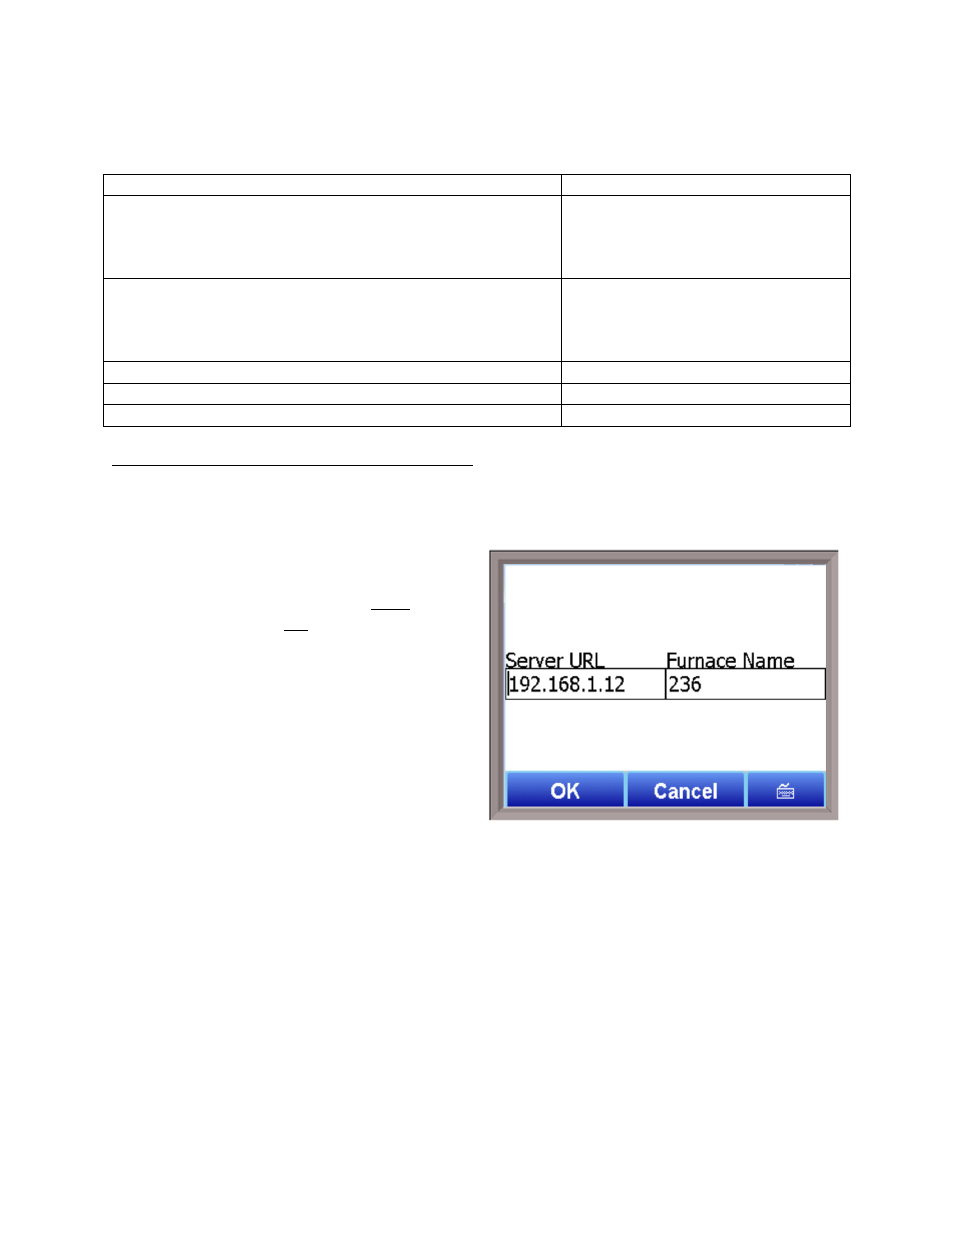
in CLE. To do this, tap on the Configure button.
A screen similar to this one will appear. In the
Server URL field, enter the IP address of the
Standard Load Entry server. (This must be the
Load Entry server and not a workstation.) If
you need assistance identifying the IP address
of the server, consult with your network
administrator.
In the Furnace Name field, enter the name of
the furnace (as it is configured in Standard
Load Entry) for which you will be setting up a
load.
Tap OK when finished.