Dakota Digital LED Tail Lights LAT-NR160 User Manual
Page 3
MAN#650158:B
8. Secure the back plate with the supplied screw and washer.
9. Make sure the original lens gasket is in place and then replace the tail light lens. Tighten the
screws down carefully.
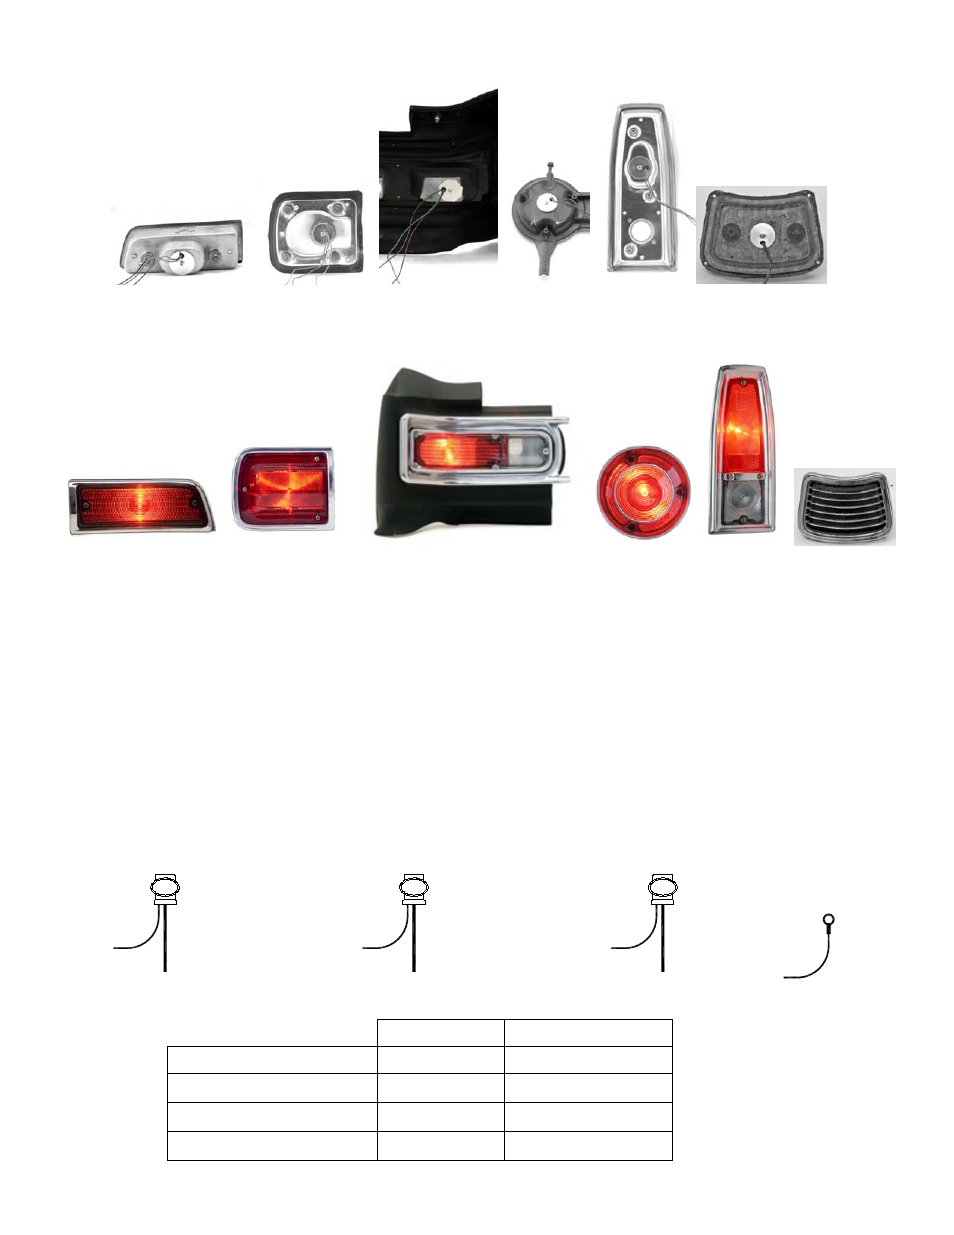
10. Start by cutting off the existing light socket as it will not be used. Do not strip wires. Trim the
wires from LED assembly to appropriate length once mounted, making sure wires are routed
cleanly and securely.
11. Use the supplied moisture resistant pigtail connectors* to attach the wires from the new LED
assembly to the existing vehicle harness. Insert appropriate wire from vehicle harness and
mating LED assembly wire into a connector and crimp following instructions below.
*For the best connection, soldering is recommended. But to simplify installation, the supplied connectors will
provide a fast weather resistant connection.
The correct crimp method for the supplied connectors is:
1.) Insert UNSTRIPPED wires into the connector and ensure they are all they way in by
observing the clear bottom of the connector to see the wires are touching the end.
2.) Use pliers to push the blue cap down flush with the edge of the clear body, completing the
connection. The connection will only be correct if pressed firmly down with pliers.
GREEN wire
from LED
assembly
Turn Signal wire
from vehicle
harness
BROWN wire
from LED
assembly
Tail Light wire
from vehicle
harness
BLACK wire
from LED
assembly
Ground wire from vehicle
harness
with plastic housings
BLACK wire
from LED
assembly
Attach to metal bolt or screw
for Ground connection with
metal housings
OR
LED wires
Vehicle harness
Taillight
Brown
Brown or Black
Driver’s Turn
Green
Green or Pink
Passenger’s Turn
Green
Yellow or Purple
Ground
Black
Black or Chassis