Timer recordings – Daewoo DV6T534B User Manual
Page 15
25
VCR
Oper
ation
24
Set proper ÒRECORDING SPEEDÓ.
Select one of SP/SLP with [ ] or [ ] button.
For more information on recording speed, see
ÒUsing video cassetteÓ in the page 24.
6
6
Press [SETUP] button to complete the
setting.
ÒProgram # has been saved. For program
recording, insert a cassette....Ó message is
displayed.
TIMER RECORDINGS indicator,
is displayed in
the operation display window.
On the reserved time, TIMER RECORDINGS starts
to operate.
7
7
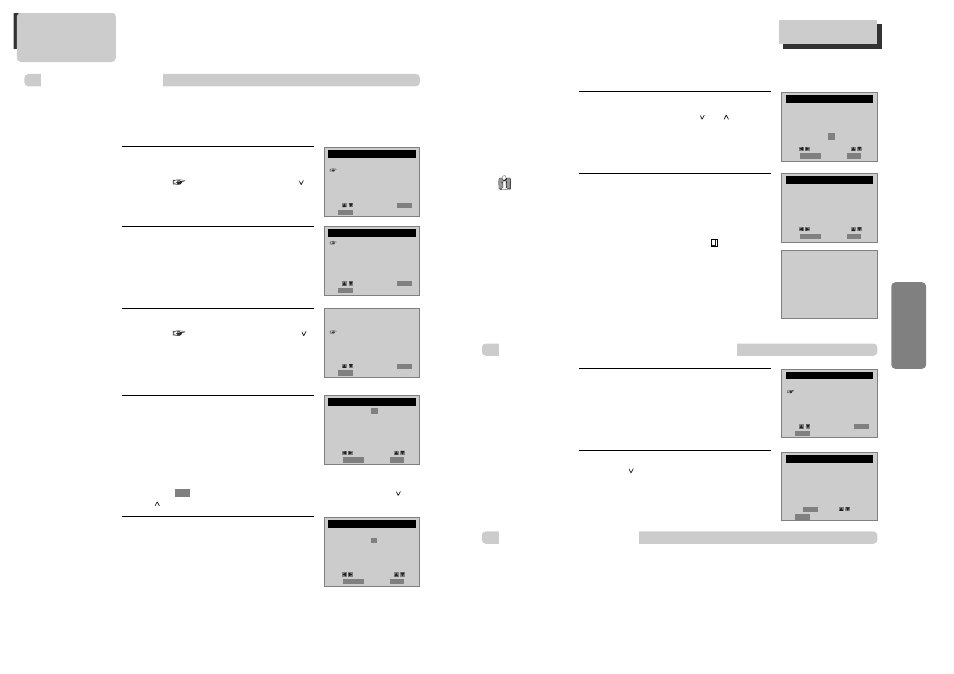
To Confirm or Cancel TIMER RECORDINGS
Select ÒReview/Cancel ProgramsÓ.
1
1
Confirm reservation-recording details in turn
with [ ] button and then, press [CLEAR] button
on the position of the details to delete.
2
2
PROGRAM1 (ONE TIME)
Channel
104 Cable
Start Date
06 / 04
Start Time
10 : 10 AM
End Time
11 : 10 AM
Tape Speed SP
PROGRAM1 (ONE TIME)
Channel
104 Cable
Start Date
06 / 04
Start Time
10 : 10 AM
End Time
11 : 10 AM
Tape Speed SP
PROGRAM 1 (ONE TIME)
Channel
104 Cable
Start Date
06 / 04
Start Time
10 : 10 AM
End Time
11 : 10 AM
Tape Speed SP
PROGRAM 1 has been saved.
For program recording,
insert a cassette.
To leave your cable box
on and tuned to preset
channel.
TIMER RECORDINGS
Make a New Program
Review/Cancel Programs
Move:
Input:
Video:
End:
SETUP
OUTPUT
Move:
Input:
Video:
End:
SETUP
OUTPUT
Move:
Select:
End:
SETUP
ENTER
Cancel:
Move:
End:
SETUP
CLEAR
If a recordable
tape is not
inserted in Stop mode
under Power ON,
ÒWaiting for TIMER
RECORDINGS. Insert a
recordable tapeÓ
message is displayed
in the center of
screen, for all
changes or output
conversions incurred
during TIMER
RECORDINGS SET.
Timer Recordings
Timer Program Setting
Press [PROGRAM] button in VCR mode.
You can set the Timer Program.
Before timer program setting, clock should be set correctly and video mode should be
selected.
Timer Recordings
TIMER RECORDINGS
Press [SETUP] button and select
ÒTIMER RECORDINGSÓ.
Move
into ÒTIMER RECORDINGSÓ with [ ]
and then, select the desired one with [ENTER]
button.
Select ÒMake a New ProgramÓ.
Press [ENTER] button to select ÒMake a new
ProgramÓ.
1
1
2
2
Select ÒTimer Recording methodÓ.
Move
into desired recording type with [ ]
and then, select the desired one with [ENTER]
button.
For Timer Recording method details, see
ÒVarious TIMER RECÓ in the page 24.
3
3
Select Òa broadcasting to recordÓ.
Select the desired broadcasting channel
with [NUMBER] buttons.
**If Converter Box and video are connected to
Video/Audio terminal, set ÒEXTERNAL INPUTÓ
on TIMER REC CH by using ÒOUTPUTÓ button.
4
4
Set Òthe date and time to recordÓ.
Select the date, start time and end time to
record with [NUMBER] buttons.
5
5
■ Power on TV.
■ Make sure that current time is set correctly.
■ Insert a recordable tape with recording tab.
■ Prior to the setting, press [VCR] button to change to VCR mode.
When
moves into ÒCableÓ, select one of ÒCableÓ/ÓAntennaÓ with [ ] or
[ ] button.
SETUP
CLOCK SET
TIMER RECORDINGS
CHANNEL SET
FUNCTIONS
LANGUAGE SELECT
TIMER RECORDINGS
Make a New Program
Review/Cancel Programs
PROGRAM1 (ONE TIME)
How often do you want
to record program?
One Time
Daily (Sun-Sat)
Weekdays (Mon-Fri)
Weekly (Once a Week)
Channel
0 4 Cable
Start Date
- - / - -
Start Time
- - : - - AM
End Time
- - : - - AM
Tape Speed SP
PROGRAM1 (ONE TIME)
Channel
104 Cable
Start Date
- - / - -
Start Time
- - : - - AM
End Time
- - : - - AM
Tape Speed SP
Move:
Select:
End:
SETUP
ENTER
Move:
Select:
End:
SETUP
ENTER
Move:
Select:
End:
SETUP
ENTER
Move:
Input:
Video:
End:
SETUP
OUTPUT
Move:
Input:
Video:
End:
SETUP
OUTPUT