Important information, Auto preset, Preset skip – Marantz SR5005 User Manual
Page 52: Preset name, Input assign
46
ENGLISH
DEUTSCH
FRANÇAIS
ITALIANO
ESPAÑOL
NEDERLANDS
SVENSKA
ENGLISH
DEUTSCH
FRANÇAIS
ITALIANO
ESPAÑOL
NEDERLANDS
SVENSKA
Important information
n
About the display of input sources
In this section, the configurable input sources for each item are shown as follows.
BD DVD VCR SAT GAME AUX1 USB TV CD TUNER M-XPort
NOTE
Input sources that have been set to “Delete” at “Source Delete” (vpage 58) cannot be selected.
Auto Preset
Use the auto preset function to program radio stations.
Setting items
Setting details
Start
Start the auto preset
process.
TUNER
If an FM station cannot be preset automatically, select the desired
station by tuning it in manually, then preset it manually.
Preset Skip
Default settings are underlined.
Set preset ch to be skipped when selecting.
Setting items
Setting details
A – G
Set the preset channels you
do not want to display. You
can set by preset memory
block (A to G) or by preset
channel (1 to 8).
TUNER
1 – 8 : Set by individual preset channels in the currently selected preset
memory block.
• ON : Display the selected preset channel.
• Skip : Do not display the selected preset channel.
If you set “Block Presets” to “Skip”, you can skip the preset memory
blocks (A to G).
Preset Name
Assign a name to a preset memory.
Setting items
Setting details
A1 – G8
Select the preset channel.
TUNER
• Up to eight characters can be input.
• For character input, see page 44.
Default
The changed preset name
is returned to the default
setting.
Yes : Reset to the defaults.
No : Do not reset to the defaults.
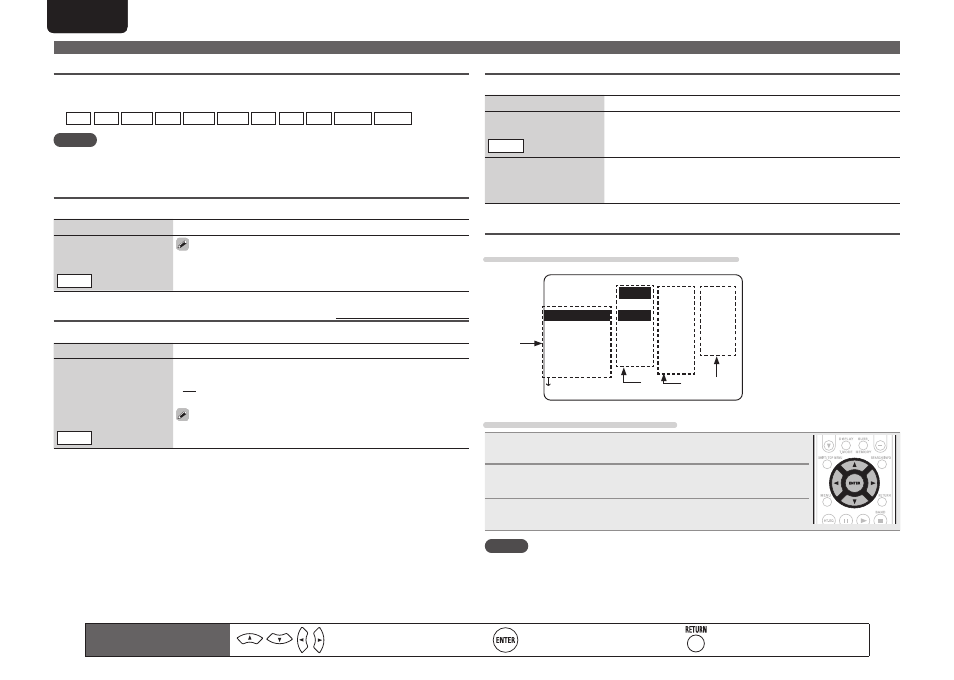
Input Assign
Examples of input assign menu screen displays
5-1.Input Assign
Default
HDMI
Digi Comp
BD 1
GAME 4
AUX1 F
SAT 3 C1 3
DVD 2 C2 2
VCR
[ENT]:Select [RTN]:Back
1
q
e
w
r
q
Input Source
w
HDMI input
e
Digital audio input
r
Component video input
Input assignments menu operations
1
Use uio p to move the highlight to the item you want to set.
2
Press
ENTER
, then use o p to select the input connector to be
assigned.
3
Press
ENTER
to enter the setting.
NOTE
If all “HDMI”, “Digital” and “Component” assignment of the Game source are set to “None”, Game
source cannot be selected with the input source selection.
Input Setup
Remote control operation
buttons
Move the cursor
(Up/Down/Left/Right)
Confirm the setting
Return to previous menu