Nuvo ESSENTIA NV-E6GXS User Manual
Page 30
26
X. Control Pad Setup
Factory-new Installation
Grand Concerto V. X.XX
Zone Selection
Zone Selection
OK
Reprogramming the Zone Address
Setup
Advanced Settings
Zone Number
None
The system should be programmed with the Configurator
prior to setting up the Control Pads for the first time. The
Grand Concerto amplifier should be placed in its permanent
location, plugged in, and turned on. When a Control Pad is
plugged in for the first time, the following sequence will
occur:
1. When first plugged in,
where
X refers to the current firmware version number
loaded in the Grand Concerto main amplifier unit.
The Control Pad will then go to the
menu.
2. While the Control Pad is in the
mode,
all the configured zone names will appear starting
with the first. Setting the appropriate zone address
is simply done by using the arrow buttons to scroll
up or down to the appropriate zone and when the
desired zone is highlighted, press the
button.
3. The Control Pad will flash the version-number
screen one more time and immediately turn off.
When powered on, the addressed Control Pad will
then go to the first established source.
At this point, the zone may be operated by the parameters
set in the configuration. Zone settings may be modified
using the MENU key.
This procedure allows an addressed Control Pad to be moved
to a new location. Within the main menu of each zone, go to
. Within the Setup options, scroll to
and to
. All the used addresses will be grayed
out. Any available addresses will be accessible. Scrolling to
will erase the current address of that Control Pad’s
zone. In this menu selection, the Control Pad can be reset to
any available zone.
XI. Using the Control Pad's MENU Button
MAIN MENU:
Favorites, Sources, Advanced
Zone Control
Setup,
Menu gives access to specific music selection and control for
each source, as well as zone and system setting capability.
When the MENU button is pushed, the display goes to an
eight-line screen labeled Main Menu.
There are four Main Menu items that are
consistent to all source selections and pertain to general
system and zone control. They are
and
Fig. 32.
Main Menu
Favorites
Sources
Adv. Zone Control
Fig. 32
Favorites:
Actions
Actions
Top-line favorites are global. Favorites or play
lists set up within Windows Media Player and synced with
the NuVo M3 Server or within an iPod can be added to the
Favorites list. Potential members of this list can also include
station presets for the NuVo T2G or other sources such as
satellite or cable. When T2G or IR Macro Presets are
assigned, the first twenty are placed in the Favorites menu.
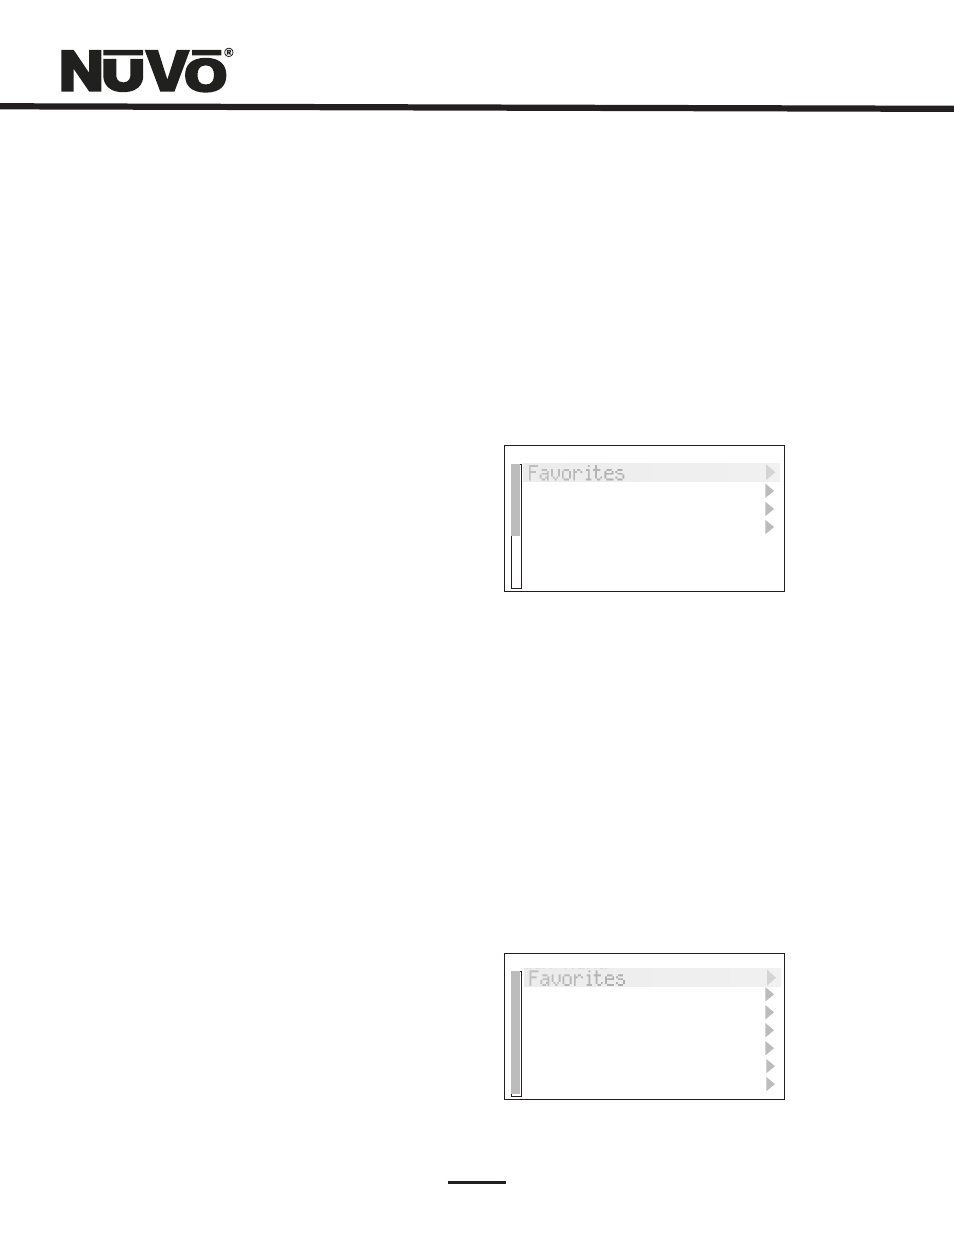
Assigning playlists within the Music Port or iPod to global
favorites is done in the
menu, Fig. 33. This menu
item automatically resides with the Music Port or iPod as a
source choice. Once in the
menu, you will have the
choice to add your selection to Favorites, Fig. 34.
Fig. 33
Setup
Main Menu
Favorites
Actions
Radio
Songs
Artist
Album
Genre