Dimplex Dimpelx Cadogan CGn20 User Manual
Page 8
- 2 -
Installation Instructions
Ensure that all packing items are removed (read any
warning labels carefully).
Retain all packing for possible future use, in the event
of moving or returning the appliance to your supplier.
To reduce heat losses and to prevent any chimney
updraught sff ecting the operation of your fi re we
recommend that the chimney fl ue is blocked off ,
ensure that there is a slight gap for ventilation.
To install the appliance;
Place the stove against the wall and connect the stove to
your electricity supply.
Plug the stove into a 13amp/24volt outlet.
Before switching on the appliance, please read the
following instructions.
Before using the manual controls fi rstly fi ll the water
tank (See ‘Maintenance’, ‘Filling the water tank’).
Manual Controls.
The Opti-myst Manual controls are located behind the
doors.
(See Fig. 2 for Manual Control lay out)
Switch ‘A’:- Controls the electricity supply to the stove.
Note: This switch must be in the ‘ON’ ( I ) position for the
stove to operate with or without heat.
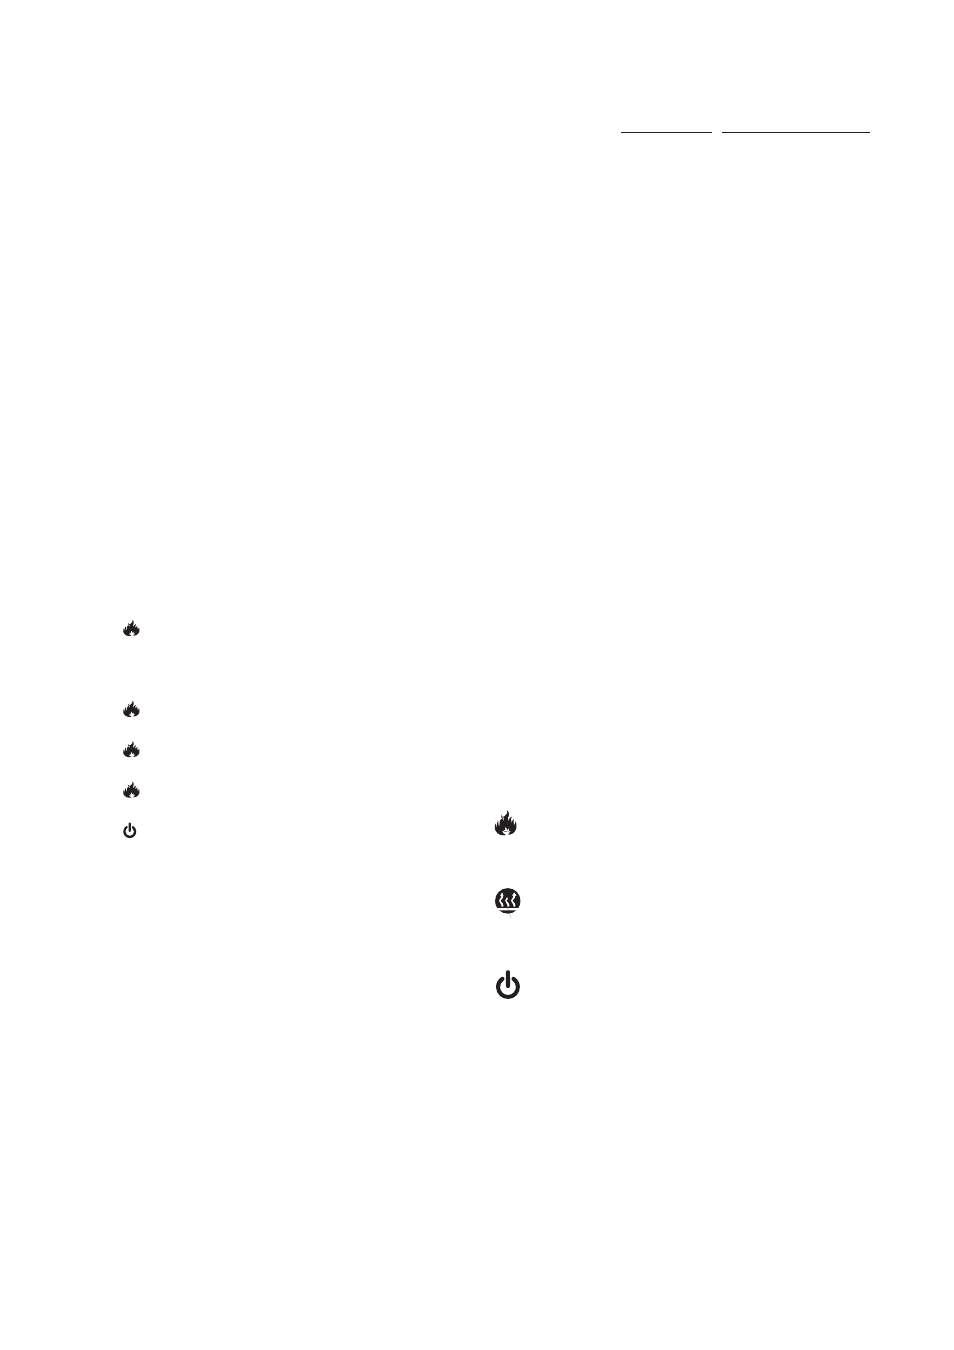
Switch ‘B’:- Controls the function of the fi re.
Press
once to turn on fl ame eff ect. This will be
indicated by one beep.
Although the main lights operate immediately it will
take a further 30 seconds before the fl ame eff ect starts.
Press
again to give fl ame eff ect and half heat.
This will be indicated by two beeps.
Press
again to give fl ame eff ect and full heat. This
will be indicated by three beeps.
Press
again to return to fl ame eff ect only.
This will be indicated by one beep.
Press to put stove in to standby mode.
This will be indicated by one beep.
Control Knob ‘C’:- Controls the intensity of the fl ame eff ect.
Turning the control knob to the left increases the fl ame
eff ect, turning the control knob
to the right will decrease
the fl ame eff ect.
Control Knob ‘D’:- Controls the Electronic Thermostat
setting.
Turning the control knob to the left will decrease the
temperature setting, turning the control knob to the right
will increase the temperature setting.
LED ‘E’:- When this is illuminated it indicates that the water
tank is empty. You will hear two beeps.
When the water is empty the main lamps go out. See
instructions under ‘Maintenance’, ‘Filling the water tank’.
When this procedure is complete, the main lamps will
illuminate but it will take 30 seconds before the fl ames
return.
Depending on room temperature and humidity there may
be some condensation on the inside of the stove. This can
be overcome by turning the fl ame control knob down and
leaving the doors of the stove slightly ajar, until the glass
warms up.
Electronic Thermostat
The thermostat controls the heat output according
to the room temperature. This ensures that the stove
will not produce heat unnecessarily when the room is
warm.
To set the temperature you require, turn the thermostat
control knob ‘D’ (See Fig. 2) to the right until the desired
temperature is reached. Alternatively to heat a cold
room quickly, turn the thermostat control knob ‘D’ (See
Fig. 2) up fully. When the room has reached the desired
temperature, turn the thermostat control knob ‘D’ (See
Fig. 2) to the left until the desired heat setting is achieved.
The stove will now automatically operate at this
temperature.
Remote Control Operation
On the control panel, Switch A (see Fig. 2) must be in
the ‘ON’ ( I ) position in order for the remote control to
operate. There are 3 buttons on the remote control. (See
Fig. 7)
To operate correctly the remote must be pointed towards
the front fuel eff ect.
The remote control functions are as follows:
Press once to turn on Flame eff ect only.
This will be indicated by one beep.
Press once to turn on Half heat and Flame eff ect.
This will be indicated by two beeps.
Press again to turn on Full heat and Flame eff ect.
This will be indicated by three beeps.
Standby
This will be indicated by one beep.