Kreg PRS1015 Precision Router Table Fence User Manual
Page 7
Assembly
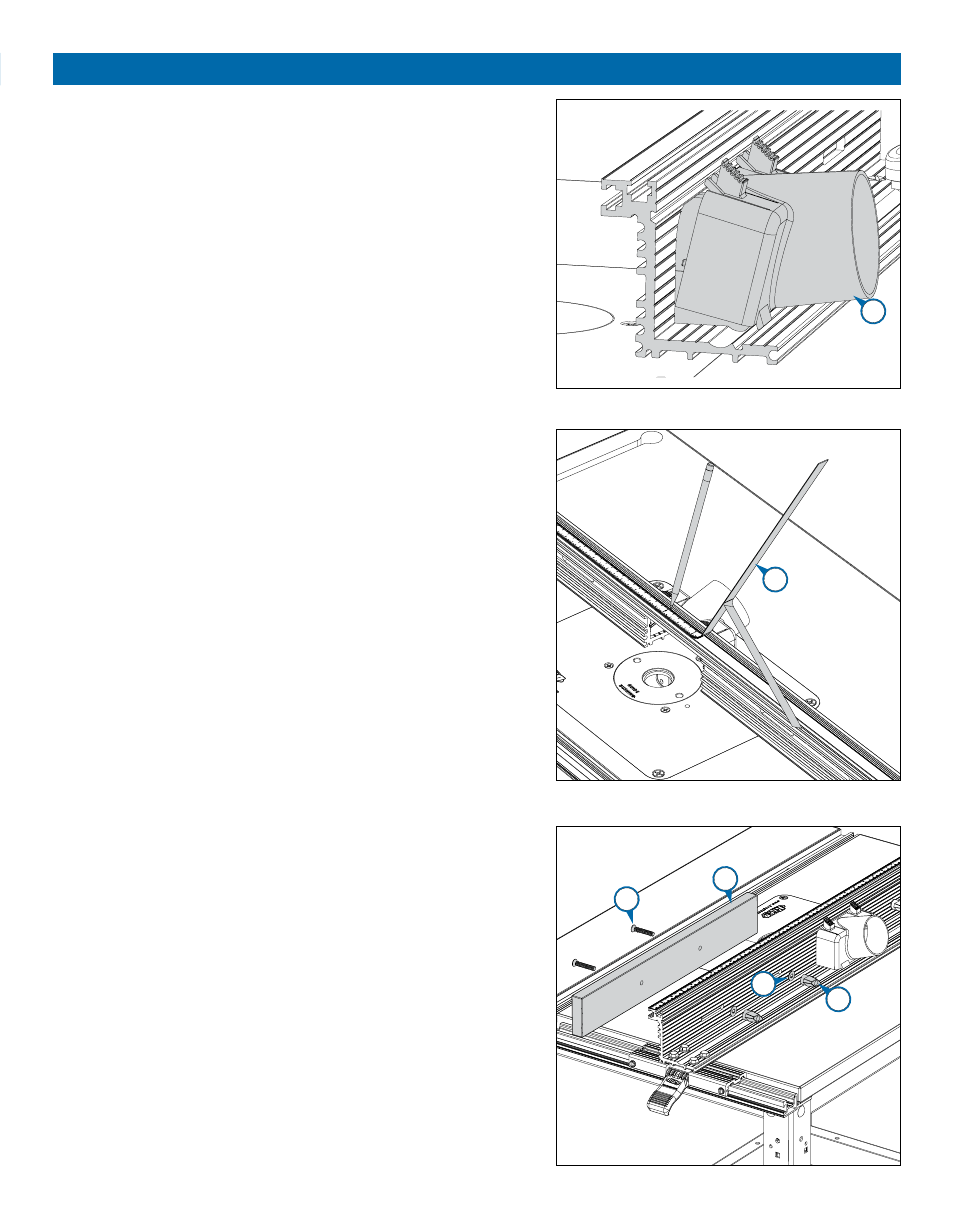
5
Insert the tabs at the bottom of the vacuum port (22) into the groove
in the base of the fence extrusion. Align the two interior pegs on the
dust port with the inside edges of the router-bit cutout. Push down on the
spring-lock tabs at the top of the port and snap them into the groove in
the back of the extrusion.
6
Mark the center of the top edge of the fence extrusion. Position the
zero mark of the self-adhesive tape (23) at the mark and remove
the protective backing as you adhere the tape to the extrusion. Trim the
excess tape fl ush with each end of the extrusion.
7
Hardware for this section is in HARDWARE PACK #4.
Install the fence faces (24) with fl athead bolts (25) inserted through
each fence face. Secure the machine screws at the back with brass fl at
washers (26) and T-knobs (27).
26
25
27
24
23
22