Onnect to the, Amera using, Tatic – Grandstream GXV3610 2 Series Mounting Installation Guide User Manual
Page 14
Grandstream Networks, Inc.
GXV3610_HD/FHD Mounting and Installation Guide
Page 14 of 14
Last Updated: 10/2013
Connect to the Camera using Static IP
If no DHCP server in the network, or the camera does not get IP from DHCP server, user can connect the
camera to a computer directly, using static IP to configure the camera.
The default IP, if no DHCP server; or DHCP offer time out (3 minutes), is 192.168.1.168
1. Connect the computer RJ-45 via an Ethernet cable directly to the IP camera GXV3610_HD/FHD.
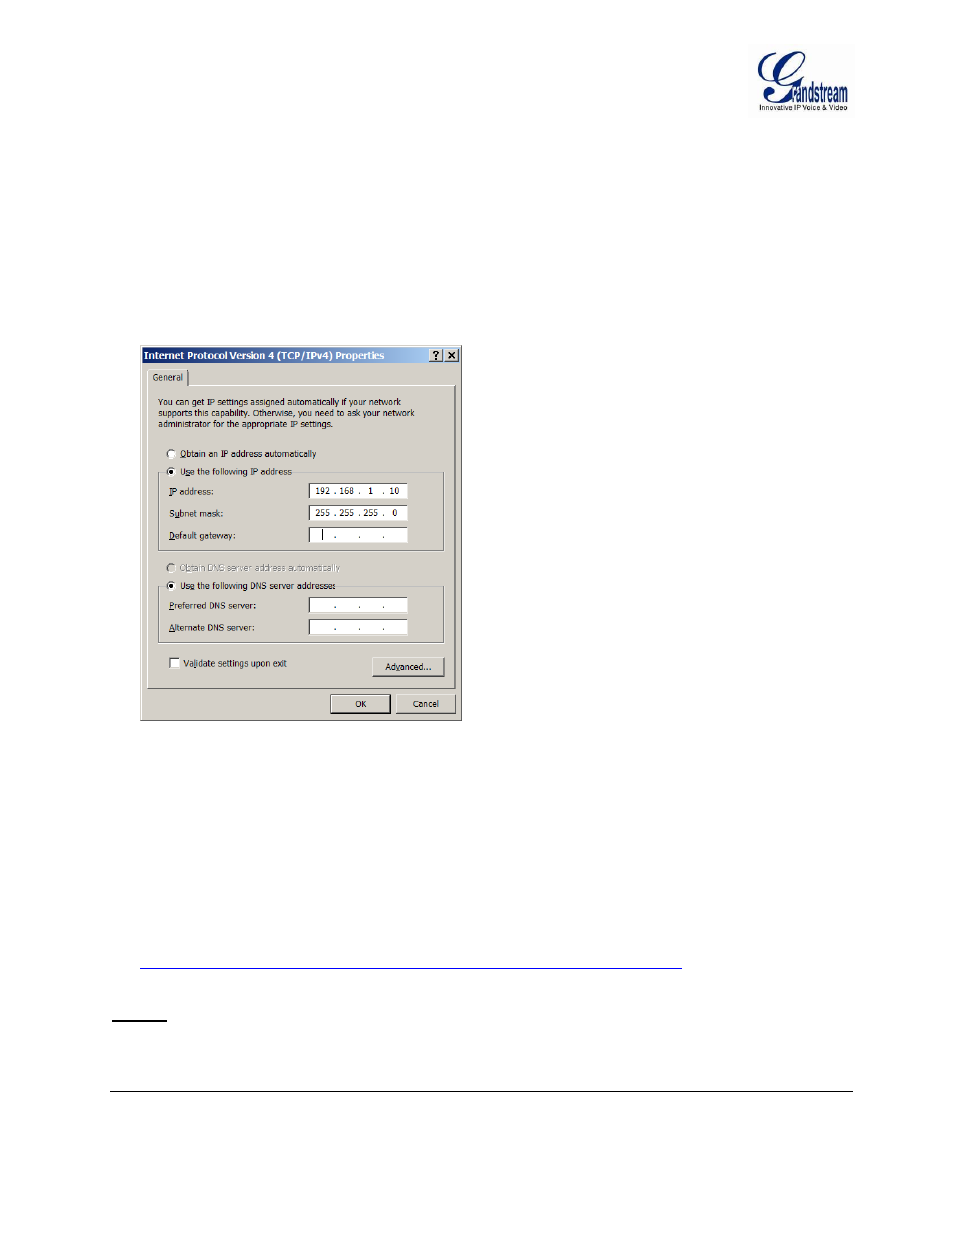
2. Configure the computer using Static IP: 192.168.1.XXX (1 the “Subnet mask” to “255.255.255.0”. Leave the “Default Gateway” to “Blank” like below: 3. Power on the GXV3610_HD/FHD. 4. Start the browser when the network connection is up. 5. Enter 192.168.1.168 in the address bar of the browser. 6. The browser will ask for plug-in or ActiveX if not installed, otherwise it will get to Home page and start to show the video captured by the camera (by default the camera enabled anonymous access) 7. Click “Configuration”, the browser will ask credentials to authorize configuration. 8. Enter the administrator user name and password to access the Web Configuration Interface, the default user name and password are both set to admin. 9. The plug-in can be downloaded from here: NOTE: Please temporarily disable Antivirus or Internet Security Software and close all browsers when
download and install the Grandstream Plug-in Software.