Grandstream GXP2200 Quick Installation Guide User Manual
Page 4
3
4
CONNECTING THE PHONE:
OVERVIEW:
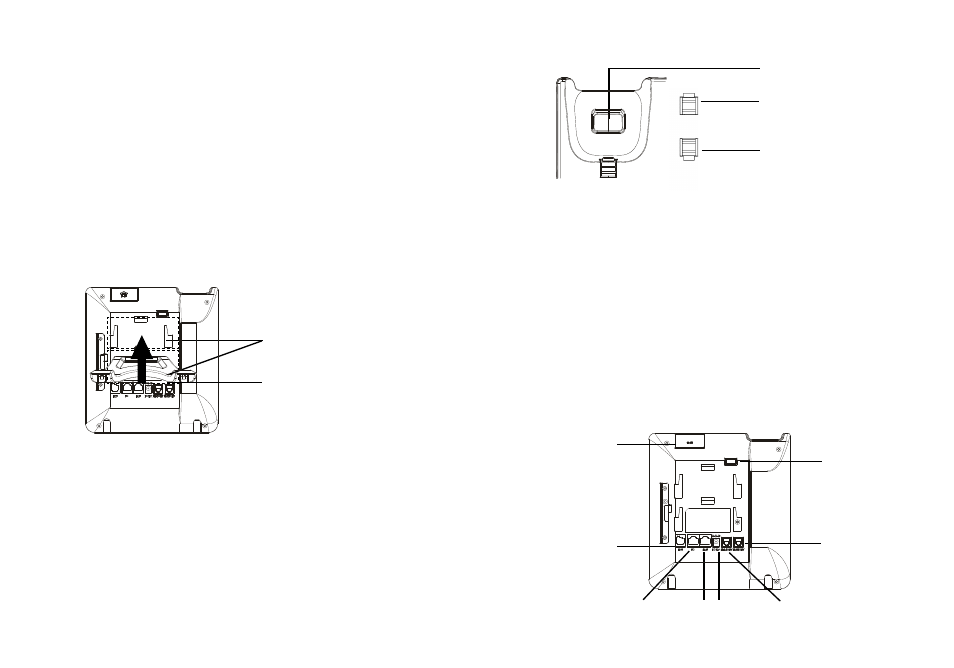
EXT Port
PC Port
LAN Port
Handset Port
Tab with extension up
Slots for the phone stand
Handset Rest
Tab with extension down
PHONE SETUP:
GXP2200 represents the future of enterprise business telephones in modern In-
ternet age. Featuring Android Operating System 2.3 and its vast number of 3rd
party applications, a 480x272 capacitive touch screen TFT LCD, dual Gigabit net-
work ports, integrated PoE and Bluetooth, this unique product is distinguished
in a special class of its own. The GXP2200 delivers superior HD audio quality,
leading edge telephony features, integration of rich Web content with access to
the rapidly growing Android applications base, automated provisioning. Built with
advanced security protection for privacy, this enterprise application phone also
features broad interoperability with most 3rd party SIP based devices, IP PBX and
major IMS platforms. The GXP2200 is an innovative smart desk phone loaded
with tremendous value for Web-integrated business communications as well as
unprecedented power for advanced custom business applications development
and personalization.
Push phone stand upwards
Power
Headset Port
SD Card Slot
USB Port
1. Attach the phone stand to the back of the phone where there is a slot for the
phone stand. Upper part and bottom part are available for two angels;
2. When using the bottom part for phone stand, you may also adjust the tab from
the handset cradle. Pull out the tab from the handset cradle (see Figure in next
page);
3. Rotate the tab and plug it back into the slot with the extension up to hold the
handset.
Installing The Phone Stand:
1. Connect the handset and main phone case with the phone cord;
2. Connect the LAN port of the phone to the RJ-45 socket of a hub/switch or a
router (LAN side of the router) using the Ethernet cable;
3. Connect the 12V DC output plug to the power jack on the phone; plug the power
adapter into an electrical outlet. If PoE switch is used in step 2, this step could be
skipped;
4. The LCD will display booting up or firmware upgrading information. Before con-
tinuing, please wait for the main screen display to show up;
5. Using the web configuration interface or from the menu of the touch screen,
you can further configure network connection using either static IP, DHCP and etc.