Audio setup, Others setup – Daewoo dqd-2100d EU User Manual
Page 14
Setup
25
24
Audio Setup
Select a digital output.
Set output conditions to coaxial or optical
terminal. You can set following two values of
digital output;
• BITSTREAM : The same signal as audio
signal recorded in disc goes to digital
2
2
A user may select audio menu according to a user’s speaker set.
While DISC STOP or Resume STOP,
press [SETUP] button.
1
1
Digital out
Bitstream
Speaker Setup :
Front L/R
Small
Center
None
Surround
None
Subwoofer
None
{DQD-6100D/DVD-360D/
DVD-260D only}
Digital out
Speaker Setup :
Front L/R
Center
Surround
Subwoofer
Select a Front L/R Speaker.
The user can select a Front L/R Speaker Type
between “Small” and “Large”.
3
3
✔
Bitstream
LPCM
Digital out
Speaker Setup :
Front L/R
Center
Surround
Subwoofer
Select a Center Speaker.
This submenu is valid when you are using an
amplifier, which have the 5.1-CH analog
audio input. If you have the Center speaker,
please select “Small” or “Large”. If not, select
“None”.
4
4
Digital out
Speaker Setup :
Front L/R
Center
Surround
Subwoofer
Select a Surround Speaker.
This submenu is valid when you are using an
amplifier, which have the 5.1-CH analog
audio input. If you have the Rear speaker,
please select “Small” or “Large”. If not, select
“None”.
5
5
Digital out
Speaker Setup :
Front L/R
Center
Surround
Subwoofer
Language
Video
Audio
Others
Language
Video
Audio
Others
Language
Video
Audio
Others
Language
Video
Audio
Others
Language
Video
Audio
Others
Language
Video
Audio
Others
✔
Small
Large
✔
None
Small
Large
✔
None
Small
Large
audio output terminal.
• LPCM : Decoded audio signal goes to digital output terminal.
Select a Subwoofer Speaker.
This submenu is valid when you are using an
amplifier, which have the 5.1-CH analog
audio input. If you have the Subwoofer
speaker, please select “Present”. If not, select
“None”.
6
6
Digital out
Speaker Setup :
Front L/R
Center
Surround
Subwoofer
✔
None
Present
Select Parental.
Press [ENTER] button to set the
selected item.
It consists of 8 levels of parental control,
violence, sexual scene, strong sexual scene
and others to protect children from watching
those scenes.
6
6
OSD
On
Screensaver
On
Defaults
No
Parental
Off
Change Password
✔
Off
1 Kids
2 G
3 PG
4 PG-13
5 PG-R
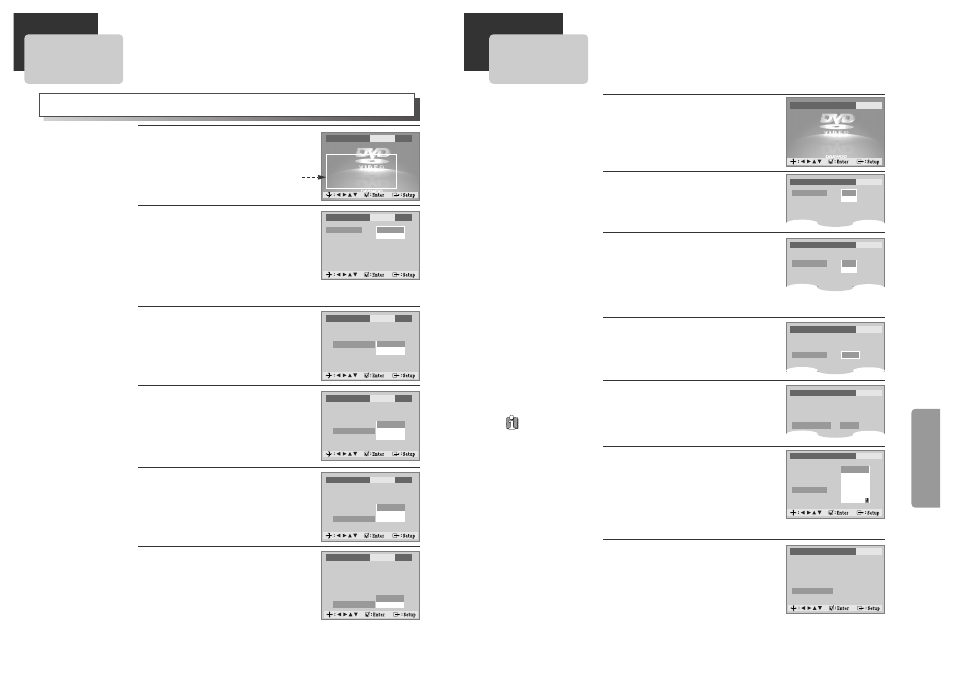
Others Setup
Select character display window.
Select "On" to make OSD(On Screen Display)
language displayed in screen.
2
2
Select screensaver.
If bright scenes continue to be displayed in
screen, TV can be damaged. Set the
screensaver to "On", the screensaver
functions automatically and DVD logo moves
continuously if the resume stop, stop, open
status is maintained for about 5 minutes.
3
3
Select defaults.
If you select defaults, every function set
returns to FACTORY Defaults except Parental.
4
4
While DISC STOP or Resume STOP,
press [SETUP] button.
1
1
Entering a password.
Input password display appears.
Enter a user’s password by pressing 4 [Digit]
buttons.
5
5
Initial Password
is “3308”. When you
forget new password,
you may input this
number.
OSD
On
Screensaver
On
Defaults
Reset
Parental
Off
OSD
Screensaver
Defaults
Parental
✔
On
Off
OSD
Screensaver
Defaults
Parental
✔
On
Off
OSD
Screensaver
Defaults
Parental
✔
Reset
OSD
On
Screensaver
On
Defaults
Reset
Input Password
◆◆◆◆
Language
Video
Audio
Others
Language
Video
Audio
Others
Language
Video
Audio
Others
Language
Video
Audio
Others
Language
Video
Audio
Others
Language
Video
Audio
Others
Language
Video
Audio
Others
Changing a password.
For the change of a user’s password, please
move to “Change Password” and enter new
password.
7
7
OSD
On
Screensaver
On
Defaults
Reset
Parental
Off
Change Password
◆◆◆◆