Fenix THERM 350 User Manual
Page 8
The LED’s light intensity has two settings, low and high. The standard set-
ting is low. To set the desired level.
1. Press
•
.
The display shows
.
2. Press
repeatedly until the display shows
.
Press
•
.
3. Press
repeatedly until the menu shows “LEd”. Press
•
.
4. Press
or
to select setting. the menu shows “LEd L” or “LEd H”.
Confirm with
•
.
Time, date and temperature
The thermostat shows time and date. The calendar switches over automati-
cally in leap years and automatically adapts to DST. To be able to use the
programme for temperature reduction, time and date must be set. The ther-
mostat automatically computes which day of the week it is.
Set time
1. Press
•
.
The display shows
.
2. Press
repeatedly until the display shows
.
Press
•
.
3. The menu in the display shows
.
Press
•
. Hours now flash.
4. Press
or
repeatedly to set the hours. Confirm with
•
.
5. Repeat the previous step to set the minutes.
6. Repeat the previous step to set month and year.
Set date
1. Press
•
.
The display shows
.
2. Press
repeatedly until the display shows
.
Press
•
.
3. Press
repeatedly until the display shows
.
Press
•
.
4. Press
or
repeatedly to set the date. Confirm with
•
.
Deactivate DST
1. Press
•
.
The display shows
.
2. Press
repeatedly until the display shows
.
Press
•
.
3. Press
repeatedly until the display shows
.
Press
•
.
4. The display shows the current setting. Press
to change. Confirm with
•
.
Temperature
For every push on
or
the desired temperature increases or decreases
by 0.5
º
C.
How the thermostat shows the time is set as follows
1. Press
•
. The display shows
.
2. Press
repeatedly until the display shows
.
Press
•
.
3. Press
repeatedly until the display shows
.
Press
•
.
4. The display shows the current setting. Press
to change. Confirm with
•.
Thermostat settings
FENIX Therm 350 can work with three separate functions:
”R&F” - Room - and floor-thermostat
– A built-in sensor regulates the room
temperature.
The external floor sensor functions as a floor temperature limiter.
The limitation can be set between 5
°
C and 45
°
C. The factory setting is
35°C, which gives a surface temperature of approx. 27
°
C.
To adjust overheat protection temperature:
1. Press
•.
The display shows
.
2. Press
repeatedly until the display shows
repeatedly until the display shows
. Press
•.
3. Press
repeatedly until the display shows OH. Press
•
.
4. Actual temperature is now flashing. Press
or
to change. Confirm
with
•
.
In rooms with large windows which are exposed for sunlight, we recom-
mend this setting.
”
F
”
- Floor thermostat
- The external floor sensor regulates the floor tem-
perature. Preset value is 22
°
C. If the floor sensor is engaged the first time
the thermostat is switched on, the thermostat selects this function automa-
tically.
”
R
”
- Room thermostat
- A built-in sensor regulates the room temperature.
The function cannot be selected when the floor sensor is connected. If
the floor sensor is not connected at the first switch-on, the thermostat
automatically selects this function.
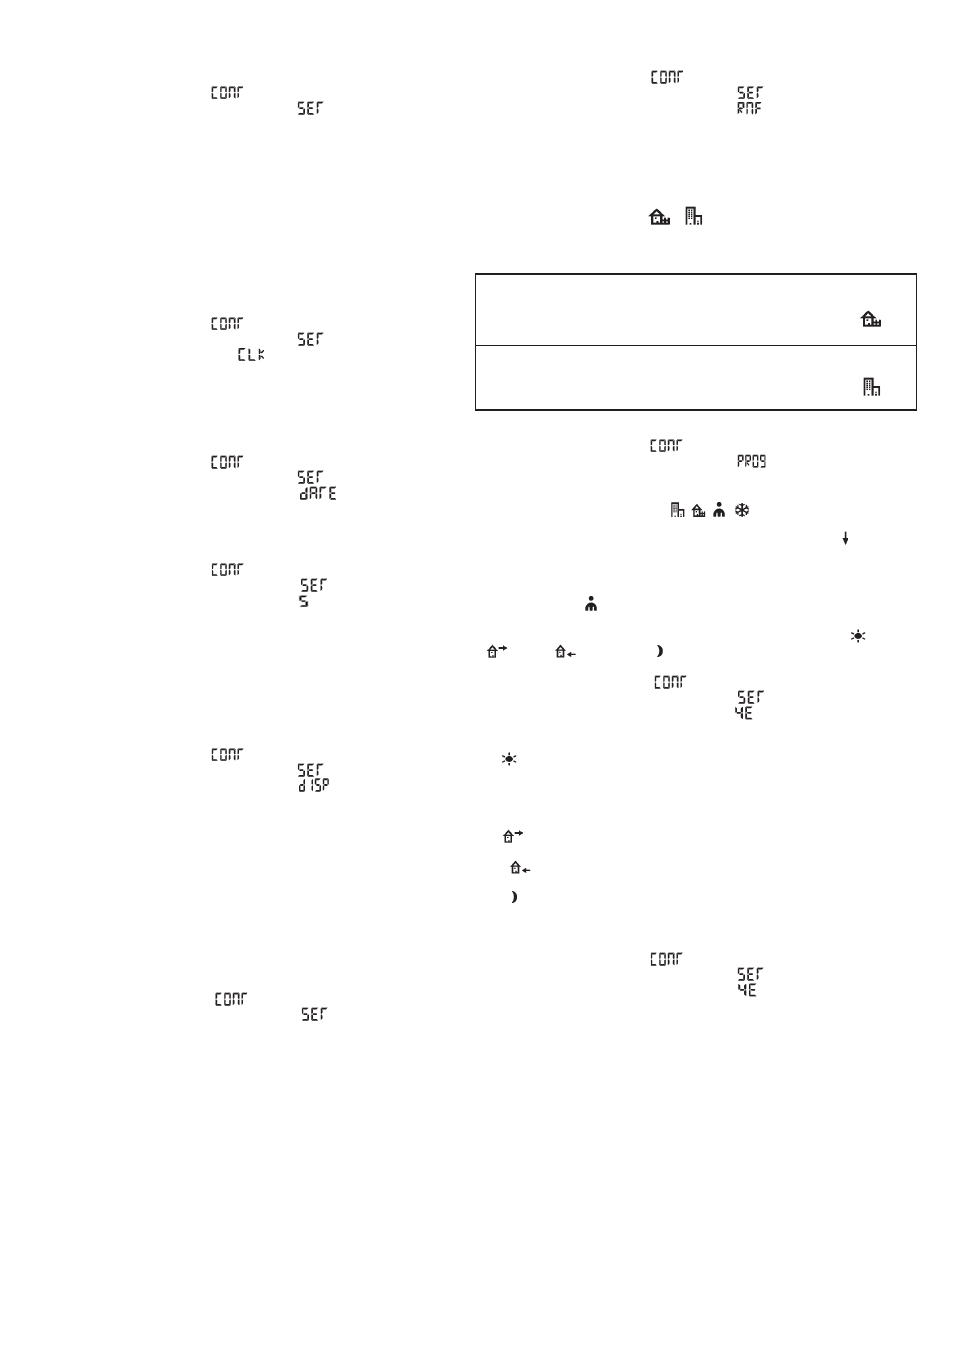
Preset programme
The thermostat has two preset programmes for temperature reduction
which are adapted for home- or office environments.
To select any of these programmes:
1. Press
•
.
The display shows
.
2. Press
repeatedly until the display shows
.
Press
•
.
One of the icons for preset programmes will flash, depending on the current
setting. (If no icon flashes, no preset programme is selected).
3. Press
or
to select between
,
,
,
or no programme. Confirm
with
•
.
If a preset programme is selected the programme starts up.
is shown
together with actual icon and indicates that a programme is running.
User settings
FENIX Therm 350 has programmes for own settings. �ou can set four
has programmes for own settings. �ou can set four
events Monday to Sunday. The four events Mo-Su are WAKEUP
OUT
,
BACK
and NIGHT
.
1. Press
•.
The display shows
.
2. Press
repeatedly until the display shows
repeatedly until the display shows
. Press
•.
3. Press
repeatedly until the display shows
repeatedly until the display shows
. Press
•
.
4. The MASTER set,
MD TU WE TH FR SA SU
, all 7 days are now displayed. Press
•
.
5.
, actual time and temperature is shown in the display.
6. The hours digits are flashing. Press
or
to set the hours. Confirm
with
•.
7. Press
or
to set the minutes. Confirm with
•.
8. Press
or
to set the temperature. Confirm with
•.
9.
is shown, repeat steps 6-8 to set the time and temperature for this
event.
10.
is shown, repeat steps 6-8 to set the time and temperature for this
event.
11.
is shown, repeat steps 6-8 to set the time and temperature for this
event.
If any of the days of the week are divergent, do as follows:
1. Press
•
.
The display shows
.
2. Press
repeatedly until the display shows
.
Press
•
.
3. Press
repeatedly until the display shows
repeatedly until the display shows
. Press
•
.
4. Now actual MASTER set is shown,
MD TU WE TH FR SA SU
. Press
or
re-
peatedly until the divergent day is shown. Confirm with
•.
5. Program the 4 events of the day, according to step 6-11 above.
Is there any more divergent days, repeat steps above.
Display of actual value (current temperature)
When the key set is locked, press
•
. The light comes on and the current
temperature is displayed for 30 seconds as small digits above the set value
(the temperature required).
Installation instructions FENIX Therm 350 English Page 2/3, 071217
Programme for
home environment. The temperature is automatically reduced
by 5
º
C during
Mo – Fr 08:30 – 15:00
Mo – Su 23:00 – 05:00
Programme for
office environment. The temperatur is automatically reduced
5
º
C the whole time except for:
Mo – Fr 06:00 – 18:00
To select any of these settings:
1. Press
•
. The display shows
.
2. Press
repeatedly until the display shows
.
Press
•
.
3. Press
repeatedly until the display shows
.
Press
•
.
4. One of the icons
R
,
F
or
R&F
flash, depending on which is the current
setting.
5. Press
or
to change selected setting. Confirm with
•
.
NOTE!
R
can not be selected if the floor sensor is connected.