Exacq exacqVision Edge/Axis Quick Start Guide User Manual
Page 2
www.e
x
acq.com
Page 2 of 6
10/17/2014
Installation and Configuration
CAUTION: Do not record from an IP camera on more than one exacqVision server at a time, regardless of where exacqVision Server
is running.
1. Install the Axis camera and insert the SD memory card in the camera.
NOTE: SD cards are normally pre-formatted to the FAT32 file system and automatically mounted when inserted. However,
you can re-format the card using the camera, if desired, by following the instructions provided by Axis.
2. Configure the camera’s network parameters to communicate with a PC-based browser using the Axis Camera Finder utility
found on the CD shipped with the camera, or downloaded from the Axis website.
3. If necessary, upgrade the camera firmware to the latest version from the Axis website.
4. Download the latest exacqVision Client application from the Exacq website a
5. Install the client software on your computer.
6. Download the latest exacqVision Edge server application from
NOTE: exacqVision Edge server software is available for both ARTPEC 3 and ARTPEC 4 processors. (ARTPEC 3 processors can
host one application at a time, whereas ARTPEC 4 processors can host multiple applications simultaneously.) The download
page contains a list of cameras supported by each exacqVision Edge ARTPEC version. Make sure you download the correct
version for your camera.
7. Open a browser to the camera and log in. The default username and password are root and pass.
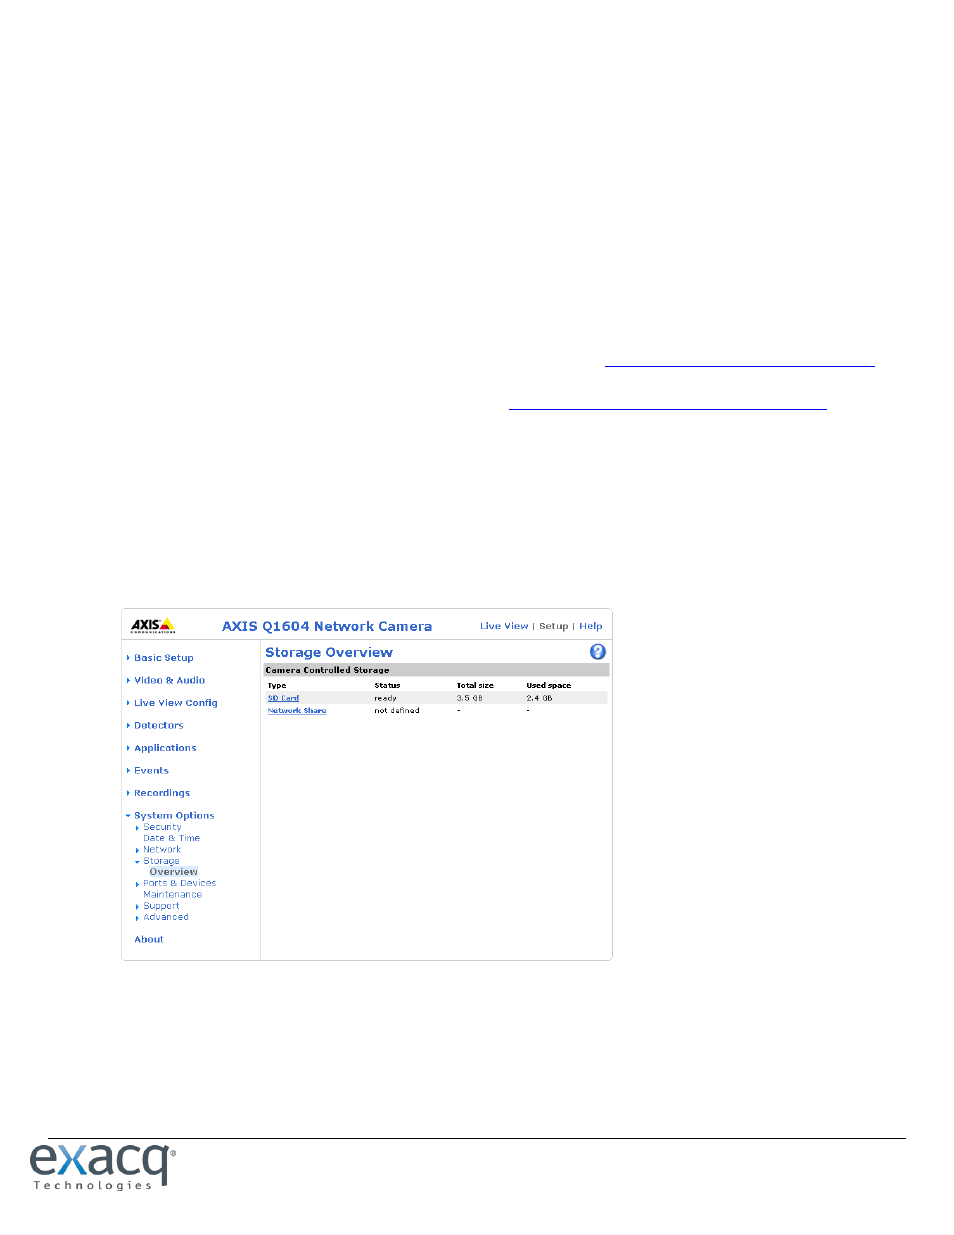
8. Select Setup. Under System Options, select Storage.
9. Ensure the Total Size for SD Card is greater than zero, which means the camera is communicating with the SD card.
10. From the Setup menu, select Applications.