EM Acoustics MSE-156 passive fullrange loudspeaker User Manual
Page 4
4
MSE-159/MSE-156 User Manual
www.emacoustics.co.uk
PRODUCT OVERVIEW
MSE-159/MSE-156 fullrange passive loudspeakers
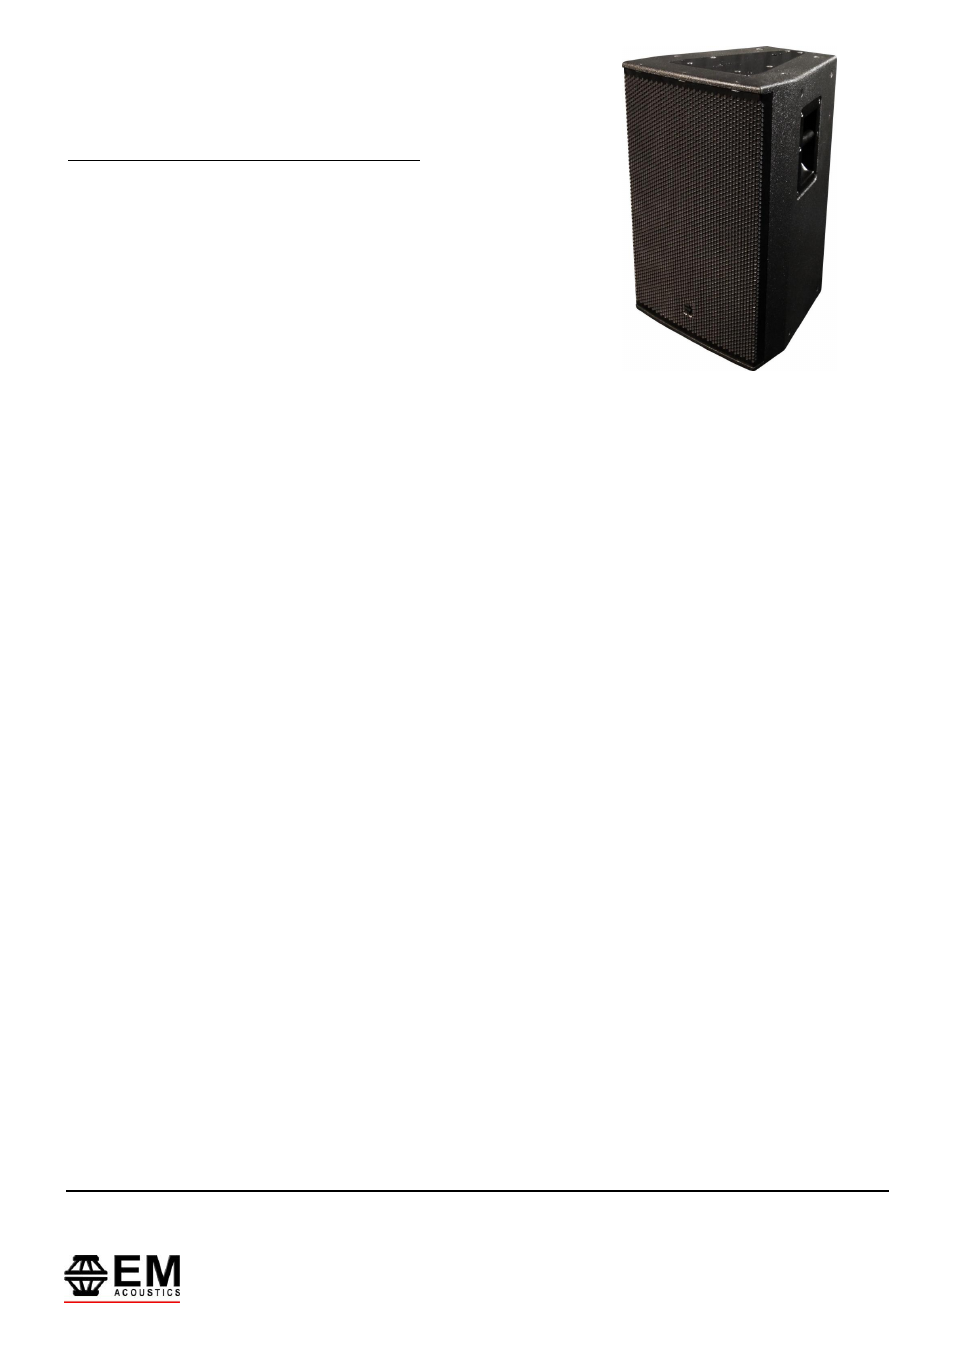
The MSE-159 is a compact, versatile, passive loudspeaker product designed for a wide variety professional sound
reinforcement applications. It features a high-power 15” (381mm) neodymium LF drive unit in a reflex enclosure,
and a 4” diaphragm, 1.4” (36mm) exit neodymium high frequency compression drive unit coupled to a 90° x 60°
rotatable waveguide. These components are matched by an internal passive crossover network for unprecedented
sonic quality from a completely passive enclosure. The MSE-156 is identical in every respect, excluding that the
rotatable waveguide has a 60° x 40° coverage pattern. Sonic performance and character is incredibly consistent
between the two models, allowing easy mixing of the different products within a system.
Due to its discreet size and appearance, the MSE-159 and MSE-156 can be used in a wide variety of professional
audio applications ranging from corporate and theatre use up to medium scale front of house or in-fill/out-fill for
much larger systems. The primary intention for the MSE-159 and MSE-156 were primary loudspeakers for
theatrical sound reinforcement.
As with all EM Acoustics full-range products, no active controller or programmed EQ is required for correct
operation. For demanding applications, a 50Hz, 24dB/octave high pass filter is recommended to increase drive unit
headroom however this is not essential for normal operation – please see page 7 for further information.
The MSE-159 and MSE-156 are supplied as standard in black or white, and is fitted with two Neutrik SpeakON
TM
NLT4MP connectors. Custom colours and specific connectors can also be supplied if required – please contact your
local EM Acoustics representative for more details.
To rotate the HF waveguide:
1. Remove the front grille as described in the Maintenance section on Page 10 of this manual.
2. Using a 4mm Allen key, remove the eight countersunk bolts retaining the HF waveguide in place.
3. Lift the waveguide up and rotate to the desired position – the label on the waveguide shows the dispersion
orientation.
4. Reinstate the socket-head bolts and retighten. Avoid over-tightening as this may crack the waveguide.
5. Reinstate the grille as described in the Maintenance section on Page 11.