Show control system installation, Installing via cd – Daktronics DMP-1500/M3 (SS & ST) Setup With Show Control User Manual
Page 3
DMP-1500/M3 (SS & ST) Setup With Show Control Quick Guide
3 of 11
201 Daktronics Drive PO Box 5128, Brookings, SD 57006
Tel: 1-800-325-8766 or 605-697-4300 Fax: 605-697-4746
Website: www.daktronics.com
DD1805670 Rev 11
2 July 2012
Note: 172.16.192.25 represents the default IP address that M3
controllers are assigned at the factory. If your display will be
assigned a different IP address on your facility’s network, either (a)
enter that IP address into the appropriate fields when creating the
display, if available, or (b) after the display is installed, refer to
Changing a Display’s IP Address.
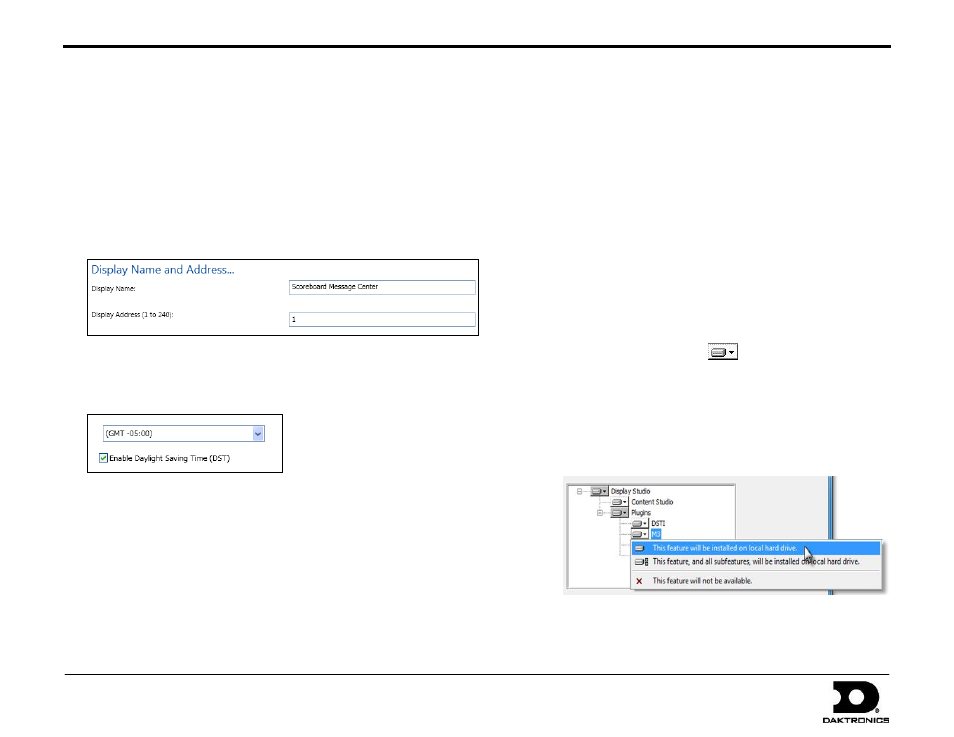
10.
In the Display Settings window, type in a descriptive Display Name, and
type in a Display Address from “1” to “240” (typically “1”). Click
Continue when finished.
11.
In the Set Time Zone window, select the correct time zone from the
dropdown list, and select whether to use Daylight Saving Time (DST).
Click Continue when finished.
12.
In the Create Another Display window, click No.
13.
In the Summary window, review the display settings. Click Finish if the
settings are correct or click Back to Start and begin from Step 5.
At this point Venus 1500 can be closed. Continue to Show Control
Installation.
Show Control System Installation
Installing Via CD
1.
Insert the Show Control System (SCS-2000) installation CD into the
CD-ROM drive (typically “D:\”).
2.
The software installer should launch automatically. If it does not,
press the Windows key [] + [E] and double-click your CD-ROM
drive. Double-click the “Current Version” folder and then double-
click on the “Display Studio Setup.exe” file.
3.
When the Welcome screen appears, click Next.
4.
In the License Agreement window, select I accept the terms in the
license agreement, and then click Next.
5.
In the Database Server window, leave the default database server
selection intact (“[Your computer name]\NUCLEUS”), and then
click Next.
6.
In the Plugins window, use the
button to designate which
plugins should be installed on your computer. The following plugins
should be set to This feature will be installed on local hard drive:
Display Studio
Content Studio
DSTI
M3
Note: Set any other plugins to This feature will not be available.
7.
When finished, click Next.